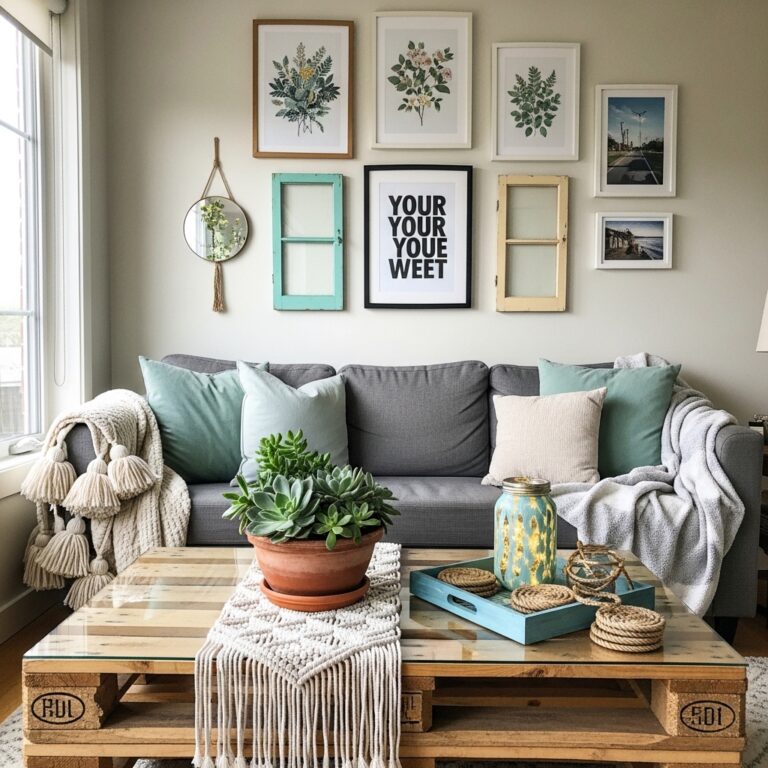
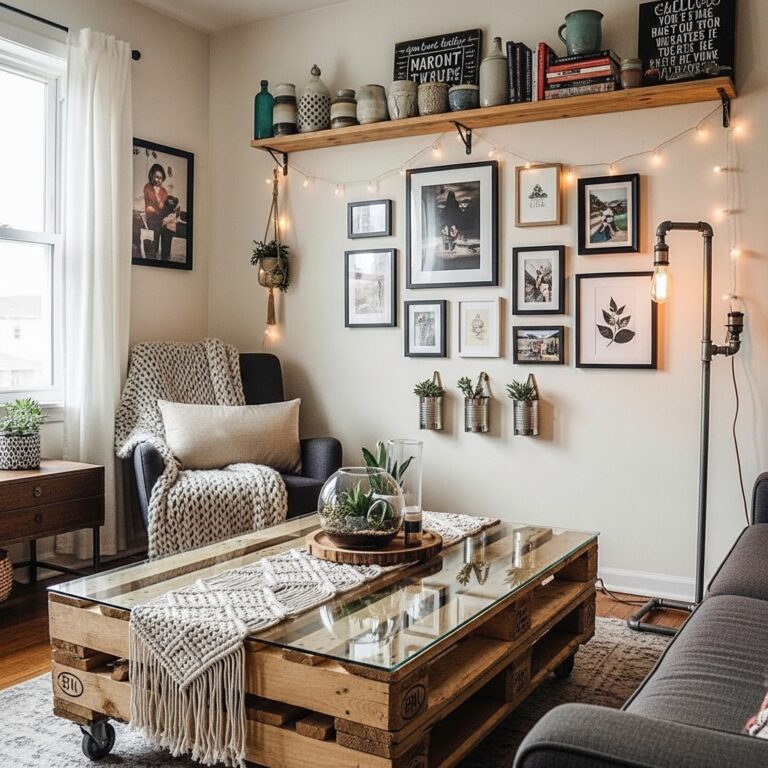
20 DIY Wall Art Ideas That Look Expensive but Cost Almost Nothing
Framed art from stores is expensive. A single canvas can cost hundreds of dollars. A set of three prints can exceed a month’s grocery budget.
But blank walls do not have to stay empty. The best art is often the art you make yourself. DIY wall art costs a fraction of store-bought pieces. It is also more personal. No one else will have the same piece.
This guide delivers 20 DIY wall art ideas that look expensive but cost almost nothing. No artistic skill required. Just simple materials and a few hours.
1. Abstract Canvas with Two Colors and a Palette Knife
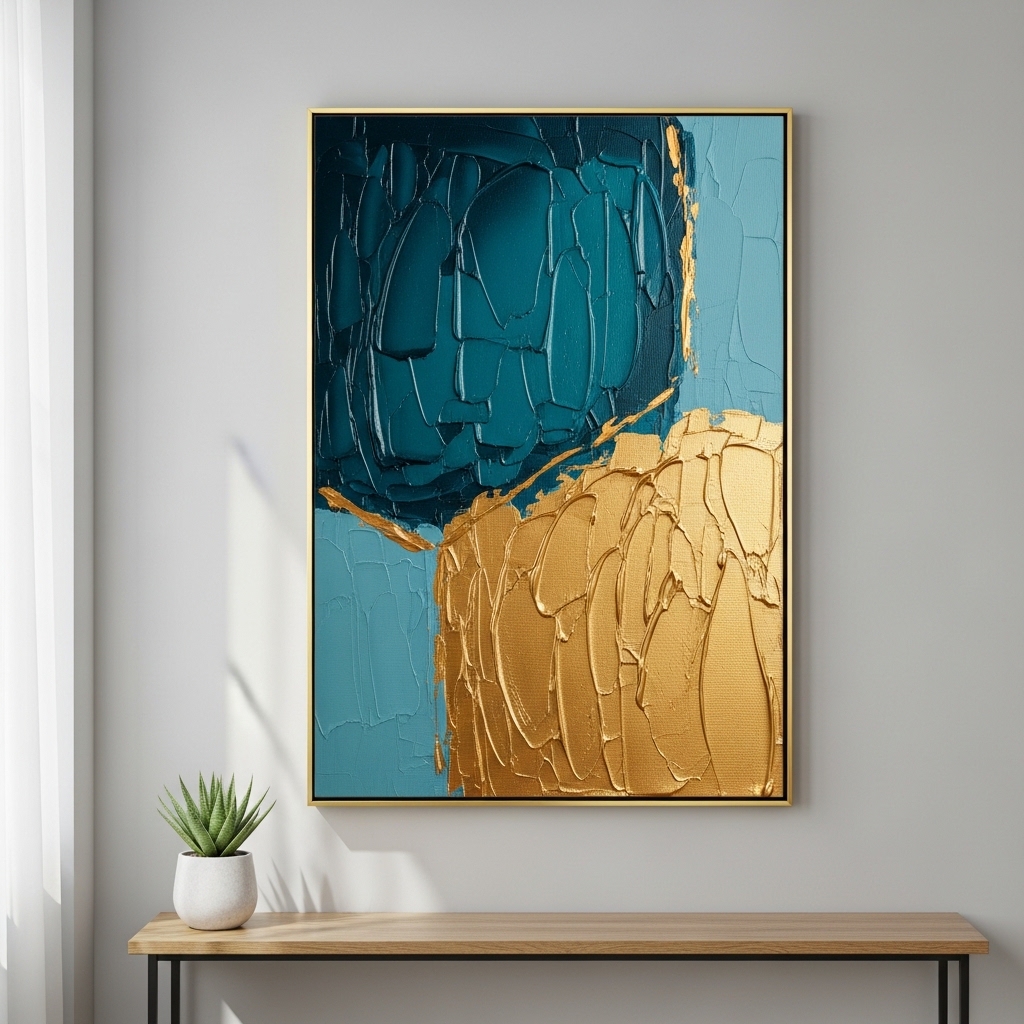
You do not need painting skills to make abstract art. A canvas, two paint colors, and a palette knife are enough.
Squeeze paint directly onto the canvas. Spread it with the palette knife. Do not overwork it. The texture is the art.
Pro Tip: Use a large canvas (24×36 or larger). Small canvases look like crafts. Large canvases look like art.
Mistake to Avoid: Do not use more than three colors. Limited palettes look sophisticated. Too many colors look chaotic.
2. Framed Wrapping Paper or Wallpaper Sample
Wrapping paper is designed to be beautiful. Frame it. The frame elevates the paper. No one will know it was not expensive.
Choose a simple pattern. Avoid cartoon characters or holiday themes. Use a frame with a mat for a finished look.
Pro Tip: Use wallpaper samples from home improvement stores. Many stores give away free samples.
Mistake to Avoid: Do not use paper that is wrinkled. Iron the paper on low heat before framing.
3. Watercolor Wash on Thick Paper
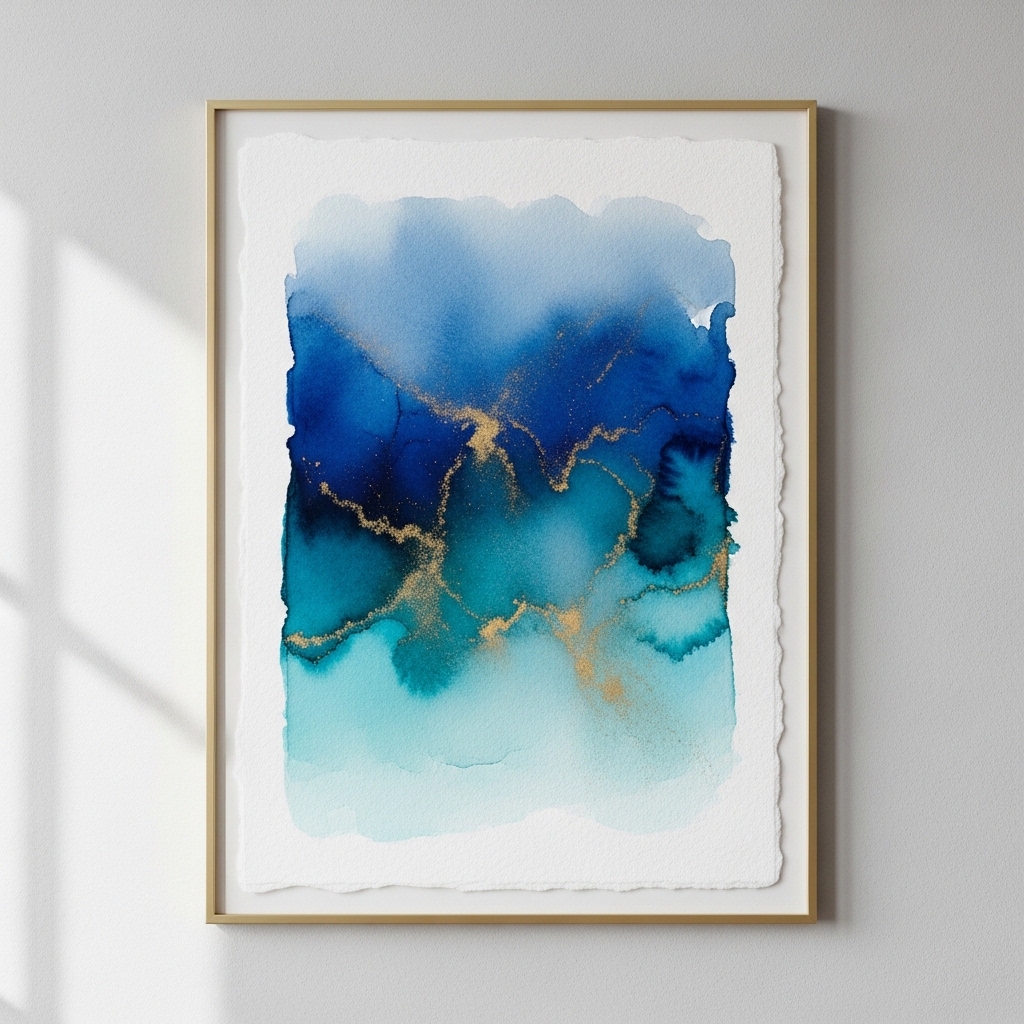
Watercolor is forgiving. A wash of color on paper looks intentional, even when it is random.
Wet the paper with a brush. Apply watercolor paint. Let the colors bleed into each other. The result is organic and beautiful.
Pro Tip: Use high-quality watercolor paper. Cheap paper warps and buckles.
Mistake to Avoid: Do not overwork the paint. Let the water do the work.
4. Pressed Flowers in a Floating Frame
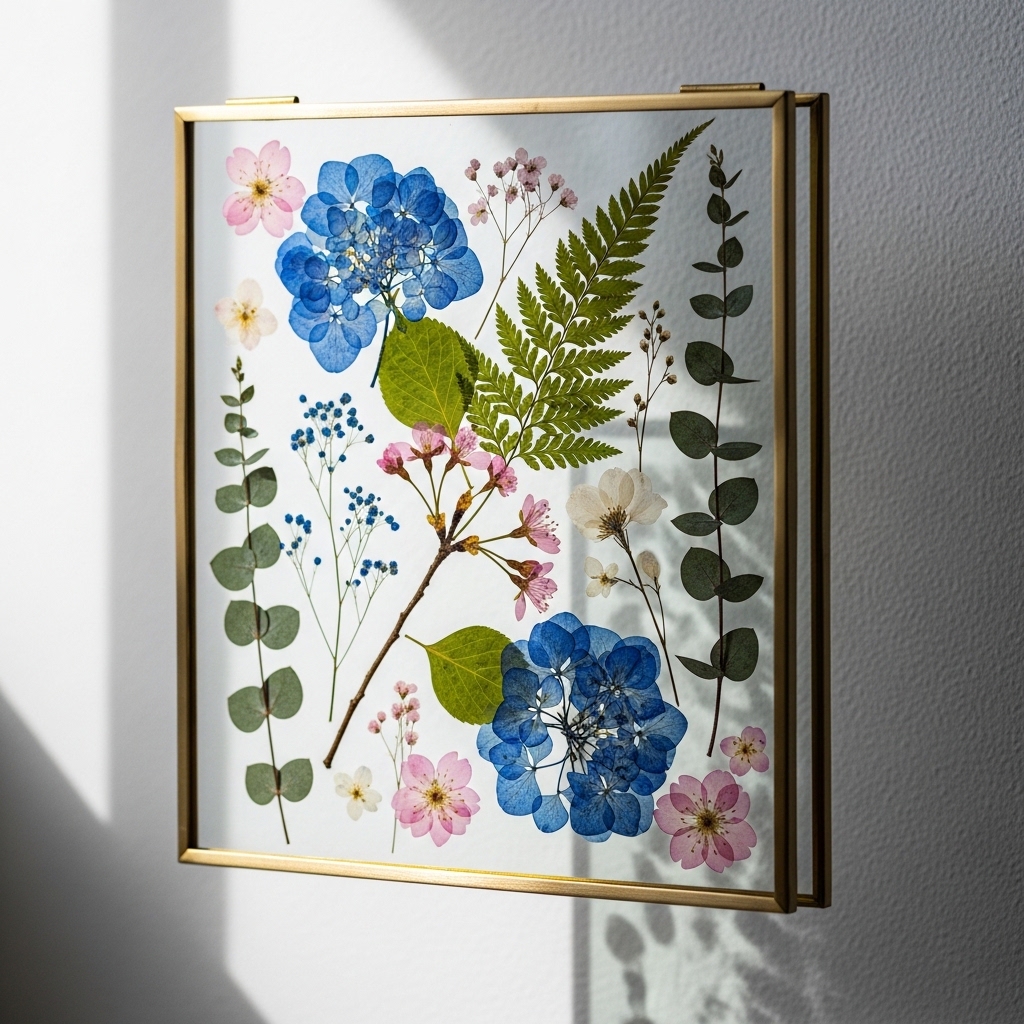
Pressed flowers preserve a moment in time. They add organic beauty to any wall.
Press flowers between book pages for two weeks. Arrange them on paper. Frame them in a floating frame. The space between the glass and the back highlights the flowers.
Pro Tip: Use flowers from your garden or a bouquet. The sentimental value adds meaning.
Mistake to Avoid: Do not use flowers that are not fully dry. Moisture will cause mold.
5. Woven Wall Hanging from Cotton Rope
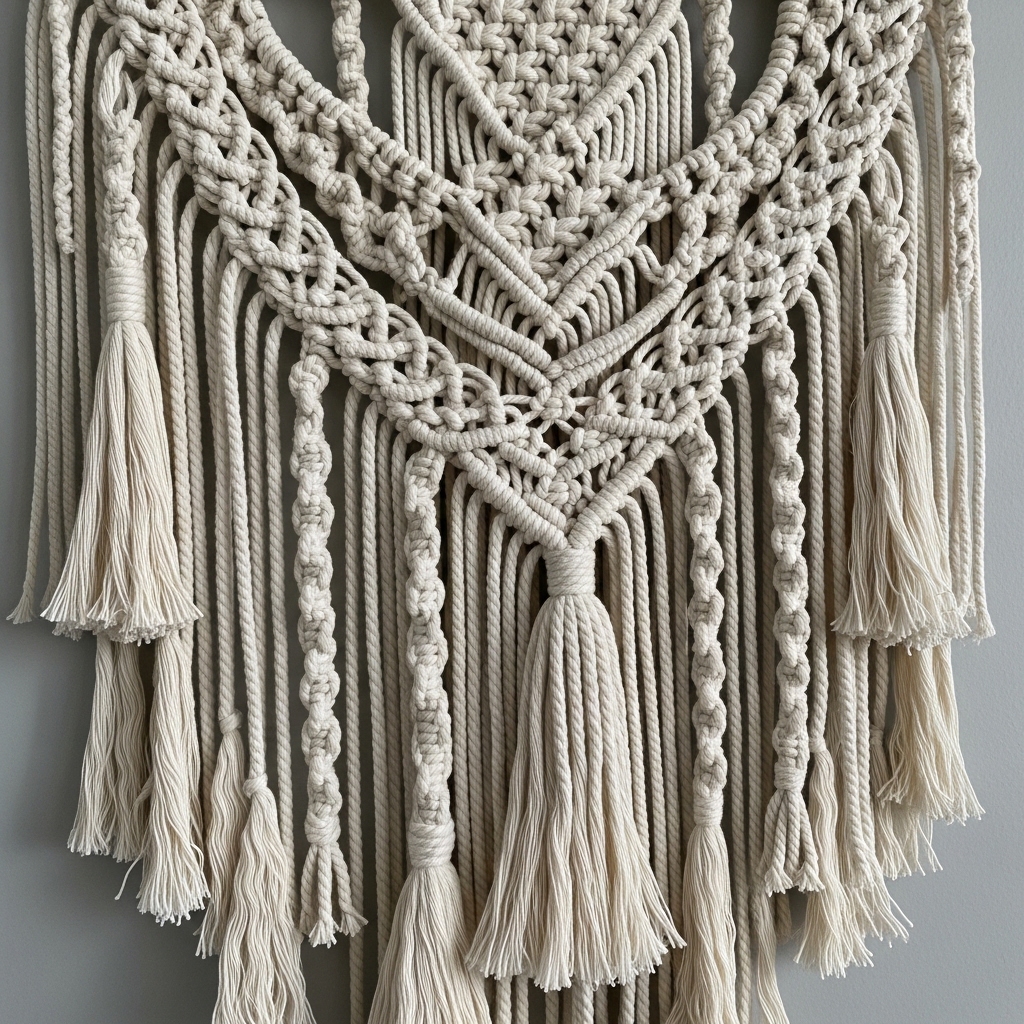
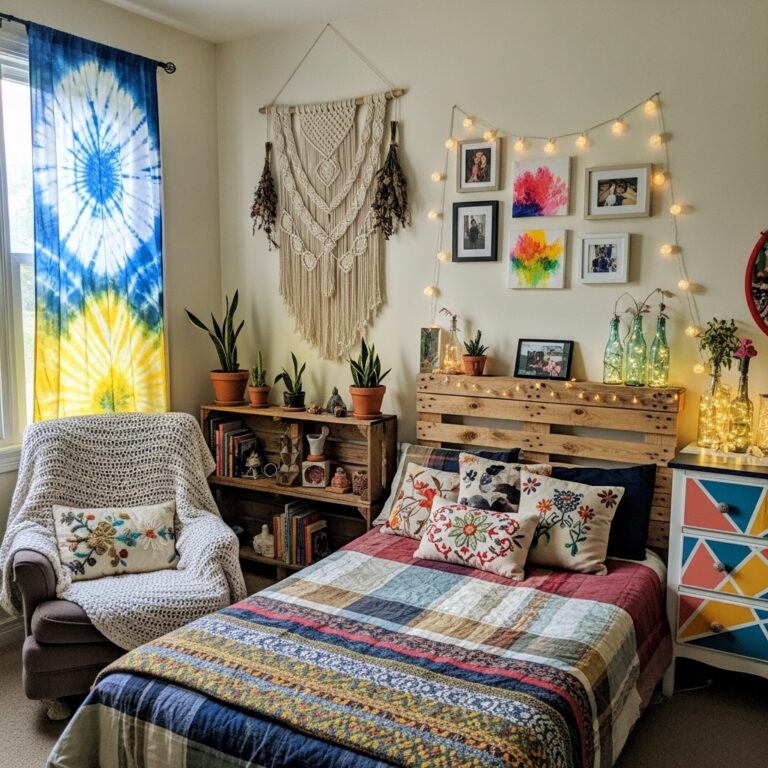
Macrame is easier than it looks. A few basic knots create a beautiful wall hanging.
Cut cotton rope to length. Tie a row of square knots. Repeat. The repetition creates the pattern.
Pro Tip: Start with a small piece. A 12-inch wide hanging is less intimidating than a large one.
Mistake to Avoid: Do not use synthetic rope. Cotton rope holds knots better and looks warmer.
6. Paint Chip Mosaic
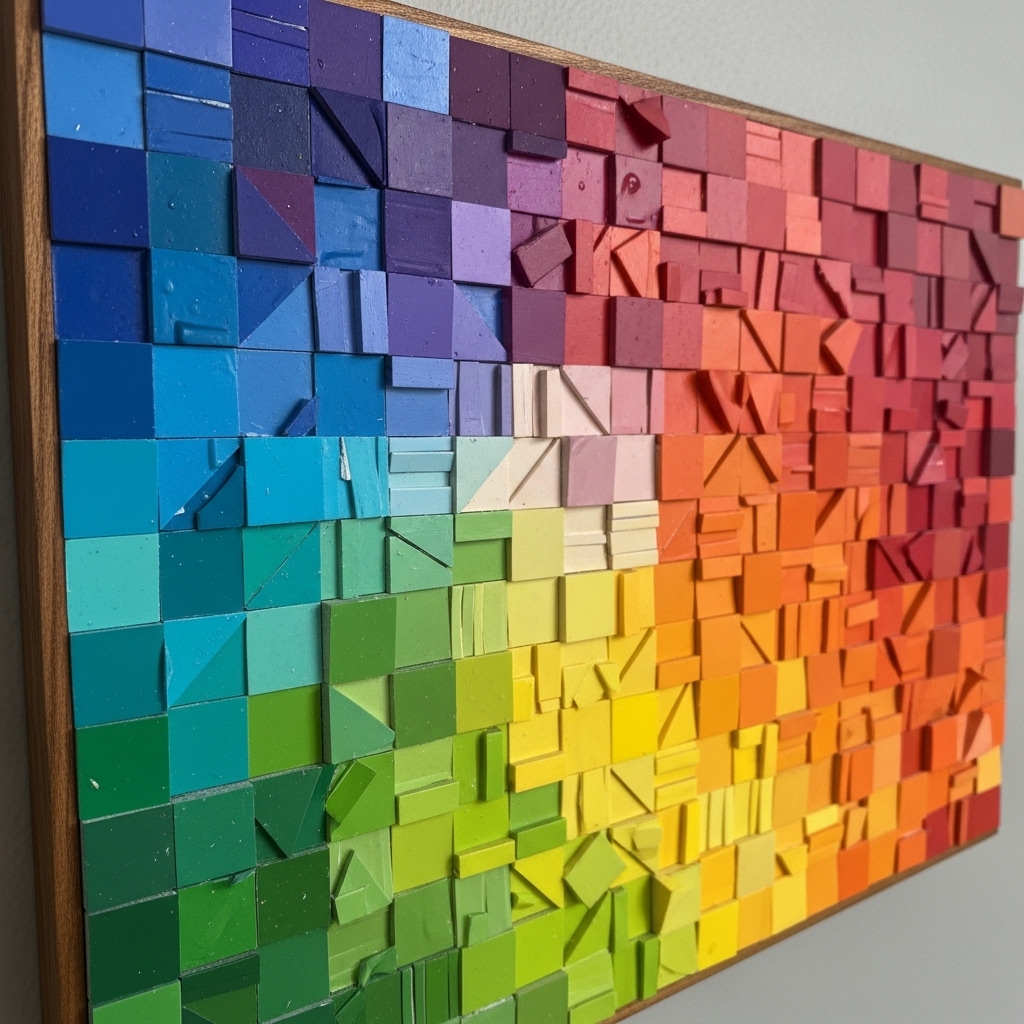
Paint chips are free. Collect them from hardware stores. Arrange them in a pattern. Frame them.
Cut the paint chips into small squares or triangles. Arrange them in a gradient. Glue them to a backing board.
Pro Tip: Use paint chips from a single color family. The gradient will be seamless.
Mistake to Avoid: Do not use chips with text on them. Cut the text off or use the back side.
7. Fabric Stretched Over Canvas
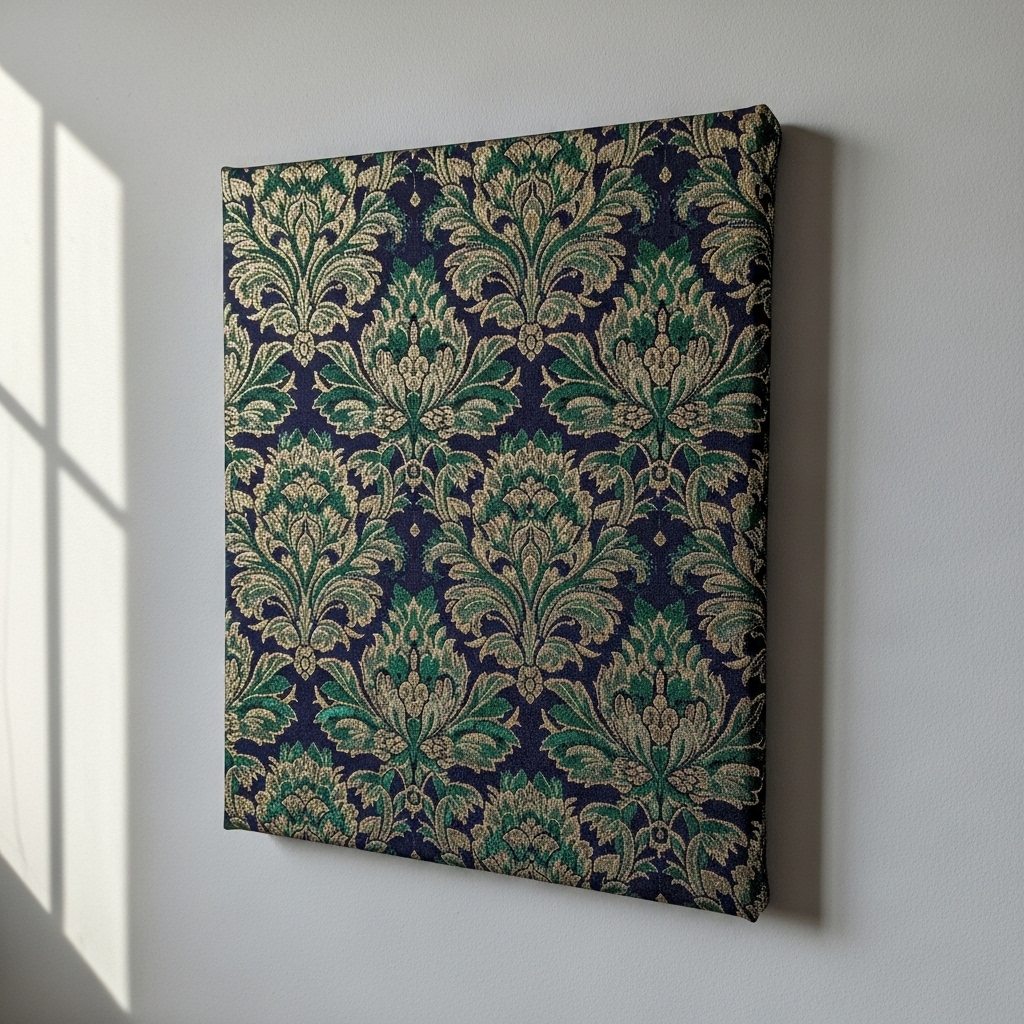
A beautiful fabric becomes art when stretched over a canvas frame. No sewing required.
Cut fabric two inches larger than the canvas on all sides. Stretch it over the frame. Staple it to the back. Trim the excess.
Pro Tip: Use linen, velvet, or ikat fabric. The texture adds richness.
Mistake to Avoid: Do not use fabric with a busy pattern. Simple patterns look more sophisticated.
8. Dried Eucalyptus in a Shadow Box
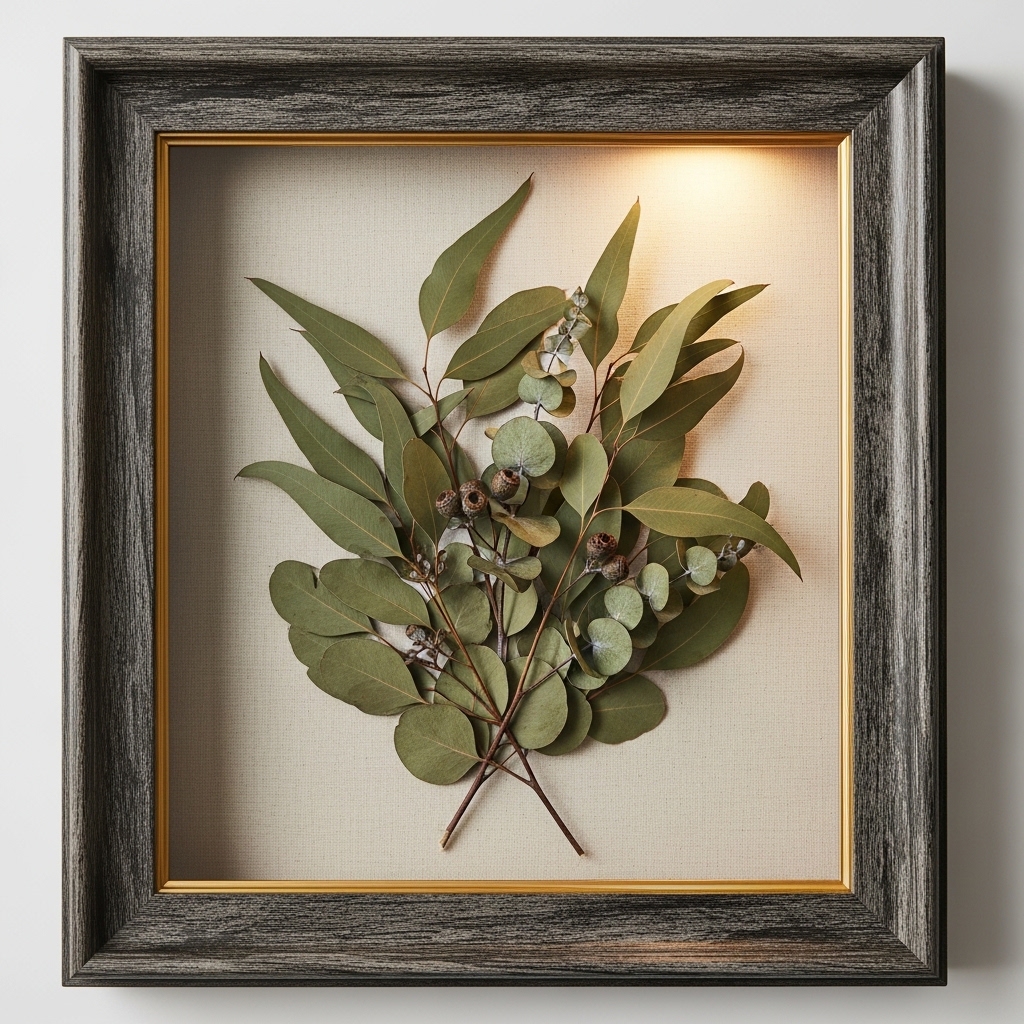
Dried eucalyptus keeps its shape and color for years. A shadow box protects it and displays it.
Arrange eucalyptus stems in a shadow box. Close the glass. Hang it on the wall. The depth of the box adds dimension.
Pro Tip: Buy dried eucalyptus online or at craft stores. Fresh eucalyptus shrinks as it dries.
Mistake to Avoid: Do not overcrowd the box. Three to five stems are plenty.
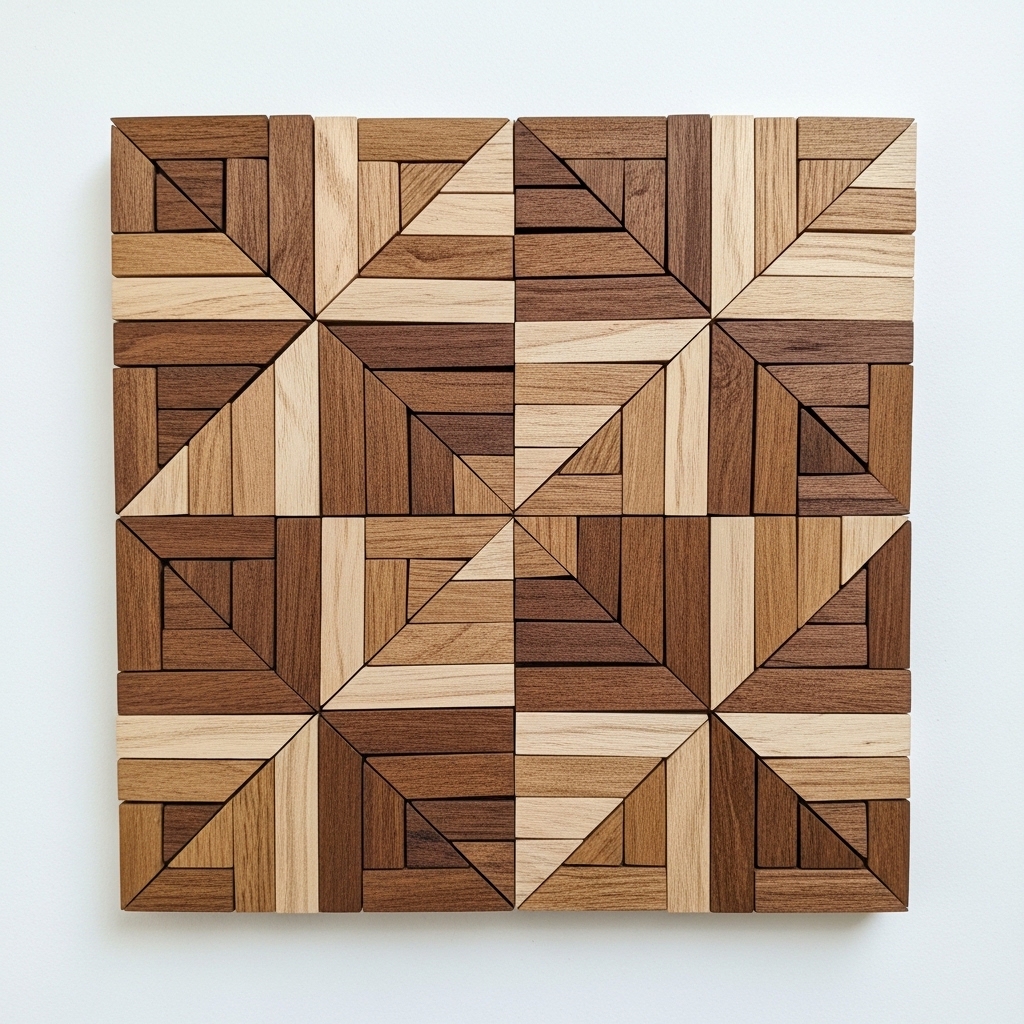
9. Painted Wood Scraps Arranged in a Pattern
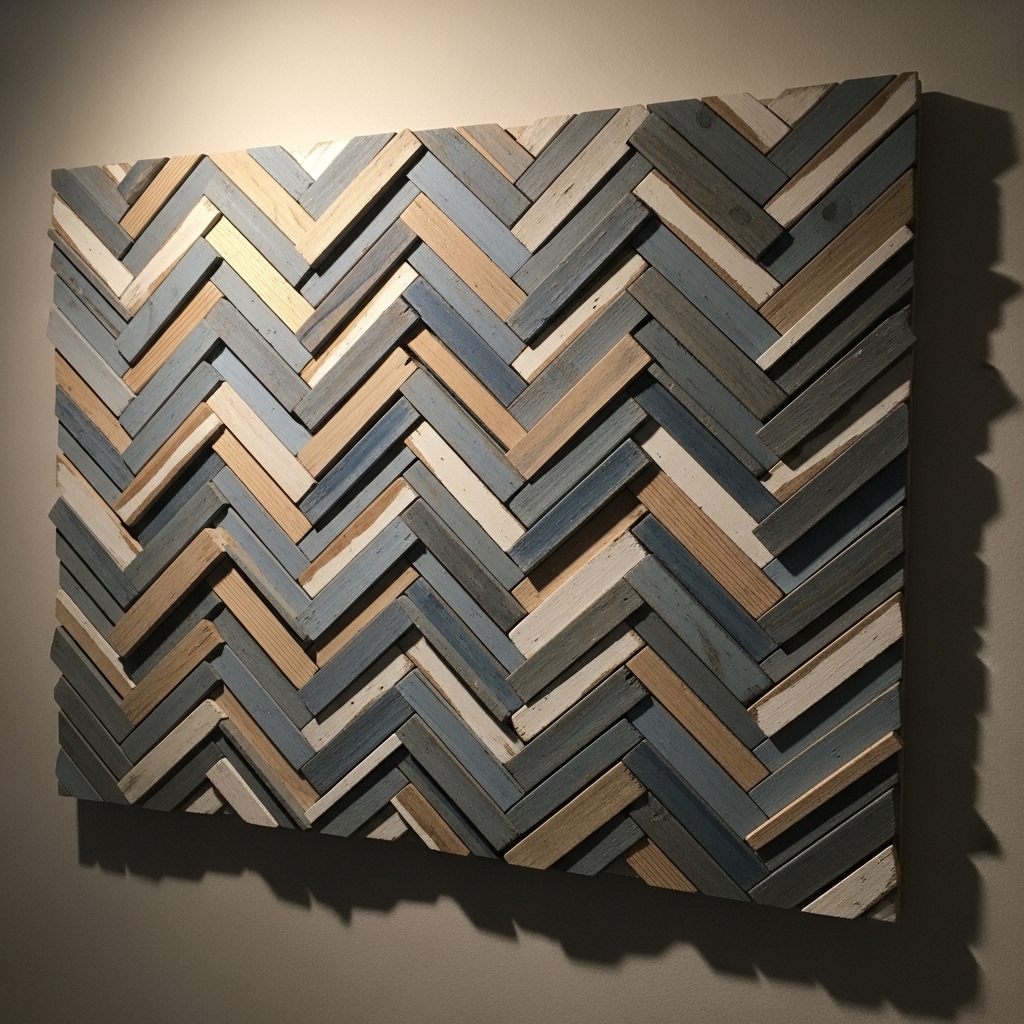
Wood scraps from building projects become art. Sand them smooth. Paint them. Arrange them on a backing board.
Cut scraps into rectangles or triangles. Paint each piece a different shade of the same color. Arrange them in a grid.
Pro Tip: Use leftover paint from other projects. The mismatched colors become intentional.
Mistake to Avoid: Do not use pieces that are different thicknesses. The surface should be flat.
10. Monogram Letter on a Wood Round
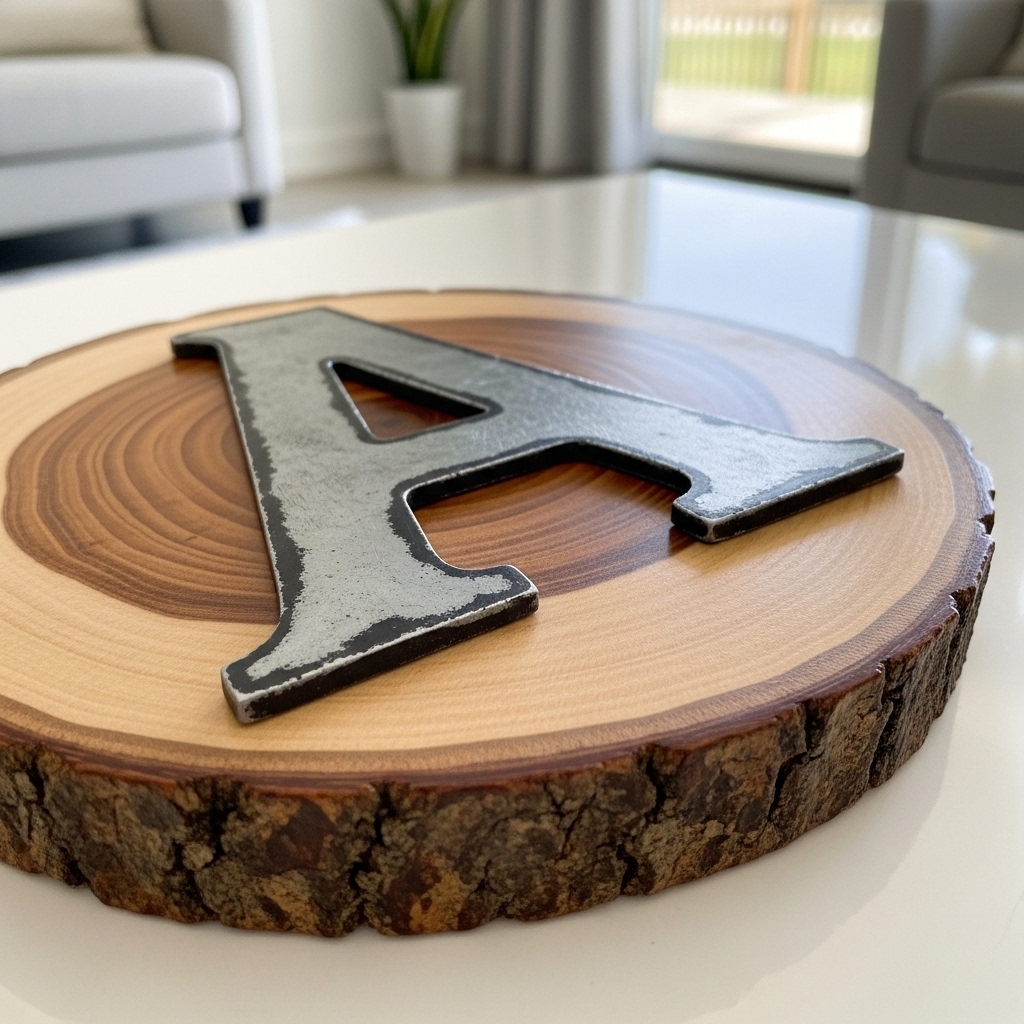
A large wooden letter mounted on a wood round is personal and graphic. It fills wall space without clutter.
Buy a wood round from a craft store. Paint or stain it. Glue a wooden letter to the center. Hang it on the wall.
Pro Tip: Use the first letter of your last name. The monogram becomes family art.
Mistake to Avoid: Do not use a letter that is too small. The letter should fill most of the round.
11. Framed Sheet Music from a Meaningful Song
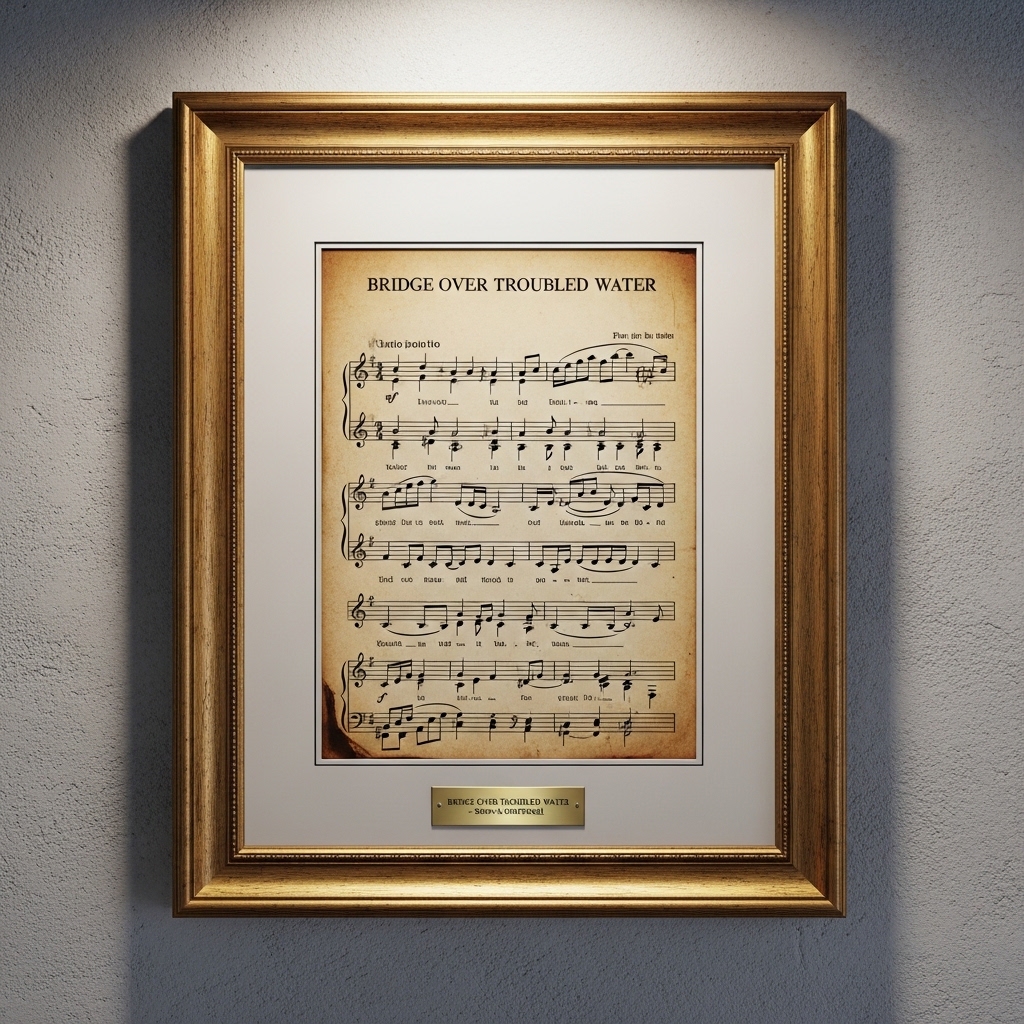
Sheet music is beautiful. The notes have rhythm. The paper has age. Frame a page from a song that matters to you.
Find sheet music at thrift stores or estate sales. Choose a song with personal meaning. Frame it in a simple frame.
Pro Tip: Use the sheet music as a mat. Place it behind a photo. The music becomes the border.
Mistake to Avoid: Do not use sheet music that is torn. The damage will distract from the beauty.
12. String Art on a Wood Board
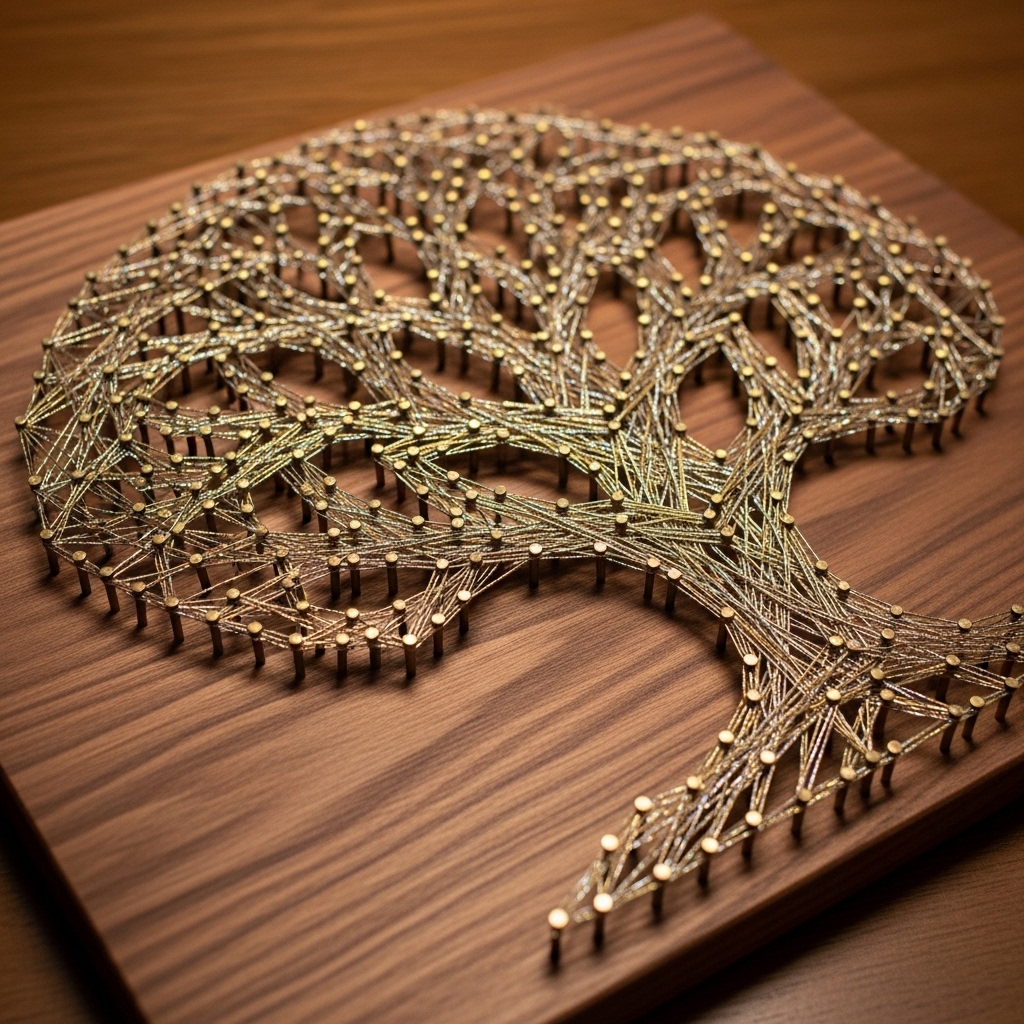
String art uses nails and thread to create shapes. The shadows add depth. The process is meditative.
Draw a shape on a wood board. Hammer nails along the outline. Wrap thread around the nails. The tension creates the pattern.
Pro Tip: Use a heart, star, or initial. Simple shapes are easier for beginners.
Mistake to Avoid: Do not use thread that is too thick. Embroidery floss works best.
13. Crayon Melt Art on Canvas
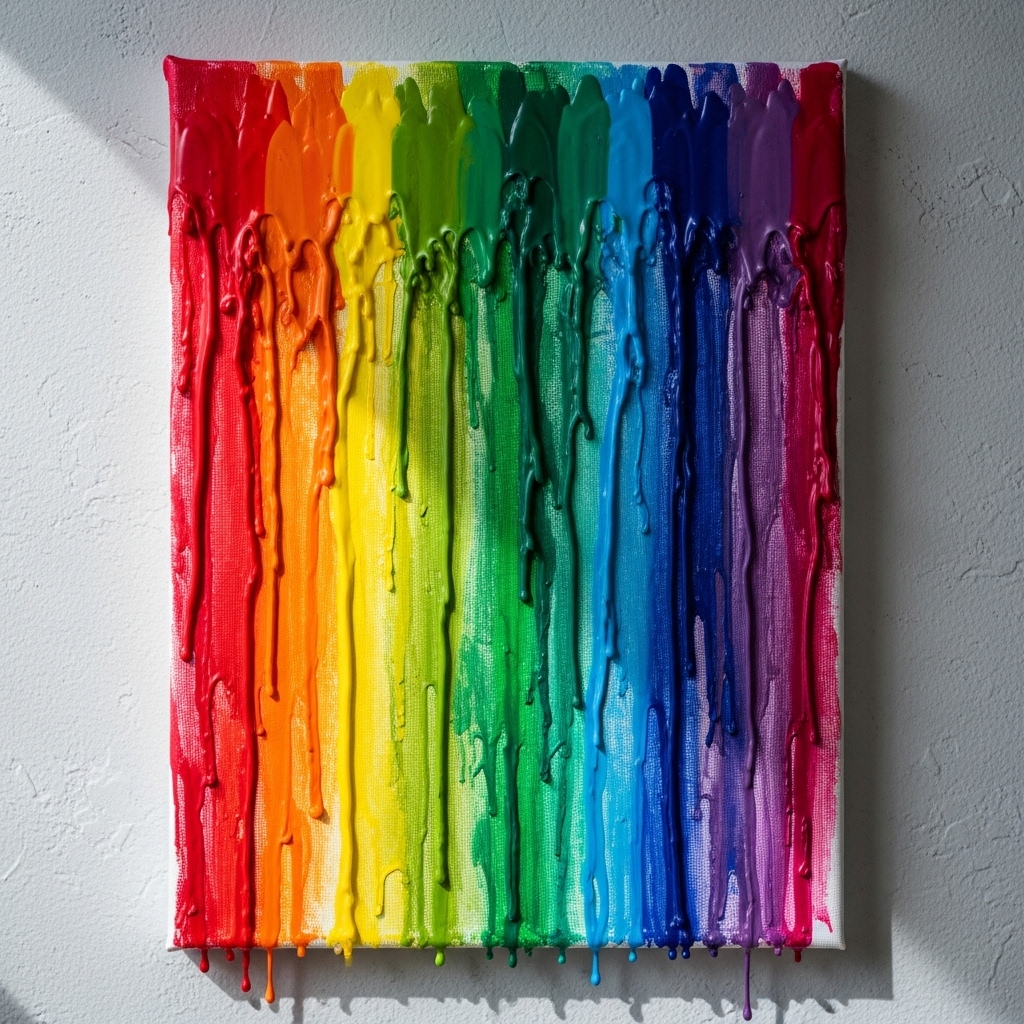
Crayons melted onto canvas create abstract color fields. The wax adds texture. The process is fun.
Glue crayons to the top of a canvas. Use a hair dryer to melt them. The wax drips down the canvas. Tilt the canvas to control the drips.
Pro Tip: Use crayons in the same color family. Blue, green, and purple. Red, orange, and yellow.
Mistake to Avoid: Do not use too many colors. Five to seven crayons is plenty.
14. Framed Postcard Collection
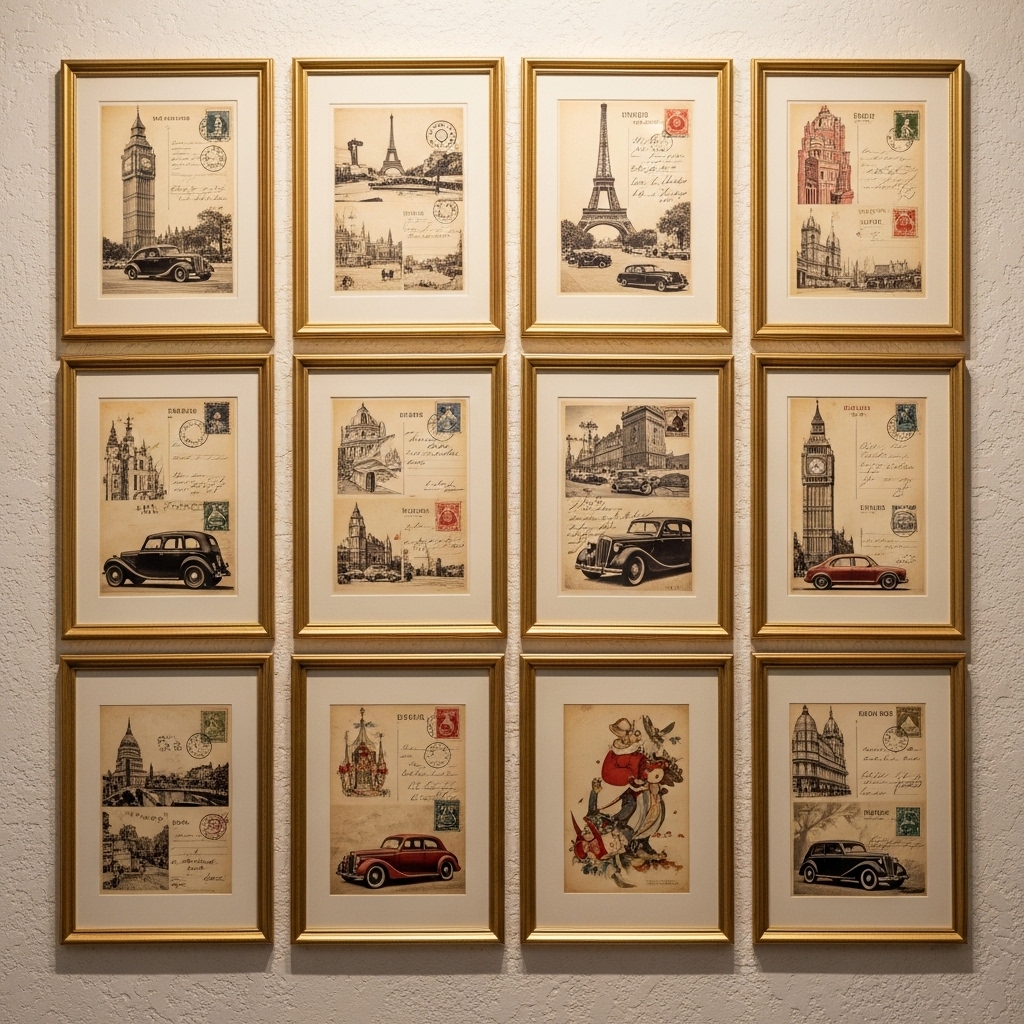
Postcards are miniature art. A collection framed together becomes a gallery.
Collect postcards from trips or museum gift shops. Arrange them in a grid. Frame them under a single piece of glass.
Pro Tip: Use postcards with a common theme. All landscapes. All architecture. All art.
Mistake to Avoid: Do not mix horizontal and vertical postcards in the same frame. Choose one orientation.
15. Leather or Felt Wall Hanging

Leather and felt add texture that paper cannot. A simple shape cut from felt becomes a wall hanging.
Cut felt or leather into a shape—a circle, a triangle, or an arch. Mount it on a wood dowel. Hang it on the wall.
Pro Tip: Use undyed leather. The natural color variation is the beauty.
Mistake to Avoid: Do not use thin felt. Thick felt (3mm or more) holds its shape better.
16. Map of a Meaningful Place Framed
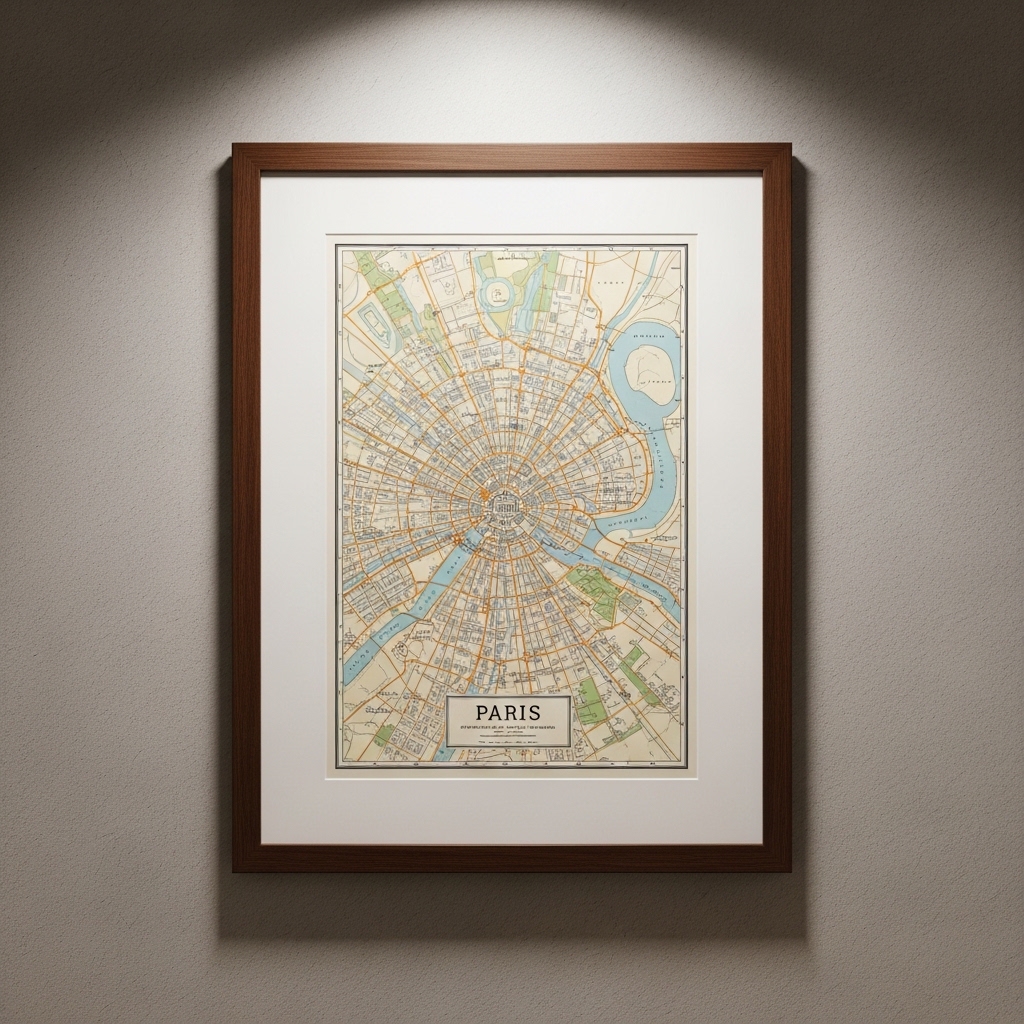
A map of a city you love. A topographical map of a mountain you climbed. A subway map from a trip.
Fold the map so the meaningful area is visible. Frame it without a mat. The edges of the paper add character.
Pro Tip: Use a map that is already worn. Creases and folds add age.
Mistake to Avoid: Do not use a map that is too busy. Simple maps read better from a distance.
17. Yarn Wall Hanging with Simple Knots
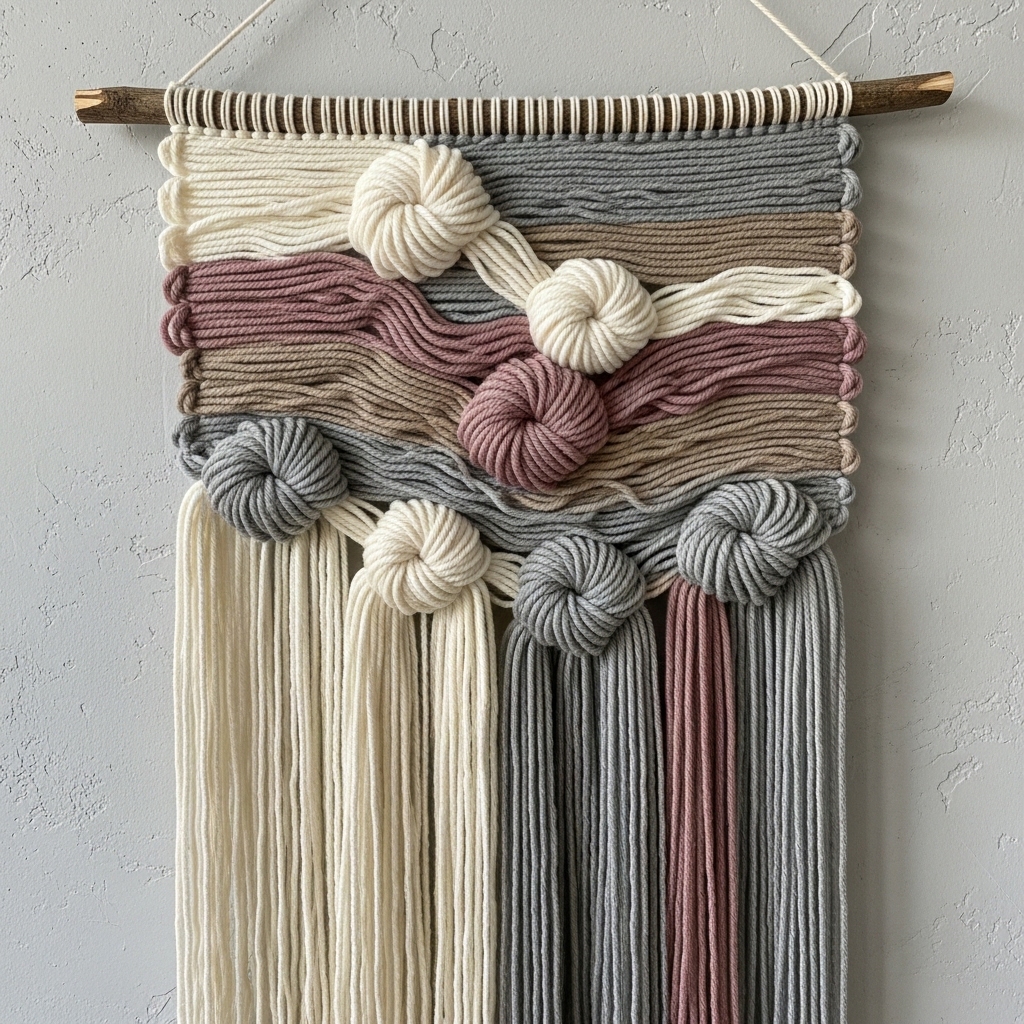
Yarn wall hangings are similar to macrame but softer. The yarn adds color and texture.
Cut lengths of yarn. Tie them to a dowel using simple knots. Trim the ends at an angle. The shape is organic.
Pro Tip: Use multiple colors of yarn. The stripes add visual interest.
Mistake to Avoid: Do not use yarn that is too thin. Thick yarn (worsted weight or heavier) has more impact.
18. Polaroid or Instant Photo Grid
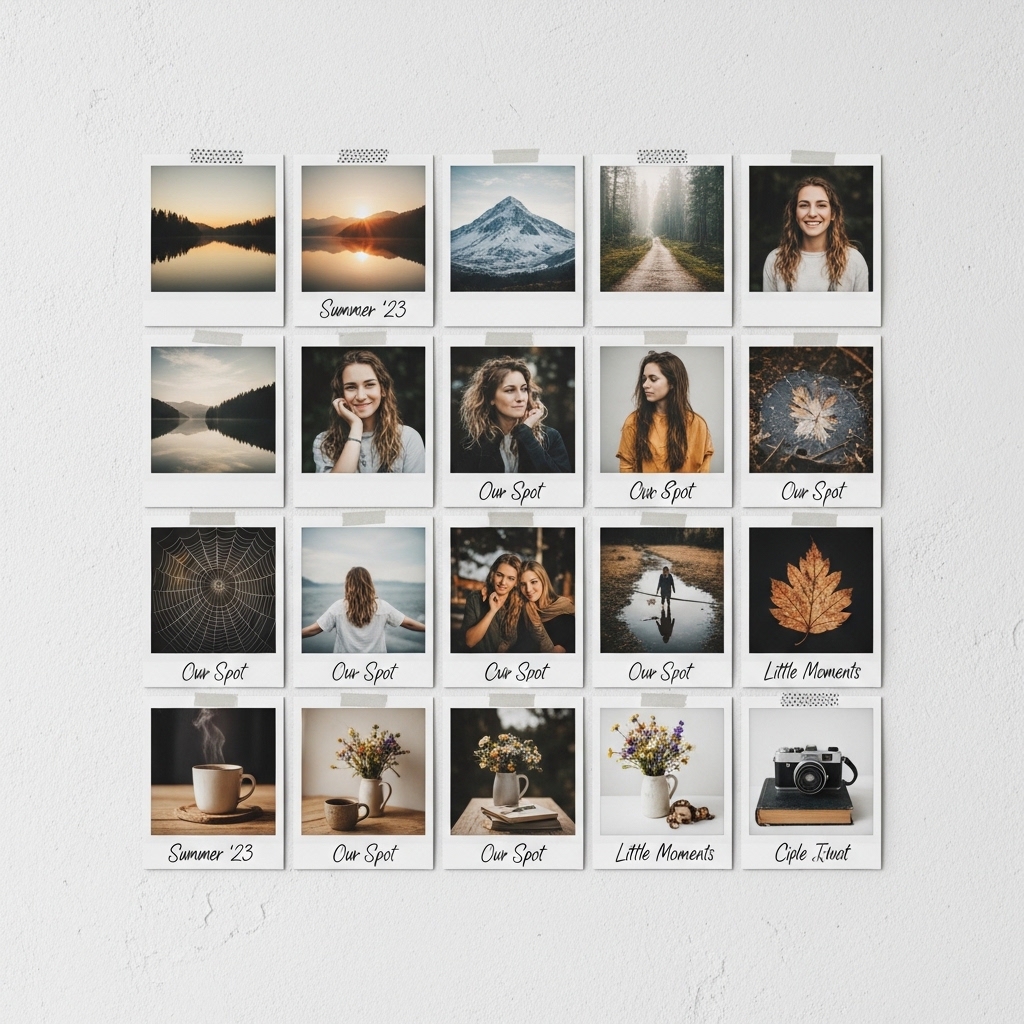
Instant photos have a white border that acts as a built-in mat. A grid of them is graphic and personal.
Take photos of your home, your family, or your neighborhood. Arrange them in a grid on a large piece of paper. Frame the whole grid.
Pro Tip: Use a consistent subject. All doors. All windows. All chairs. The theme creates cohesion.
Mistake to Avoid: Do not use photos that are overexposed or blurry. Quality matters.
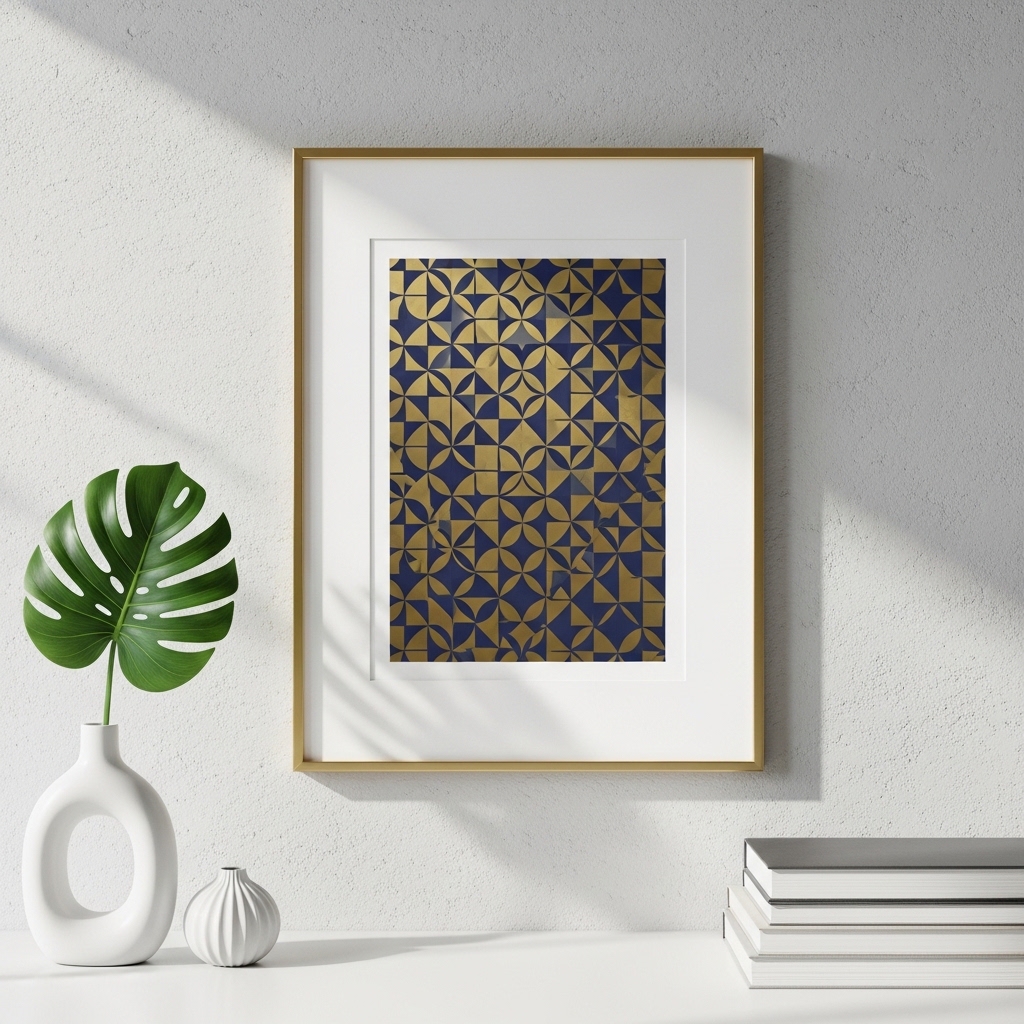
19. Stamped Clay Tiles

Air-dry clay is inexpensive. Roll it flat. Cut it into tiles. Stamp patterns into the clay. Let it dry. Paint it.
Use a rubber stamp or carve your own. Press the stamp into the clay before it dries. Paint the tiles after they dry.
Pro Tip: Arrange tiles in a grid. The repetition creates a pattern.
Mistake to Avoid: Do not make tiles that are too thick. 1/4 inch is ideal.
20. A Single Large Canvas Painted One Color
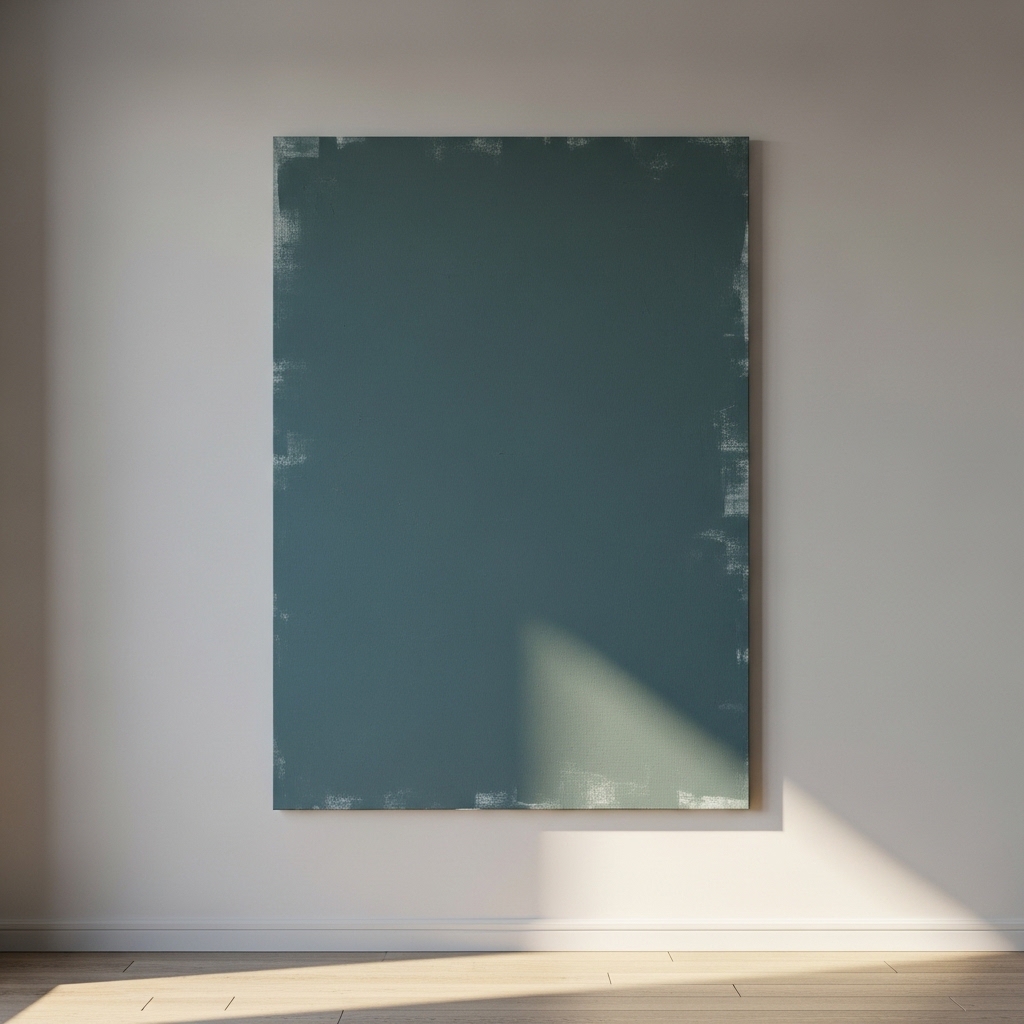
A canvas painted one color is minimalist. It is also intentional. The color becomes the art.
Buy a large canvas. Paint it one color. Use a roller for a smooth finish. Hang it on the wall. Nothing else.
Pro Tip: Choose a color that is already in the room. The canvas will blend with the decor.
Mistake to Avoid: Do not use white paint on a white wall. The canvas will disappear.
Frequently Asked Questions
What is the easiest DIY wall art for beginners?
Framed wrapping paper. Buy a frame. Buy wrapping paper. Cut the paper to size. Place it in the frame. Hang it. Five minutes. No skill required.
How can I make DIY wall art look expensive?
Use large frames. Use mats. Use simple colors. Avoid clutter. One large piece looks more expensive than several small pieces.
Where can I find cheap frames?
Thrift stores. Frames cost $2-5. Paint mismatched frames the same color. The uniformity creates a collected look.
What tools do I need for DIY wall art?
A hammer. Nails. A level. Scissors. Glue. Paintbrushes. Most projects require only basic tools.
Conclusion
DIY wall art costs a fraction of store-bought pieces. It is also more personal. Abstract canvas with two colors. Framed wrapping paper. Watercolor wash. Pressed flowers. Woven wall hanging. Paint chip mosaic. Fabric stretched over canvas.
Start with one project today. Frame a piece of wrapping paper. Stretch fabric over a canvas. Paint a single color on a large canvas. The wall will feel more personal. The room will feel more complete. And no one will know you made it yourself.