17 Desk Setup Ideas That Transform Your Workspace into a Productivity Powerhouse
Your desk setup directly impacts how you feel and perform during every single workday. A poorly arranged desk leads to neck pain, eye strain, and constant distractions.
The right setup makes work feel easier. Tasks flow. Energy stays high. Focus comes naturally. You do not need expensive equipment to create an ergonomic, efficient workspace.
Small changes to your desk layout can transform your entire work experience. This guide delivers 17 desk setup ideas that transform your workspace into a productivity powerhouse. From monitor placement to cable management, each idea improves your daily workflow.
1. Position Your Monitor at the Correct Height
Use this idea when your neck aches after every workday and you cannot figure out why.
Place your monitor so the top of the screen is at or slightly below your eye level.
Your eyes should look slightly downward at the center of your screen. Your neck stays neutral.
A monitor that is too low makes you look down. Too high makes you look up. Both strain your neck.
Pro Tip: Use monitor risers or stacked books to raise a monitor that is too low. Remove the stand to lower a monitor that is too high.
Mistake to Avoid: Do not position your monitor off to one side. The center of your screen should align with the center of your body.
2. Keep Your Monitor at Arm’s Length Away
Choose this approach when you squint at your screen or lean forward to read text.
Position your monitor approximately an arm’s length away from your seated position.
Extend your arm toward the screen. Your fingertips should just touch the screen surface.
Screens too close strain your eyes. Screens too far make you lean forward and strain your back.
Pro Tip: Increase font size instead of moving your screen closer. Larger text is better for your eyes than sitting too close.
Mistake to Avoid: Do not push your monitor against the wall if your desk is shallow. Your screen needs to come closer to you.
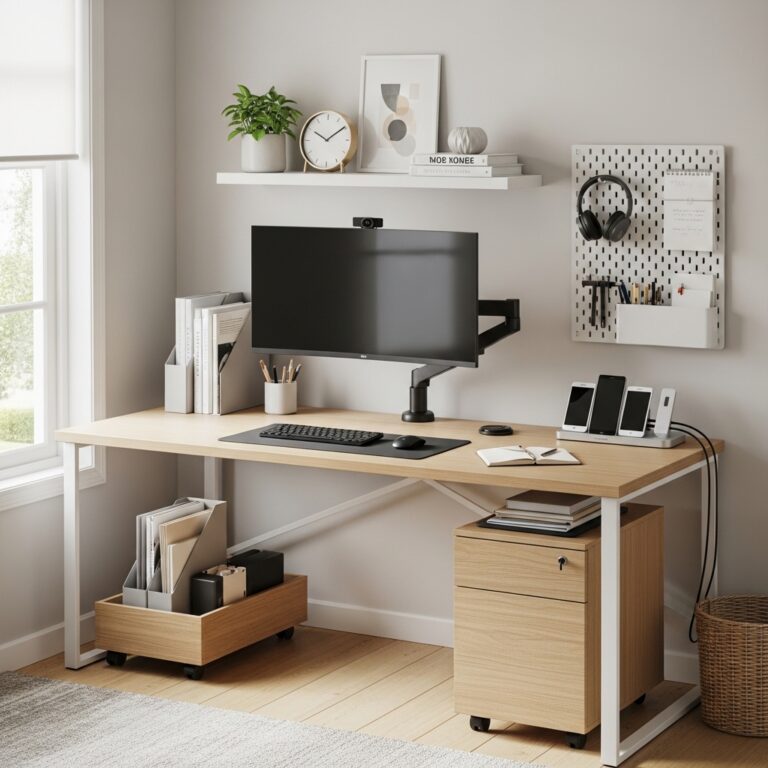
3. Use a Monitor Arm for Perfect Positioning
Apply this method when your monitor’s default stand does not allow enough adjustment.
Mount your monitor on an adjustable arm that clamps to the back of your desk.
You adjust height, tilt, and rotation with one hand. Your screen goes exactly where you need it.
Default monitor stands are limited. An arm gives you infinite positioning possibilities.
Pro Tip: Choose a gas spring arm. Gas springs let you adjust your screen height with a single finger.
Mistake to Avoid: Do not buy an arm that cannot support your monitor’s weight. Check the weight rating before purchasing.
4. Position Your Keyboard for Straight Wrists
Use this strategy when your wrists ache after typing or you wake up with numb fingers.
Place your keyboard so your elbows form a 90-degree angle and your wrists stay straight.
Your hands should float above the keyboard, not bend up or down at the wrist.
Bent wrists compress nerves and cause repetitive strain injuries over time.
Pro Tip: Use a keyboard tray if your desk is too high. A tray lowers your keyboard to the correct height.
Mistake to Avoid: Do not use the flip-out feet on your keyboard. Flat keyboards are better for wrist alignment than angled ones.
5. Keep Your Mouse Within Close Reach
Choose this approach when you reach or stretch for your mouse throughout the day.
Place your mouse directly next to your keyboard, no more than a few inches away.
Your mouse hand should move from the keyboard without stretching your shoulder forward.
Reaching for your mouse strains your shoulder and neck over thousands of repetitions daily.
Pro Tip: Use a tenkeyless keyboard (no number pad). A smaller keyboard keeps your mouse closer to your body.
Mistake to Avoid: Do not use a mouse pad that is too large. Large pads encourage you to place your mouse too far away.
6. Use a Wrist Rest for Keyboard and Mouse
Apply this method when your wrists rest on the hard desk edge while typing.
Place gel or memory foam wrist rests in front of your keyboard and mouse.
Your wrists rest on soft material instead of hard plastic or wood desk edges.
Hard surfaces compress the nerves in your wrists. Wrist rests reduce that pressure.
Pro Tip: Choose wrist rests that are the same height as your keyboard’s front edge. Matching heights create a smooth transition.
Mistake to Avoid: Do not use wrist rests while actively typing. Rest your wrists only during pauses. Move your whole arm to type.
7. Position Your Chair at the Correct Height
Use this idea when your thighs press against your desk or your feet dangle above the floor.
Adjust your chair height so your feet rest flat on the floor and your thighs are parallel to the floor.
Your knees should be at a 90-degree angle or slightly open. No pressure behind your knees.
Wrong chair height causes back pain, leg numbness, and poor circulation throughout your day.
Pro Tip: Use a foot rest if your chair cannot go low enough. A foot rest gives your feet a flat surface even if your chair is too tall.
Mistake to Avoid: Do not raise your chair so high that your elbows are above your keyboard. Elbows should be level with or slightly above your keyboard.
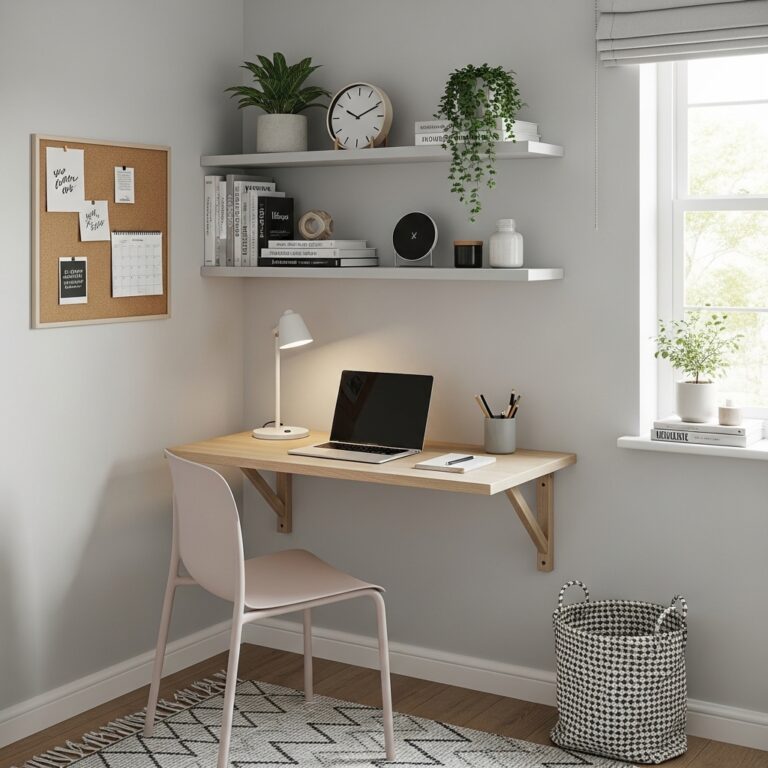
8. Use a Laptop Stand with External Keyboard
Choose this approach when you work from a laptop and your neck hurts constantly.
Place your laptop on a stand that elevates the screen to eye level.
Add a separate wireless keyboard and mouse. Your hands stay low. Your eyes stay level.
Looking down at a laptop screen destroys your posture. An elevated screen saves your neck.
Pro Tip: Choose a foldable laptop stand. The stand folds flat and slides into your bag when you travel.
Mistake to Avoid: Do not use a laptop stand without an external keyboard. Typing on an elevated laptop strains your wrists.
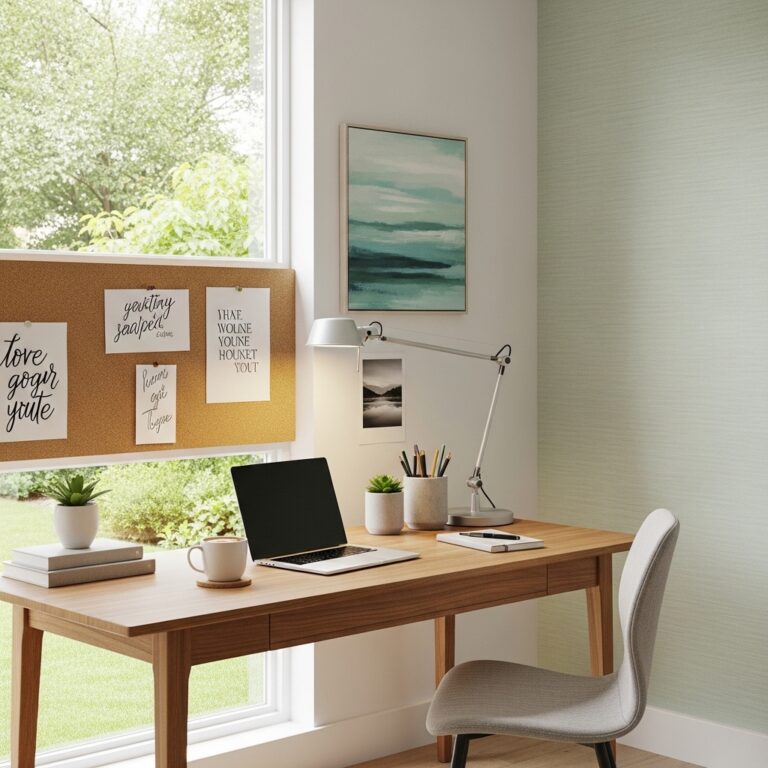
9. Position Your Desk Perpendicular to a Window
Apply this method when glare on your screen forces you to close your blinds.
Place your desk at a 90-degree angle to your window. The window is to your side.
Natural light enters from the side. No glare on your screen. No squinting.
Facing a window creates glare on your screen. Having the window behind you creates backlight glare.
Pro Tip: Use sheer curtains to diffuse harsh direct sunlight. Diffused light provides illumination without glare.
Mistake to Avoid: Do not place your desk directly under a ceiling light. Overhead light creates shadows on your work surface.
10. Use a Desk Lamp with Adjustable Color Temperature
Use this strategy when your room lighting is either too harsh or too dim.
Place an adjustable desk lamp on your desk. Choose one with variable color temperature.
Use cool white light (5000K) for focused afternoon work. Use warm light (2700K) for evening tasks.
One light temperature cannot serve every task. Adjustable lamps give you options.
Pro Tip: Position your desk lamp so it lights your keyboard, not your screen. Light on your screen creates glare.
Mistake to Avoid: Do not use a lamp that reflects off your monitor. Angle the light away from your screen.
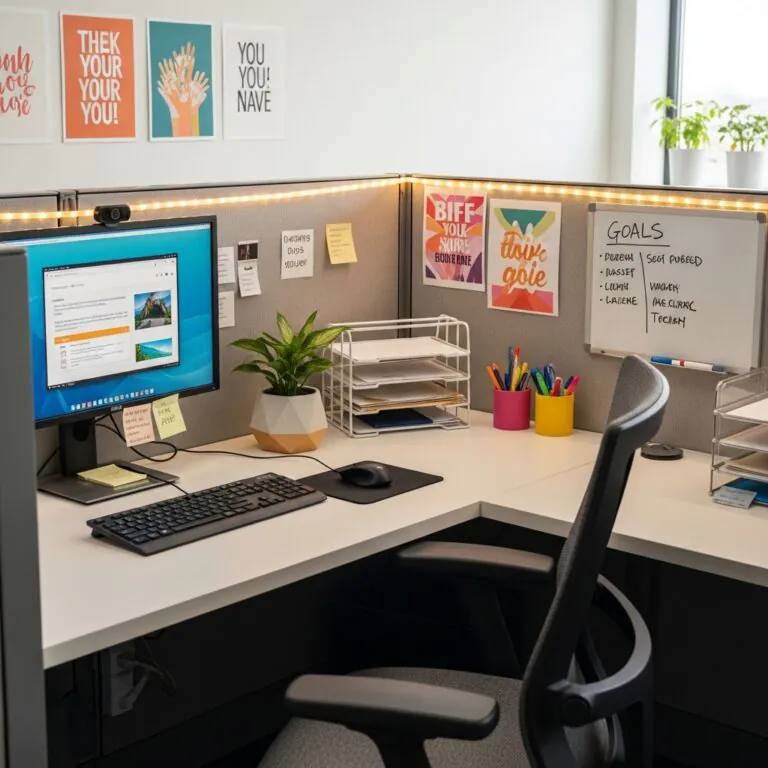
11. Keep Frequently Used Items Within Arm’s Reach
Choose this approach when you constantly get up to grab pens, notebooks, or your phone.
Arrange your desk so everything you use daily is within your seated arm’s reach.
Phone on the left. Pens in a holder. Notebook to the right. Water bottle behind your keyboard.
Every time you reach for an item, you interrupt your focus. Keep everything close to stay in flow.
Pro Tip: Use a desk organizer with compartments. Pens, sticky notes, paper clips, and earbuds each have a dedicated spot.
Mistake to Avoid: Do not keep your phone face up on your desk. Turn it face down to reduce notification distractions.
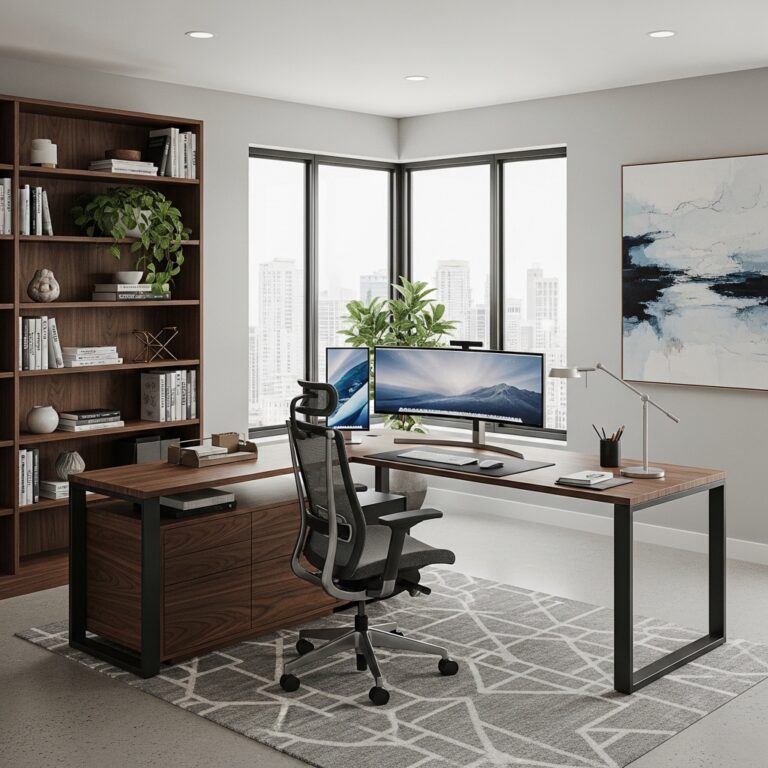
12. Use a Dual Monitor Setup with Correct Alignment
Apply this method when you constantly alt-tab between windows and lose your place.
Set up two monitors side by side. Place your primary monitor directly in front of you.
Position your secondary monitor to the side, angled toward your face. Both screens at the same height.
Monitors at different heights force your neck to tilt. Matching heights keep your neck neutral.
Pro Tip: Use a dual monitor arm. One arm holds both screens and keeps them perfectly aligned.
Mistake to Avoid: Do not place your secondary monitor above your primary monitor. Looking up strains your neck more than looking side to side.
13. Use a Cable Management Tray Under Your Desk
Use this idea when a tangled mess of cords lives under your desk and drives you crazy.
Attach a cable management tray to the underside of your desk. Route all cords through the tray.
Your feet no longer kick a spaghetti mess of wires. Vacuuming becomes possible again.
Cable chaos looks unprofessional and creates dust traps. Organized cables look clean and reduce fire hazards.
Pro Tip: Label both ends of every cable with a small sticker. You know exactly which cord belongs to which device.
Mistake to Avoid: Do not bundle power cords and data cables together. Electrical interference can slow your internet connection.
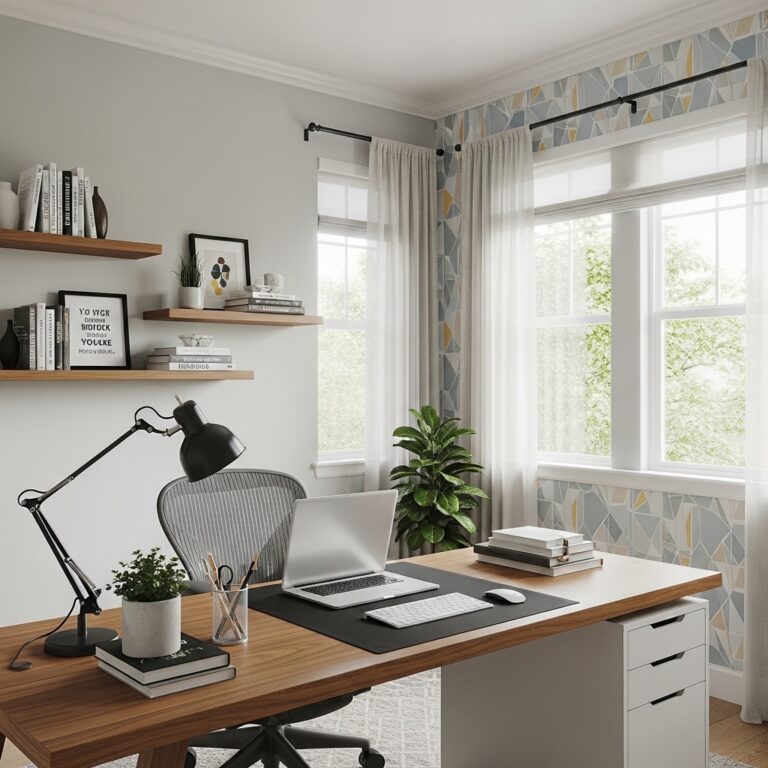
14. Use a Large Desk Pad to Define Your Work Zone
Choose this approach when your desk surface feels like a cluttered free-for-all.
Place a large leather or felt desk pad in the center of your desk. Keep your keyboard, mouse, and notebook on it.
The pad visually defines your active work zone. Items off the pad are waiting to be filed or put away.
An open desk without zones feels chaotic. A desk pad creates boundaries that your brain understands as “work area.”
Pro Tip: Choose a pad in a contrasting color to your desk. Dark pad on a light desk creates clear visual separation.
Mistake to Avoid: Do not buy a pad that is too small. Your keyboard and mouse should fit entirely on the pad with room to spare.
15. Add a Small Plant Within Your Sight Line
Apply this method when your workspace feels sterile and disconnected from nature.
Place a small low-maintenance plant on your desk within your peripheral vision.
The plant adds life, color, and humidity to your workspace. Greenery reduces stress and boosts creativity.
A desk without plants feels dead. A small plant brings nature into your daily work routine.
Pro Tip: Choose a succulent or a snake plant. These plants thrive on neglect and need water only every few weeks.
Mistake to Avoid: Do not place a plant directly in front of your monitor. The plant should be off to the side, not blocking your screen.
16. Use a Document Holder at Monitor Height
Use this strategy when you constantly look down at papers then back up at your screen.
Place a vertical document holder next to your monitor at the same height as your screen.
Your papers sit at eye level. You look side to side instead of up and down.
Looking down at papers strains your neck. An elevated document holder keeps your neck neutral.
Pro Tip: Use a clear acrylic document holder. Clear holders disappear visually and keep your focus on the paper, not the holder.
Mistake to Avoid: Do not place your document holder on the opposite side of your dominant hand. Right-handed people should place holders on the right.
17. Keep Your Desk Surface at 70 Percent Empty
Choose this approach when your desk is covered with items and you have no room to work.
Clear your desk so only your monitor, keyboard, mouse, and one personal item remain.
Seventy percent of your desk surface should be empty. Empty space gives you room to work.
A cluttered desk clutters your mind. An empty desk gives your brain space to think.
Pro Tip: Use drawers, shelves, or wall storage for everything that does not belong on your desk surface.
Mistake to Avoid: Do not use your desk as permanent storage. Your desk is a workspace, not a shelf. Clear it daily.
Conclusion
Your desk setup is the foundation of your productivity and physical comfort.
The 17 ideas above prove that small changes to your arrangement can transform your workday.
Position your monitor at the correct height for a neutral neck. Keep your monitor at arm’s length away.
Use a monitor arm for perfect positioning. Position your keyboard for straight wrists.
Keep your mouse within close reach. Use wrist rests for keyboard and mouse comfort.
Position your chair at the correct height for proper posture. Use a laptop stand with an external keyboard.
Position your desk perpendicular to a window to avoid glare. Use a desk lamp with adjustable color temperature.
Keep frequently used items within arm’s reach. Use a dual monitor setup with correct alignment.
Use a cable management tray under your desk to banish cord chaos. Use a large desk pad to define your work zone.
Add a small plant within your sight line for stress reduction. Use a document holder at monitor height.
Keep your desk surface at 70 percent empty for mental clarity and room to work.
Start with one idea that solves your biggest pain point. Implement it today.
Then add another idea next week. Your body and your productivity will thank you.
You deserve a workspace that supports your best work. Take back your desk starting now.