20 DIY Mosaic Art Ideas That Transform Broken Ceramics, Glass, and Found Objects Into Treasure
Upcycled Mosaic Crafts | Zero-Waste Art Projects | Handmade Home Decor on a Budget
There is something deeply satisfying about taking a broken plate and turning it into something beautiful. The pieces no longer serve their original purpose. But they are not trash. They are potential.
Mosaic art is the ultimate upcycling craft. It asks nothing of you except patience and a willingness to see beauty in fragments. The cracks become the design. The gaps become the rhythm. The irregular edges become the charm.
This guide delivers 20 DIY mosaic art ideas that use materials you already own or can find for free. Broken dishes. Beach glass. Scrap tiles. Vintage buttons. Each project breathes new life into discarded objects.
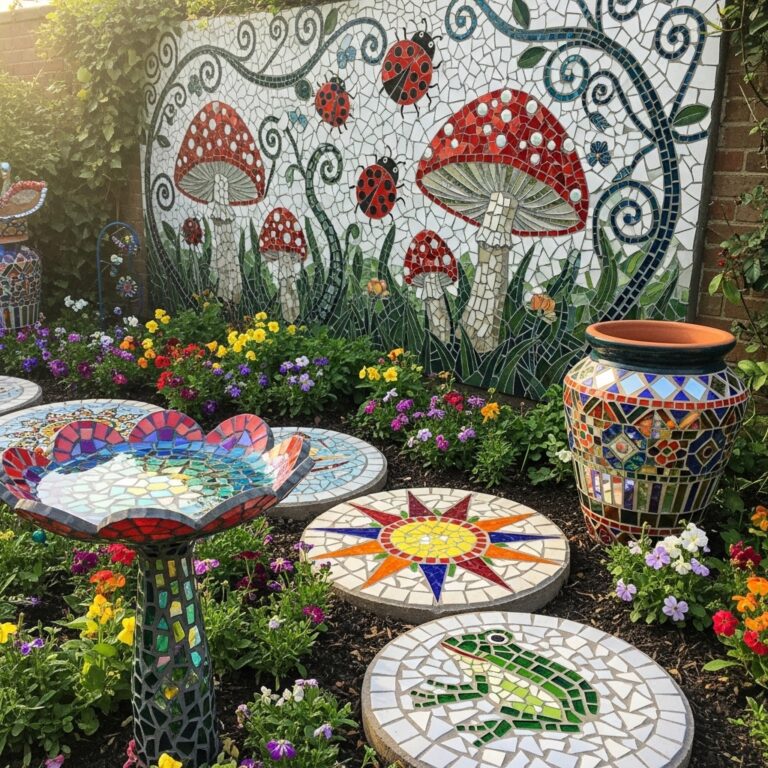
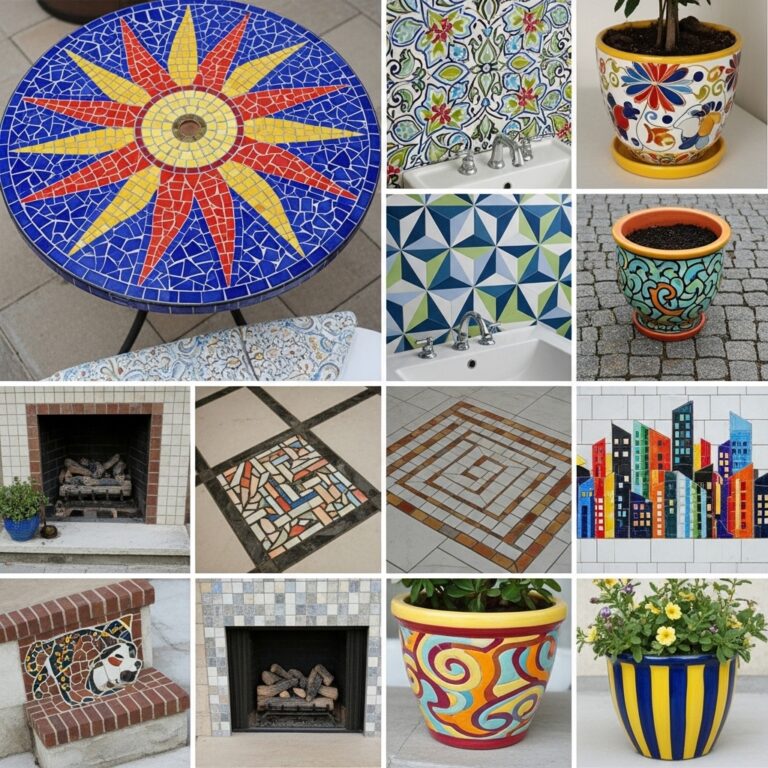
1. Mosaic Flower Pot Using Broken Dinnerware
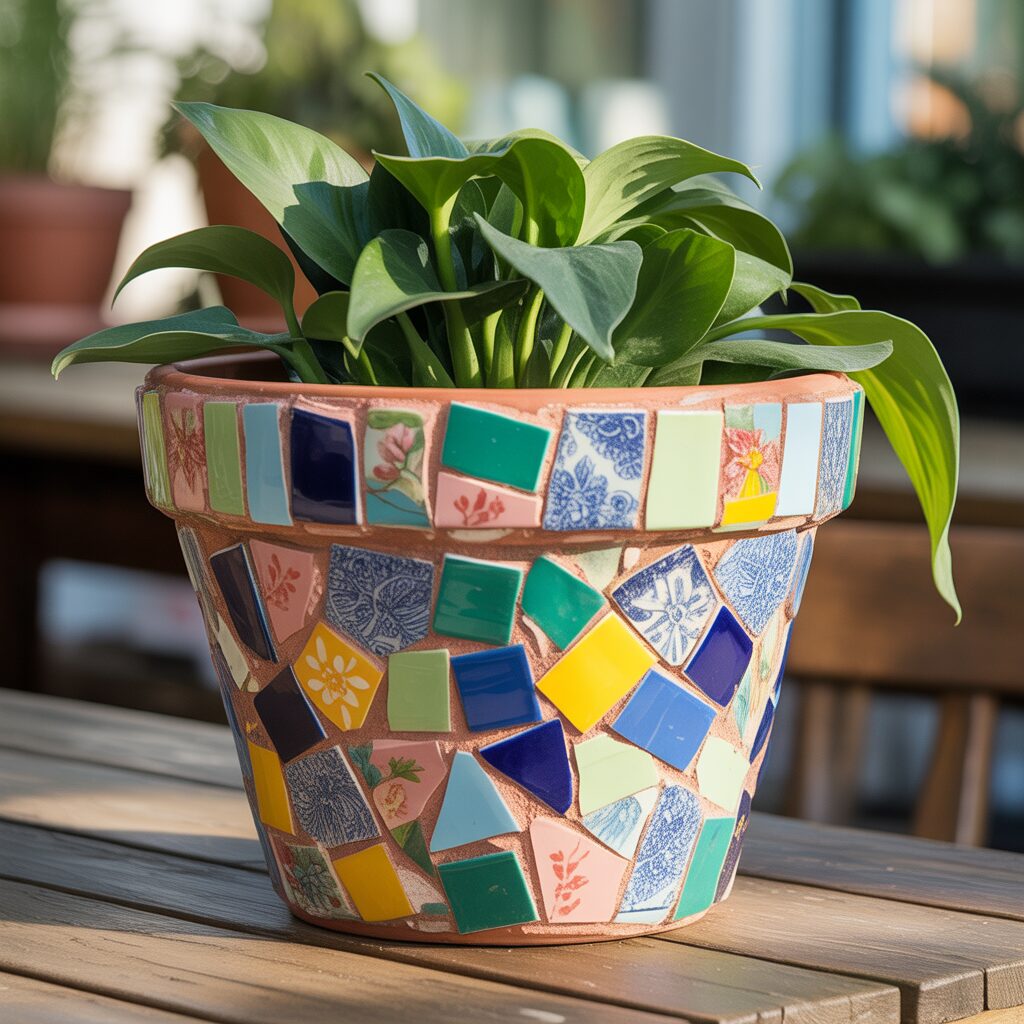
That chipped plate at the bottom of the stack has one last life to live. Break it into shards. Adhere them to a plain terracotta pot. The floral patterns become abstract when fragmented.
Use outdoor adhesive for planters that live outside. Leave small gaps between shards. Grout in a contrasting color to make each piece stand out.
Pro Tip: Sort shards by color before gluing. The prep work makes the assembly faster.
Mistake to Avoid: Do not use a pot with drainage holes directly in the center. The grout will crack.
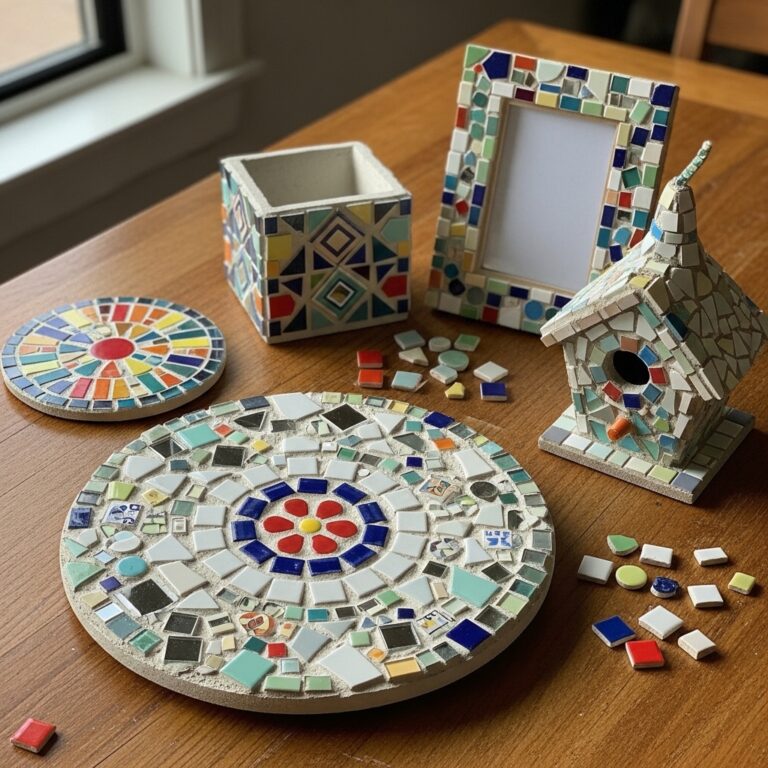
2. Mosaic Birdhouse for the Garden
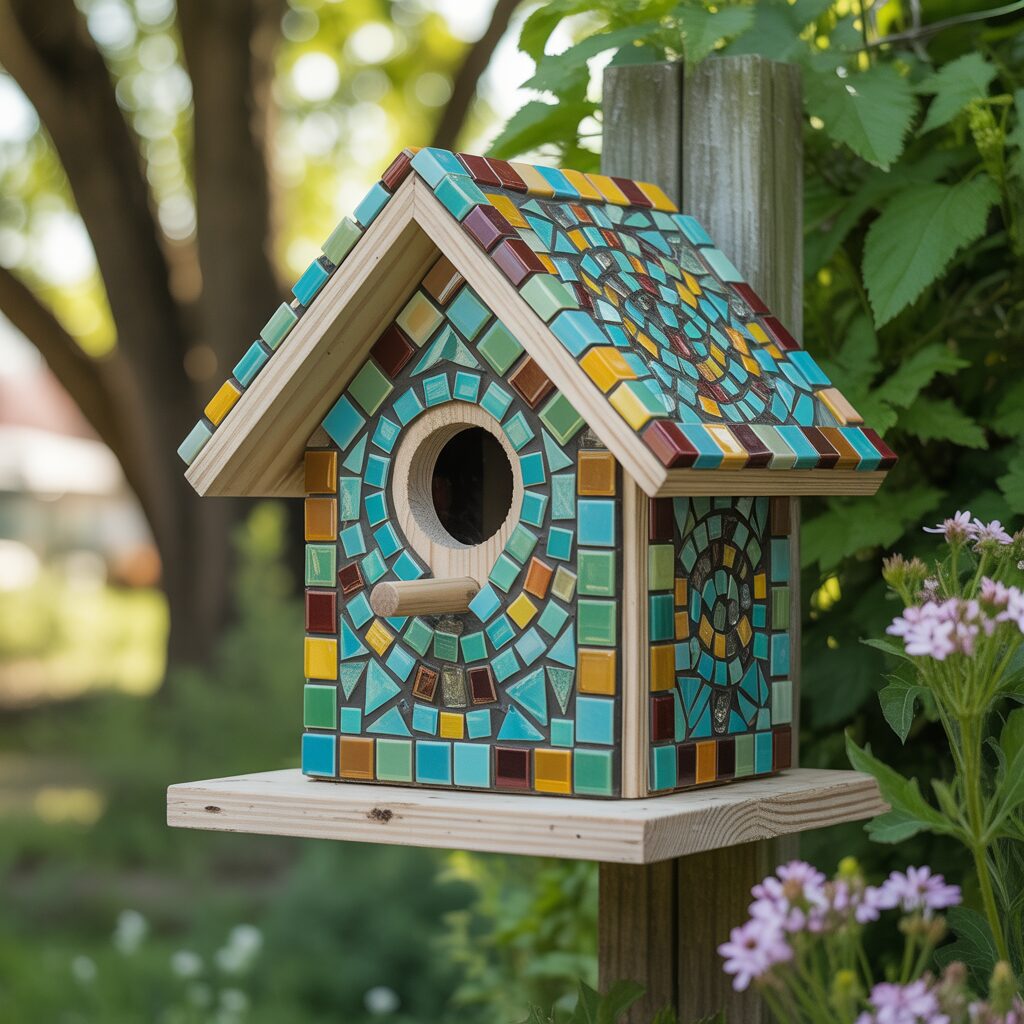
Birds do not care about aesthetics. But you do. A mosaic birdhouse adds whimsy to any garden. The birds will use it regardless of the tile pattern.
Cover the roof with overlapping glass shards. Use broken mirror pieces to reflect sunlight. Keep the entrance hole clear of adhesive and grout.
Pro Tip: Use a pre-made unfinished birdhouse from a craft store. The wood is soft and easy to glue onto.
Mistake to Avoid: Do not seal the interior. Birds prefer natural wood.
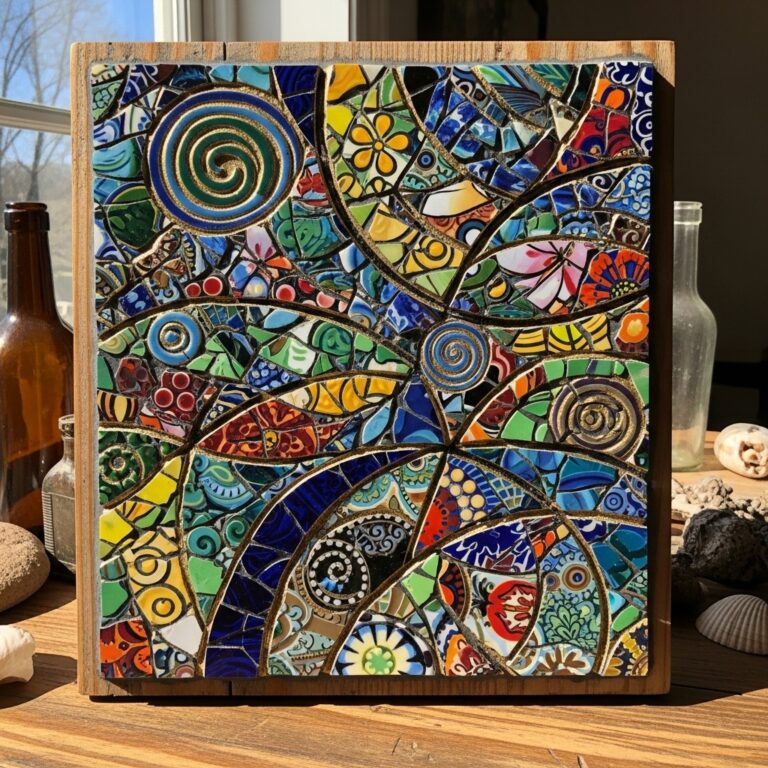
3. Sea Glass Mosaic on Driftwood
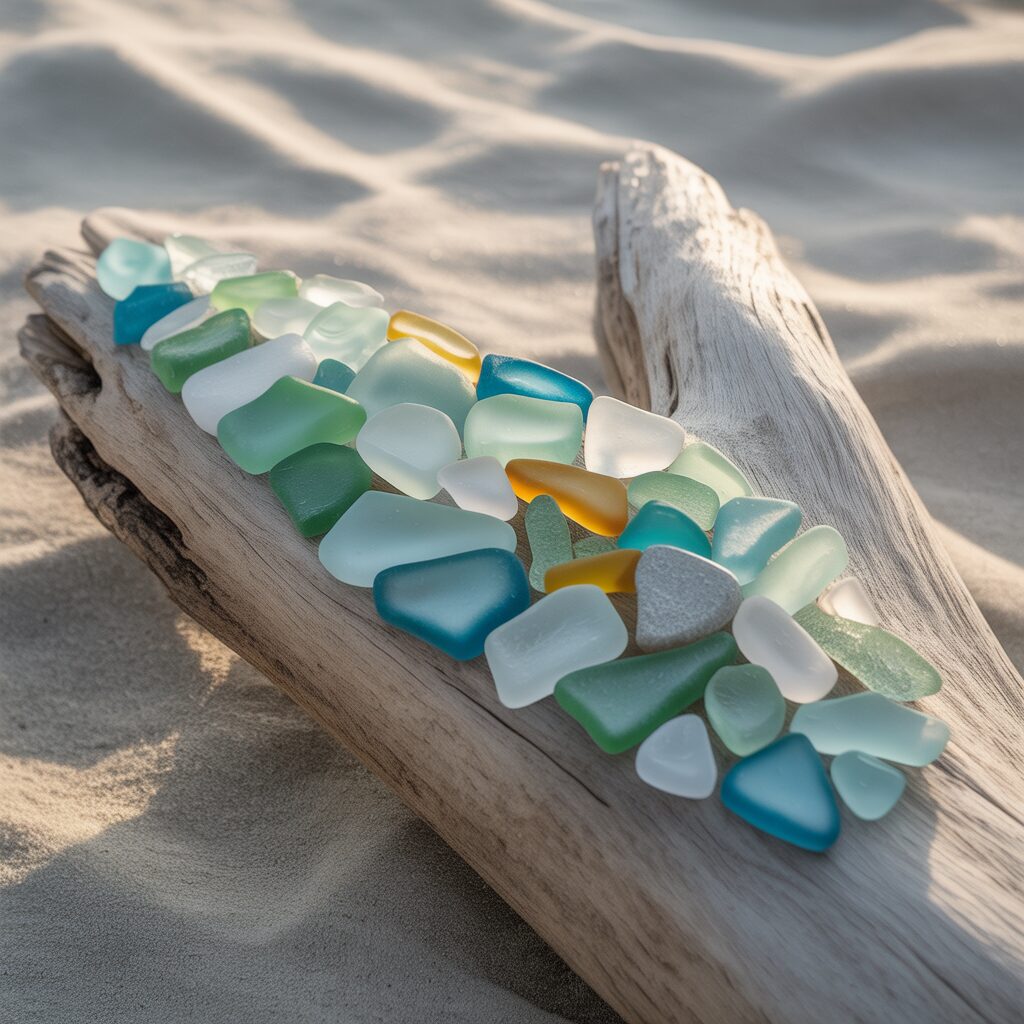
Beach glass is already tumbled smooth by the ocean. It requires no cutting. Arrange it on a piece of driftwood. The result looks like it was washed ashore.
Arrange sea glass by color. Blue and green near the bottom. White and brown near the top. Leave gaps to mimic the sand between stones.
Pro Tip: Use clear silicone adhesive for outdoor pieces. Silicone flexes with the wood.
Mistake to Avoid: Do not use fresh beach glass without washing it. Salt residue prevents adhesion.
4. Mosaic Photo Frame from Old Jewelry
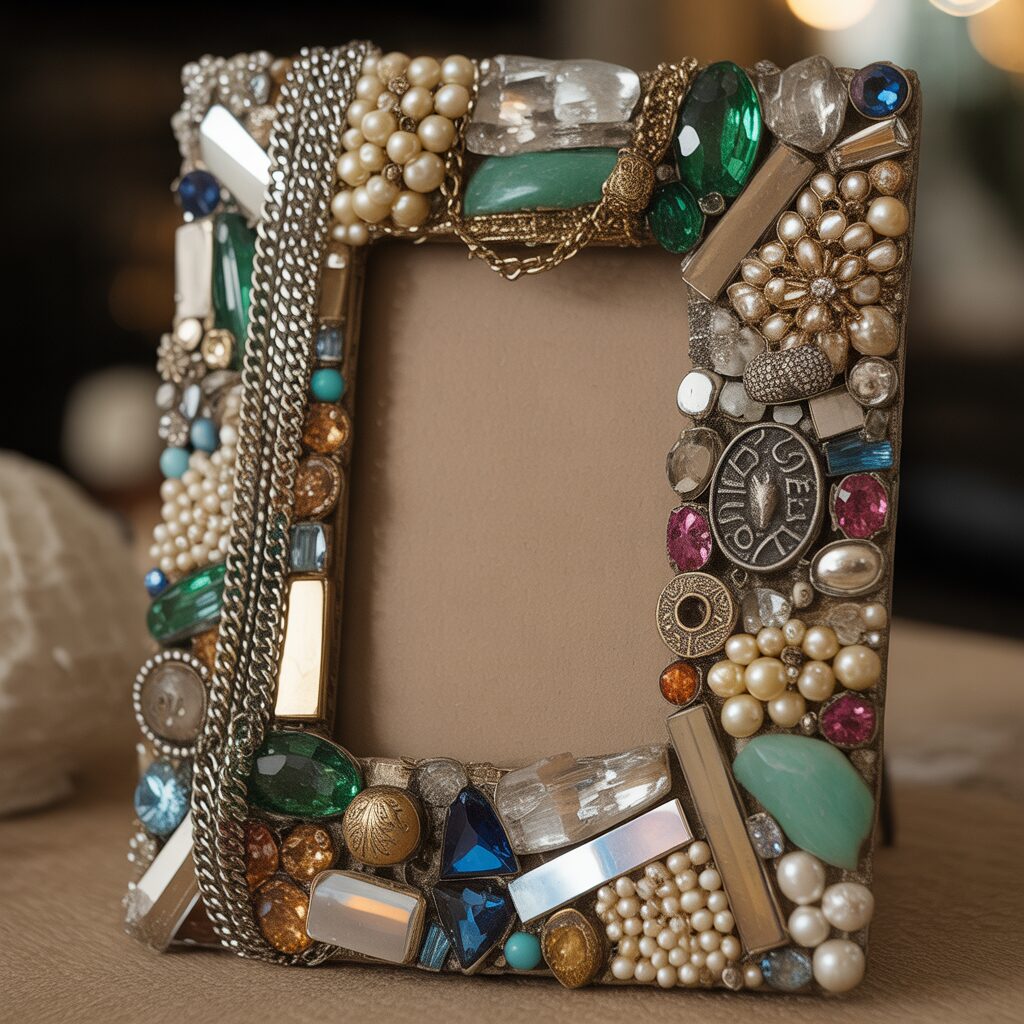
Broken necklaces. Mismatched earrings. Single cufflinks. These orphaned pieces become a glamorous photo frame.
Glue jewelry pieces directly onto a plain wood frame. Layer smaller pieces over larger ones. The texture should be uneven and rich. Do not grout. The jewelry itself is the design.
Pro Tip: Use E6000 adhesive. It bonds metal to wood permanently.
Mistake to Avoid: Do not use valuable jewelry. The frame is permanent and cannot be undone.
5. Mosaic Trivet from Wine Corks
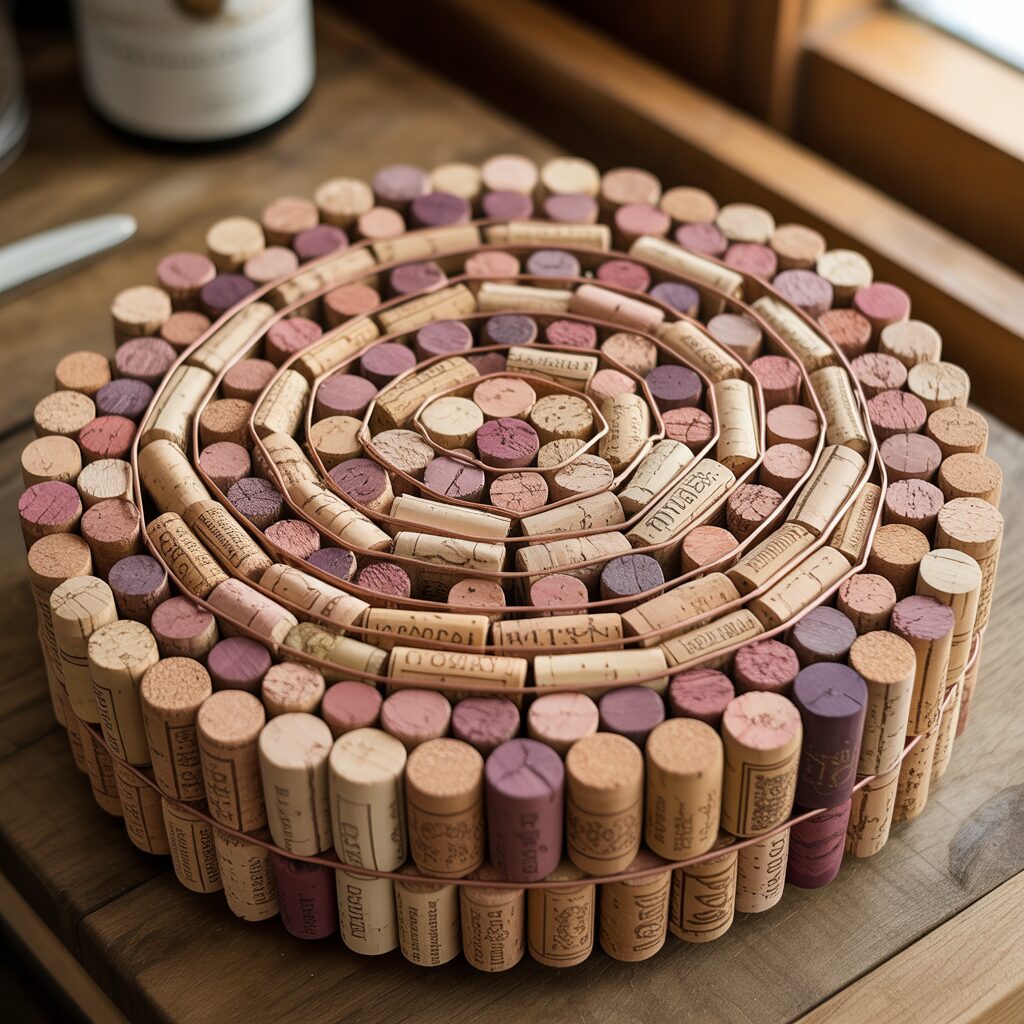
Wine corks are soft. They cut easily with a knife. Slice them into thin rounds. Arrange the rounds in a honeycomb pattern on a small board.
The cork absorbs heat. The surface protects the table. No grout needed. The tight pattern of cork rounds holds itself together.
Pro Tip: Slice corks with a serrated knife. A smooth blade crushes the cork.
Mistake to Avoid: Do not use synthetic corks. They do not absorb heat.
6. Mosaic Clock Face on a Vinyl Record
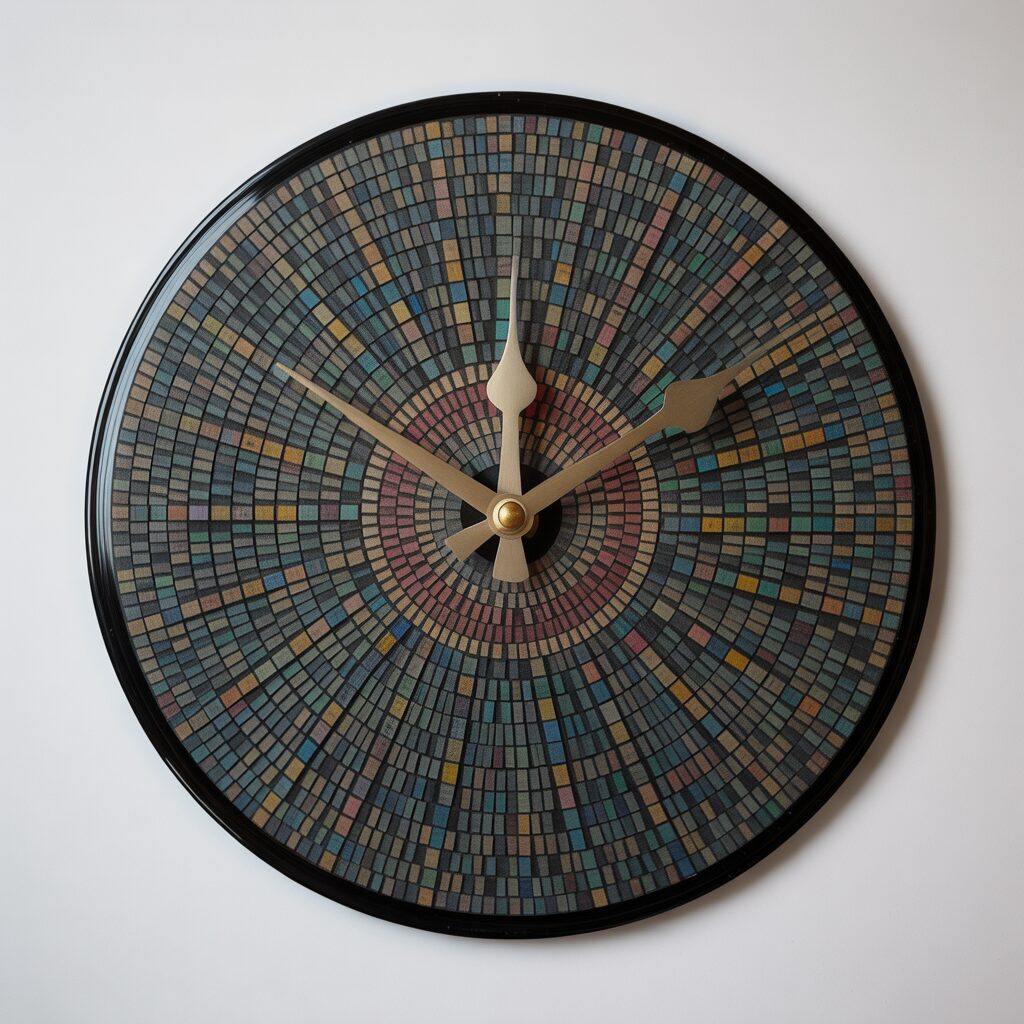
Old vinyl records are the perfect circle. Paint the center label. Adhere mosaic pieces around the perimeter. Install a clock mechanism through the center hole.
The black vinyl contrasts with colorful tiles. The clock becomes art and function. Use small tiles to follow the curve of the record.
Pro Tip: Drill the center hole wider if the clock mechanism does not fit.
Mistake to Avoid: Do not use a record you want to preserve. The process is irreversible.
7. Mosaic Backsplash from Scrap Tiles
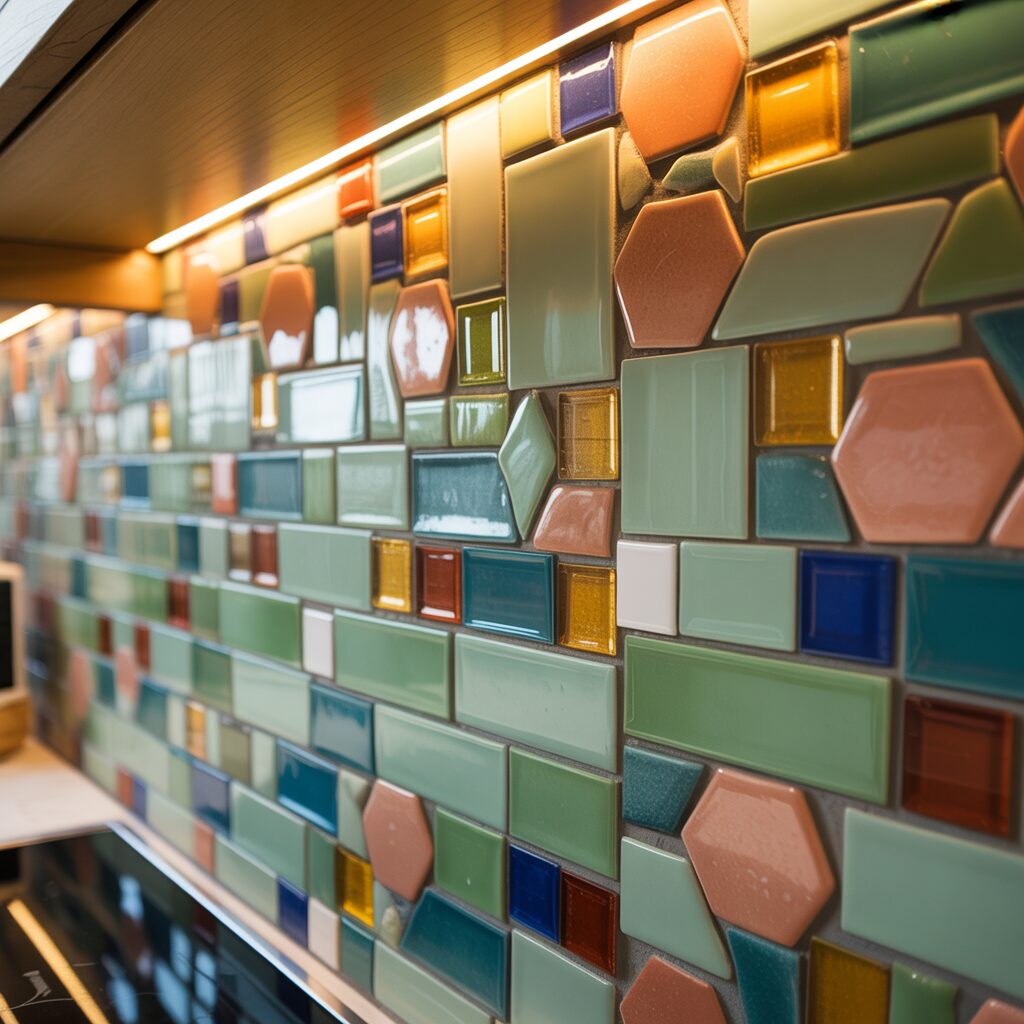
Home improvement stores sell scrap tiles by the pound. These mismatched pieces are perfect for a small backsplash. The irregularity is the aesthetic.
Break larger tiles into smaller pieces. Arrange them in a random pattern. The lack of repetition keeps the eye moving. Grout in a contrasting color.
Pro Tip: Lay the tiles out on the floor first. Live with the arrangement for a day.
Mistake to Avoid: Do not worry about perfectly straight lines. Random is more forgiving.
8. Mosaic Plant Markers for the Vegetable Garden
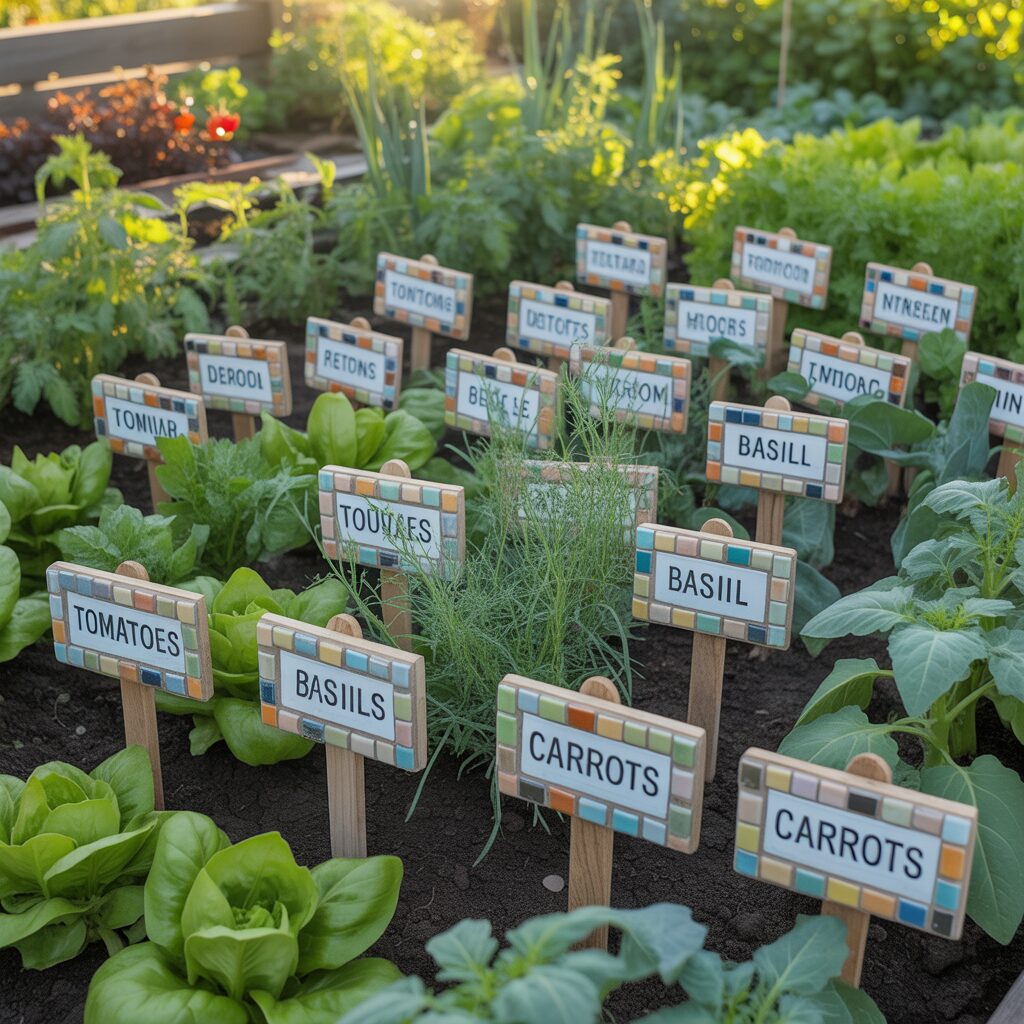
Small mosaic pieces on wooden stakes mark your rows of vegetables. Each marker can feature a simple symbol. A tomato. A pepper. A leaf.
Cut stakes from scrap wood. Glue a single tile or a small cluster to the top. Seal with outdoor varnish. No grout needed for single tiles.
Pro Tip: Use symbols instead of words. Words require many small tiles. Symbols are easier.
Mistake to Avoid: Do not make the stakes too tall. Wind will knock them over.
9. Mosaic Vase Using Broken Glass Bottles

Colored glass bottles become mosaic pieces. Blue from seltzer bottles. Green from wine bottles. Brown from beer bottles.
Break bottles with a hammer (wear safety glasses). Arrange the curved shards on a glass vase. The curves fit together like puzzle pieces.
Pro Tip: Soak bottles in warm water. Labels peel off easily after soaking.
Mistake to Avoid: Do not use clear glass. Clear glass does not show up well against a clear vase.
10. Mosaic Bookend from Concrete
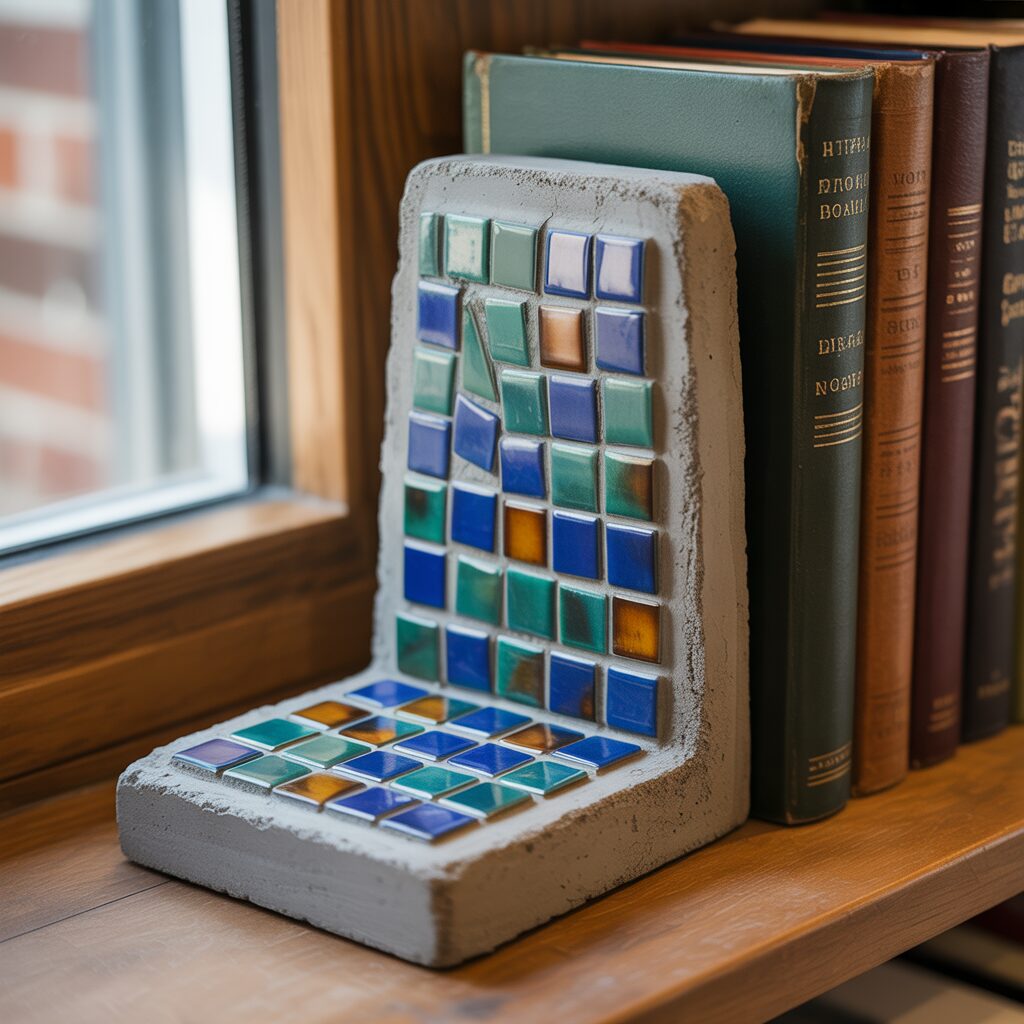
Concrete bookends are heavy. Heavy is good for bookends. Press mosaic pieces into the wet concrete before it sets.
Mix concrete in a disposable container. Pour it into a mold. Press tiles, stones, or glass into the surface. Let cure for 48 hours.
Pro Tip: Use a plastic container as a mold. Cut the container away after the concrete sets.
Mistake to Avoid: Do not press pieces too deep. The surface should be flush.
11. Mosaic Drawer Pulls from Buttons

Vintage buttons become drawer hardware. Each button is already the perfect size. Glue them to plain wood knobs.
Use a strong epoxy. Attach one button to each knob. Let cure for 24 hours. Install on old dressers or cabinets.
Pro Tip: Use buttons with shanks (the loop on the back). The shank fits over the screw.
Mistake to Avoid: Do not use buttons that are too thin. Thin buttons crack when tightened.
12. Mosaic Tray from a Picture Frame
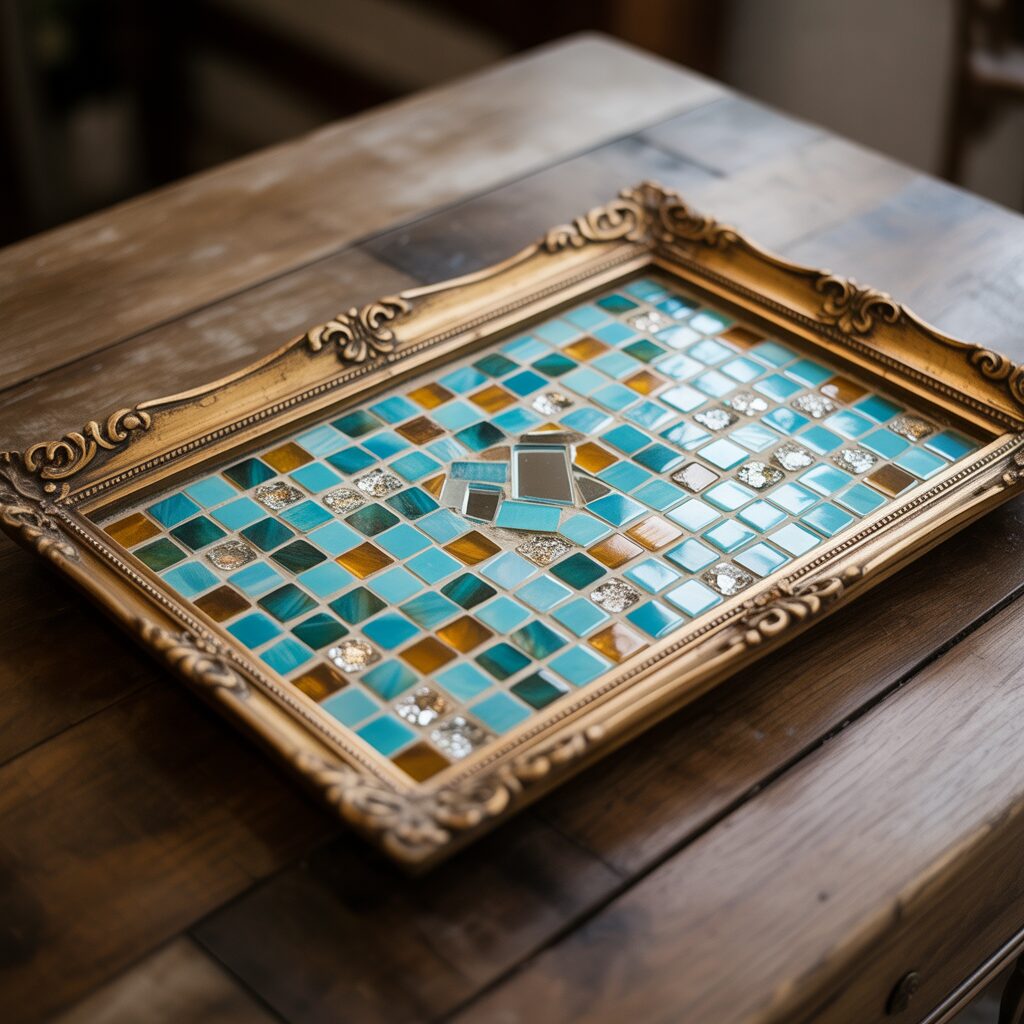
Turn a large picture frame upside down. The back becomes the tray bottom. The frame lip becomes the tray edge.
Remove the glass. Adhere mosaic to the backing board. Let dry. Grout. Seal. Flip the frame over. The lip now contains the tiles.
Pro Tip: Use a frame with deep sides. Deep sides keep items from rolling off.
Mistake to Avoid: Do not use a frame with glass. The glass is unnecessary.
13. Mosaic Wind Chime from Keys
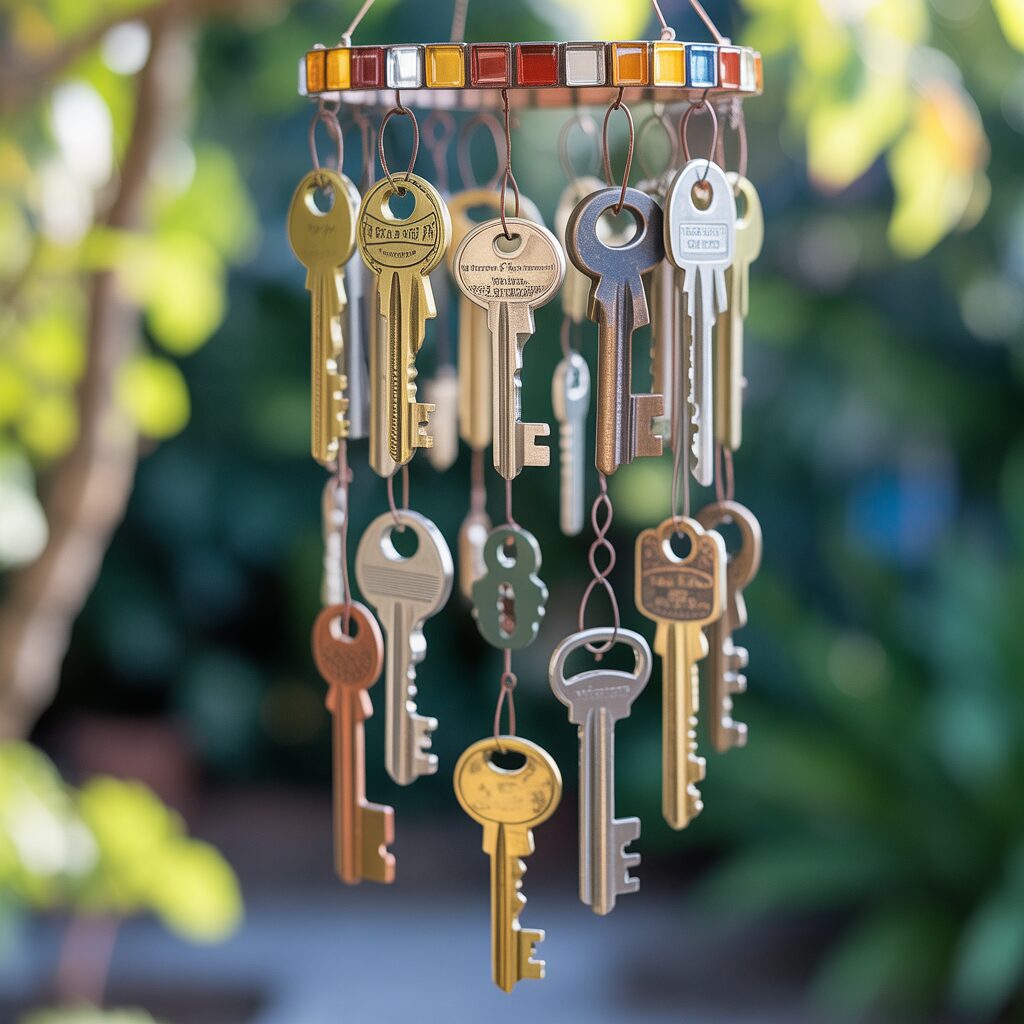
Old keys have interesting shapes. Hang them from a mosaic base. The keys chime against each other.
Create a small mosaic disc from cement or plywood. Drill holes around the edge. Attach keys with fishing line. Hang from a hook.
Pro Tip: Polish keys with vinegar and salt. The shine will last longer.
Mistake to Avoid: Do not use keys that are rusted through. Rusted keys break easily.
14. Mosaic Candle Holder from a Mason Jar
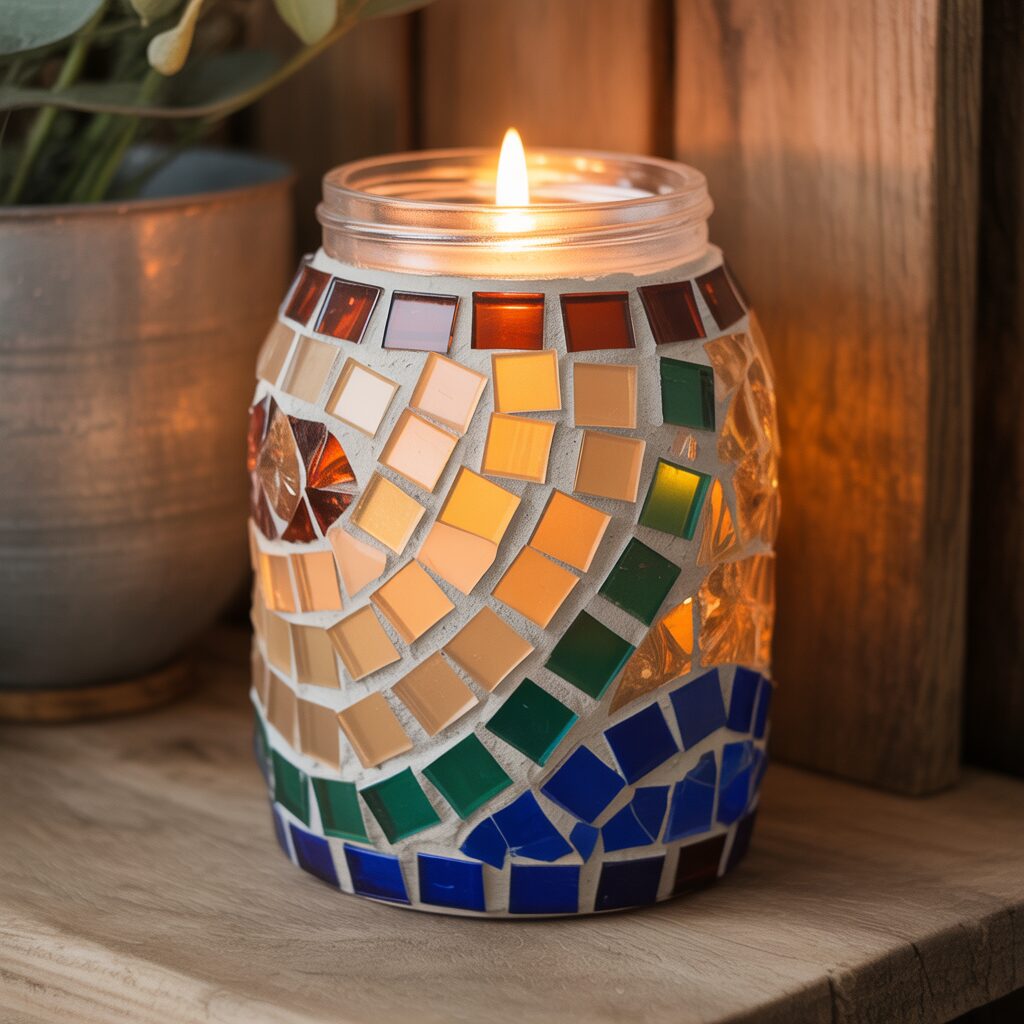
A mason jar becomes a lantern. Mosaic pieces cover the outside. Light from the candle shines through the gaps.
Apply adhesive to the jar. Press small tiles onto the surface. Leave gaps between tiles so light can pass through. Do not grout.
Pro Tip: Use a battery-operated candle. Real candles make the jar hot.
Mistake to Avoid: Do not wash the jar after mosaicing. The tiles will fall off.
15. Mosaic Door Mat from Old Tiles
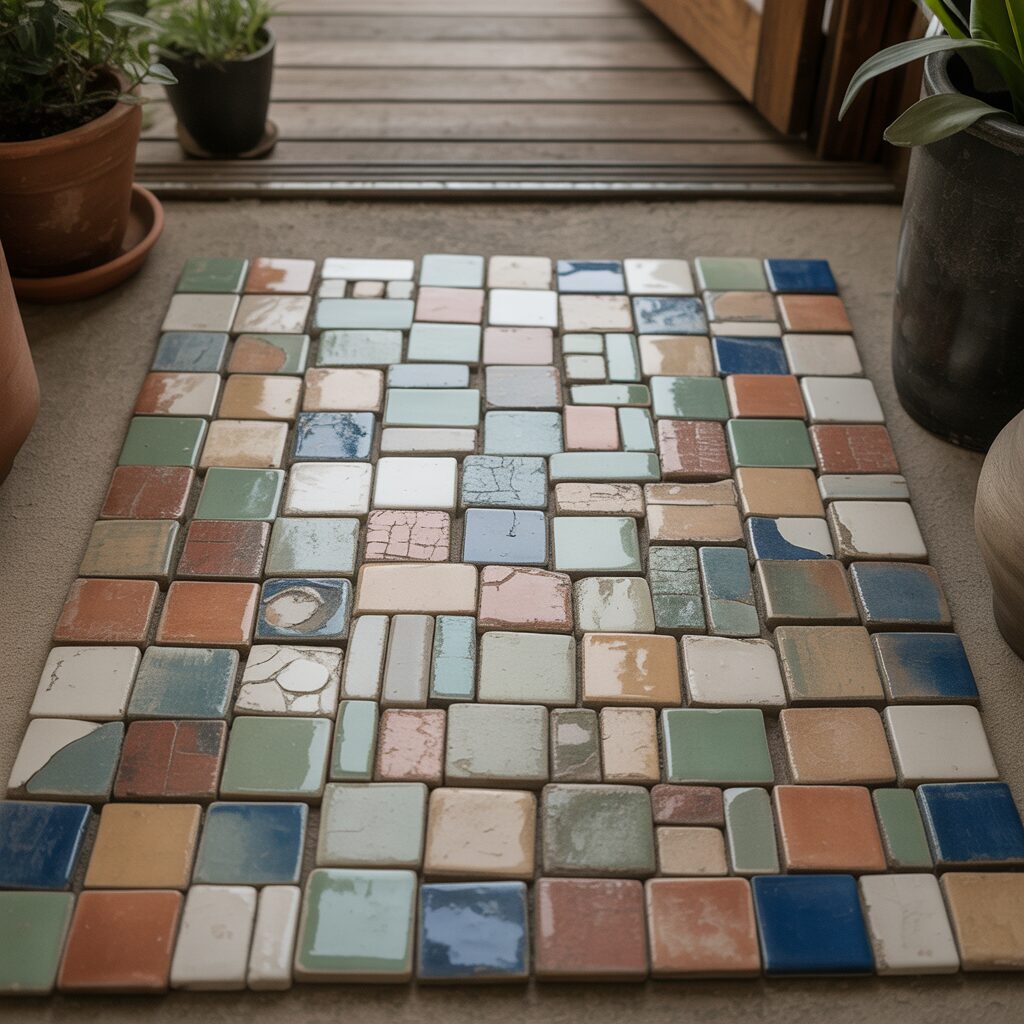
Outdoor door mats take a beating. Mosaic on cement board can handle the weather. It will last for years.
Cut cement board to doormat size. Adhere tiles in a simple pattern. Grout. Seal with outdoor sealant. Add rubber pads to the bottom.
Pro Tip: Use dark grout. Dark grout hides dirt from shoes.
Mistake to Avoid: Do not make the mat too heavy. You will need to move it to sweep underneath.
16. Mosaic Flower from Broken Dishes
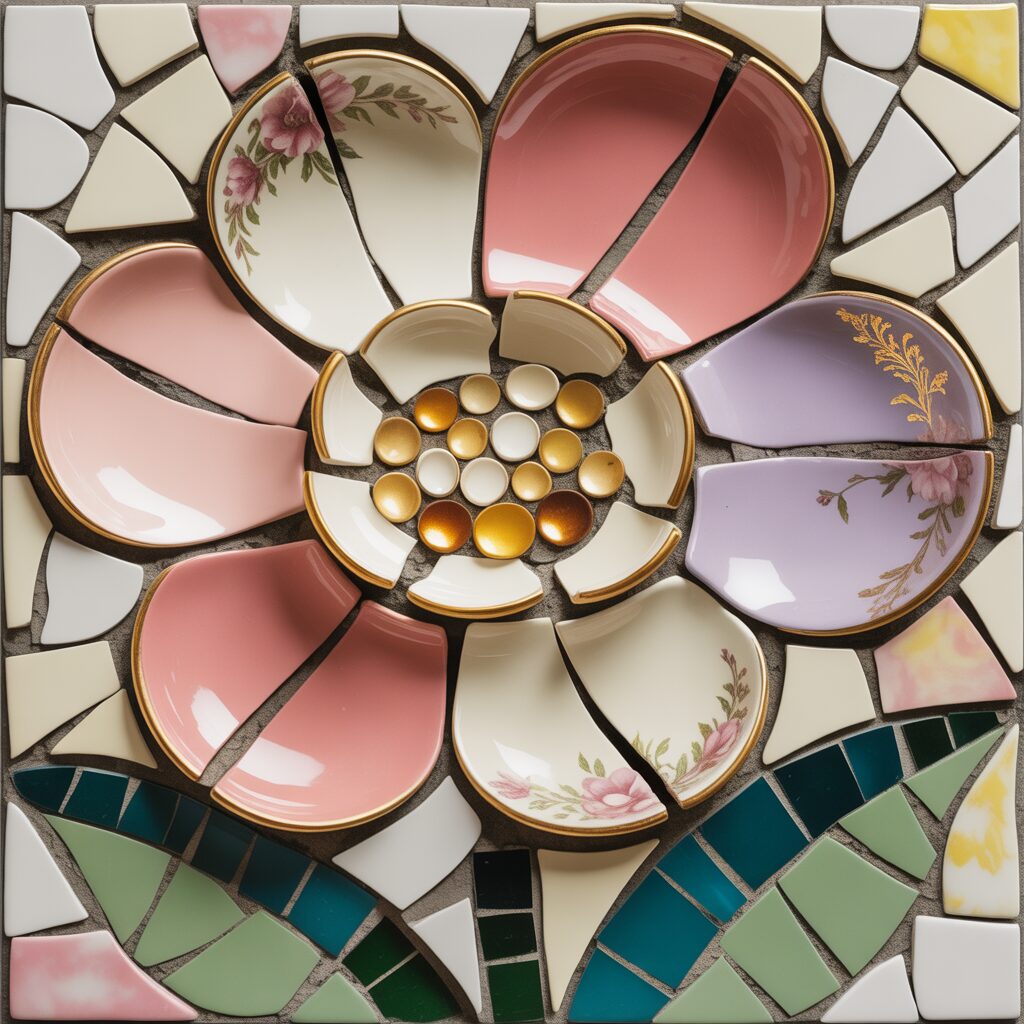
Individual mosaic flowers can be hung on walls or staked in gardens. Each flower is a single bloom made from curved plate shards.
Arrange shards in a circular pattern on a plywood circle. The curved outer edges of plates become the petals. Grout in a bright color.
Pro Tip: Use the rim of a plate for petals. The curved edge looks like a flower petal.
Mistake to Avoid: Do not make the flower too heavy. Wall-mounted flowers need to be light.
17. Mosaic Pen Holder from a Soup Can
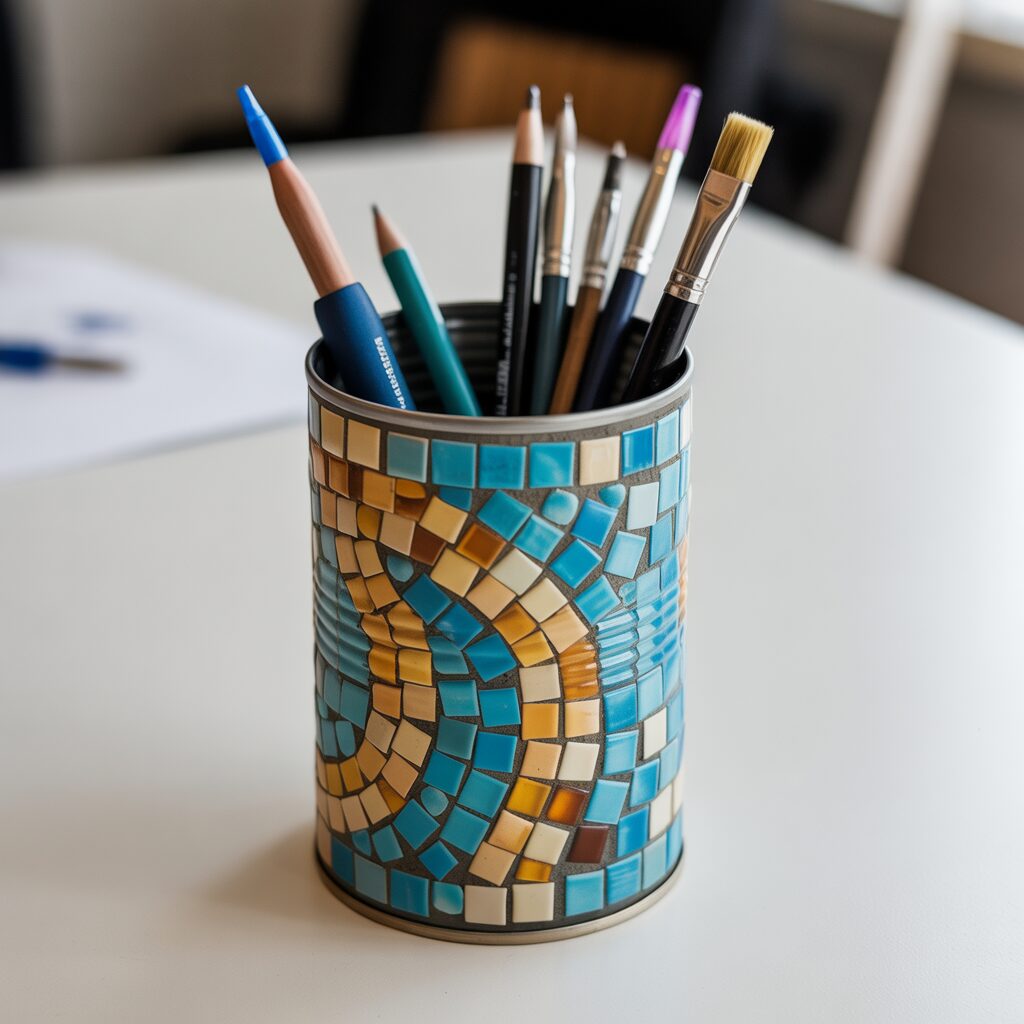
Soup cans are the perfect size for pens. Wrapping them in mosaic makes them desk-worthy.
Remove the label. Wash the can. Apply adhesive. Press small tiles around the circumference. Leave gaps. Grout. Seal.
Pro Tip: Use a tab-top can. The tab makes a convenient hanger.
Mistake to Avoid: Do not use a can with sharp edges. File the rim smooth before starting.
18. Mosaic Chessboard from Two Colors of Tile
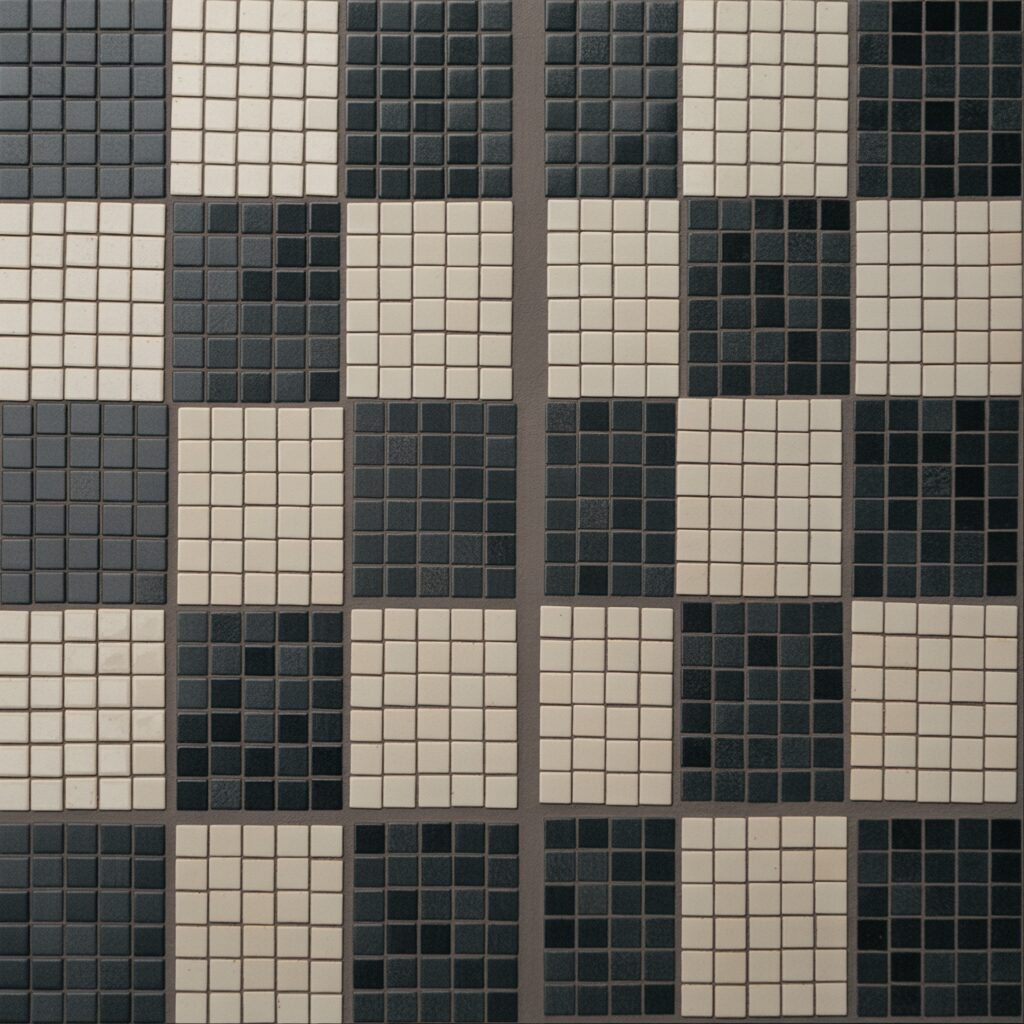
A chessboard is a grid. Mosaic is the perfect medium. Use black and white tiles cut into small squares.
Cut a piece of plywood to 16×16 inches. Mark an 8×8 grid. Glue tiles into each square. Grout in dark gray. Seal.
Pro Tip: Use a tile cutter for precise squares. A tile nipper is too imprecise.
Mistake to Avoid: Do not make the squares too small. 1.5-inch squares are the minimum.
19. Mosaic Napkin Rings from PVC Pipe
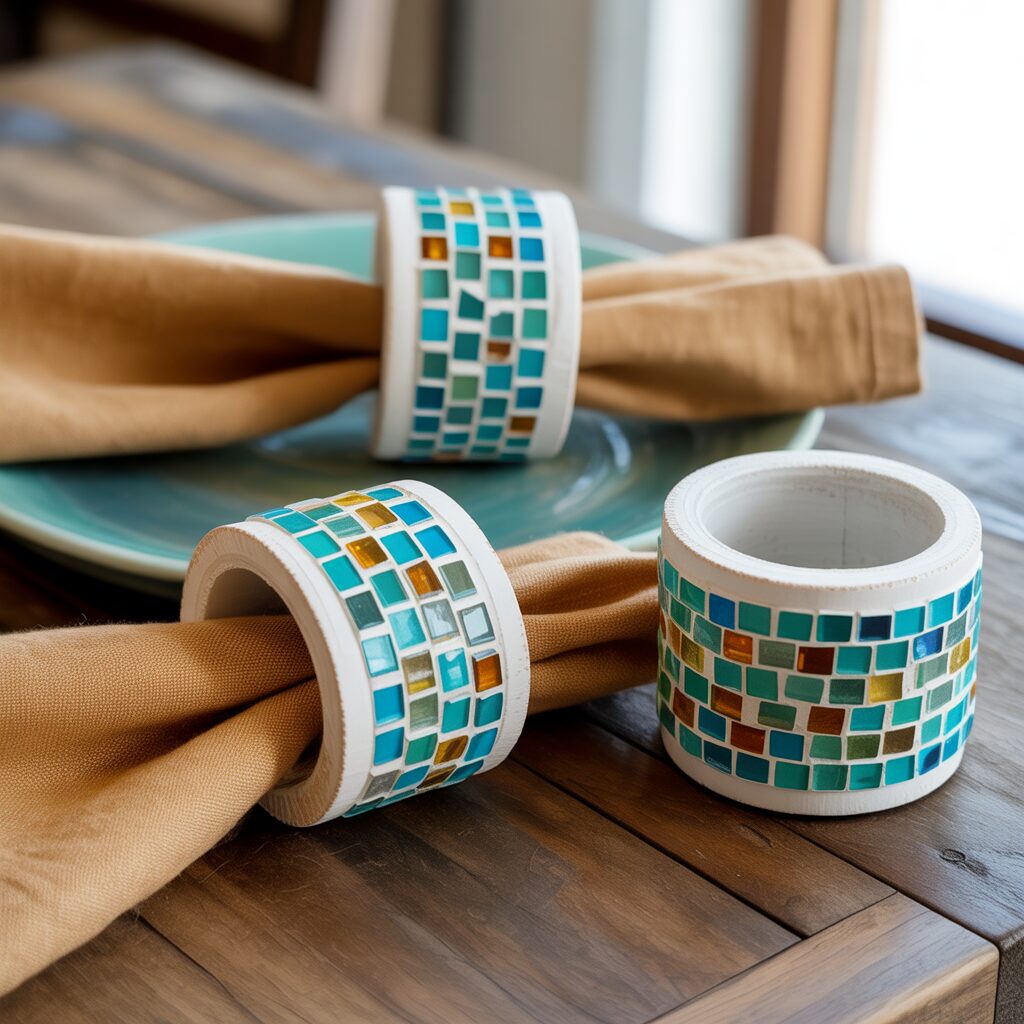
PVC pipe is cheap and easy to cut. Slice it into 2-inch rings. Wrap each ring in mosaic tiles.
Cut PVC pipe with a hacksaw. Sand the edges. Apply adhesive. Press small tiles around the circumference. Grout. Seal.
Pro Tip: Use a pipe with a 2-inch diameter. Napkins fit through easily.
Mistake to Avoid: Do not use tiles that are too thick. Thick tiles make the ring heavy.
20. Mosaic Memory Box from a Cigar Box
Cigar boxes are thin, lightweight, and inexpensive. Mosaic the lid. Leave the rest plain.
Sand the lid lightly. Apply adhesive. Press small tiles onto the lid. Let dry. Grout. Seal. The box now holds treasures.
Pro Tip: Use a cigar box with a hinged lid. Hinged lids are easier to mosaic.
Mistake to Avoid: Do not mosaic the hinges. The lid will not close.
Frequently Asked Questions
What is the cheapest material for DIY mosaic?
Broken dishes from thrift stores. A $2 plate provides enough material for several small projects. Ask friends for their chipped plates.
How do I cut curved pieces from flat plates?
Use a pair of tile nippers. Nibble away small bites around the curve. Patience is more important than precision.
Can I make mosaic without grout?
Yes. Designs that use buttons, jewelry, or corks do not need grout. The items fit together tightly enough without it.
What adhesive works best for outdoor mosaic?
Thinset mortar. It is designed for outdoor tile installation. It handles freezing and thawing better than craft adhesives.
Conclusion
Mosaic art asks nothing of you except to see beauty in broken things. A chipped plate becomes a flower pot accent. A wine bottle becomes a mosaic vase. Old keys become a wind chime. Scrap tiles become a chessboard.
Start with one project today. A flower pot from a broken plate. A pen holder from a soup can. A planter marker from a scrap tile. The pieces will come together. The gaps will become part of the design. And you will have created something permanent from something discarded.