20 Mosaic Tile Crafts That Turn Leftover Tiles Into Useful, Beautiful Objects
Small-Scale Mosaic Projects | Tile Craft Ideas for Beginners | Upcycled Home Accessories
You finished a tiling project. There are leftovers. A few tiles here. A handful there. Too many to throw away. Too few for another wall.
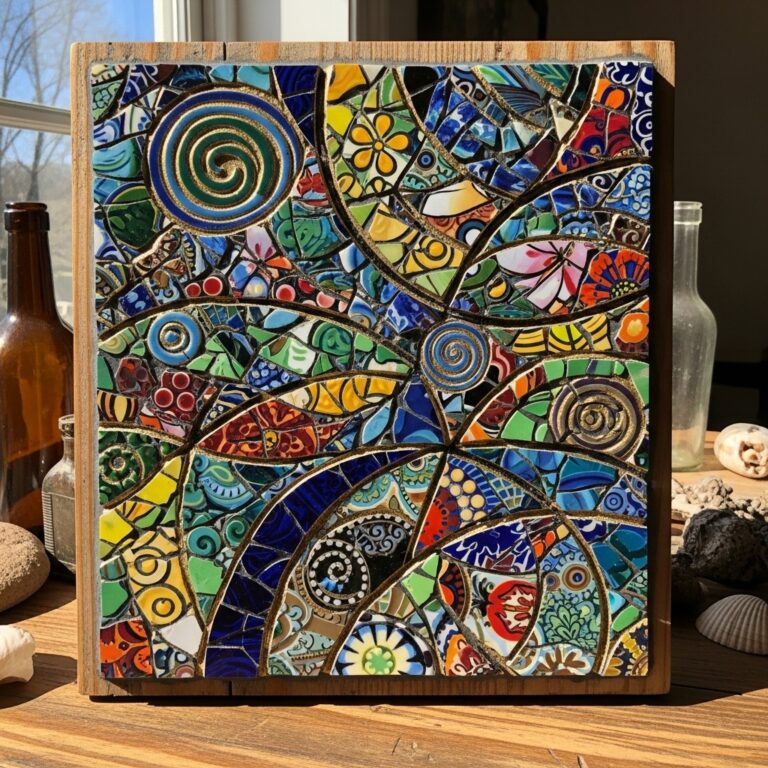
This is where mosaic tile crafts begin. Small projects. Small surfaces. Big creativity.
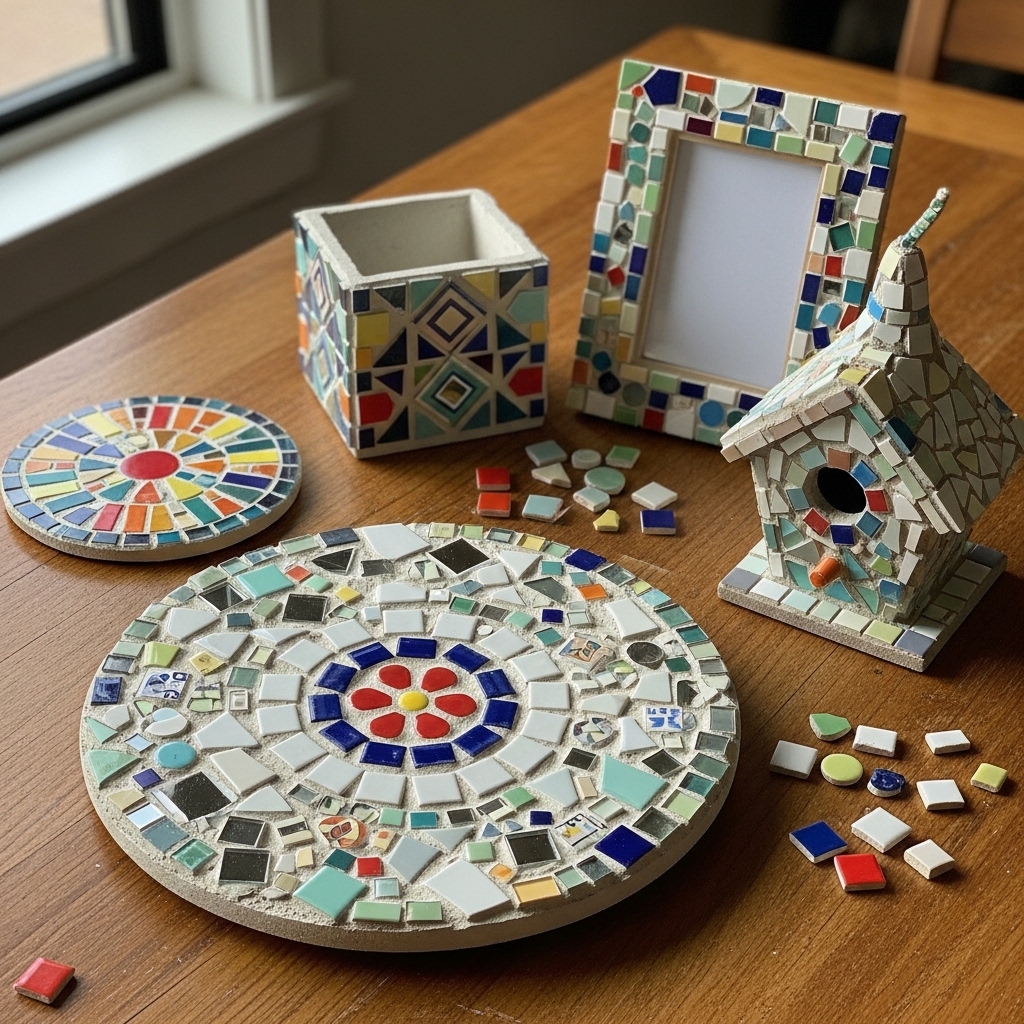
Unlike wall art, these crafts serve a purpose. A mosaic tray holds your keys. A mosaic pen holder sits on your desk. A mosaic picture frame displays a memory. The tile scraps become useful again.
This guide delivers 20 mosaic tile crafts for every room in your home. Each project uses small amounts of tile. Each can be completed in a weekend.
1. Mosaic Coasters with Cork Backing
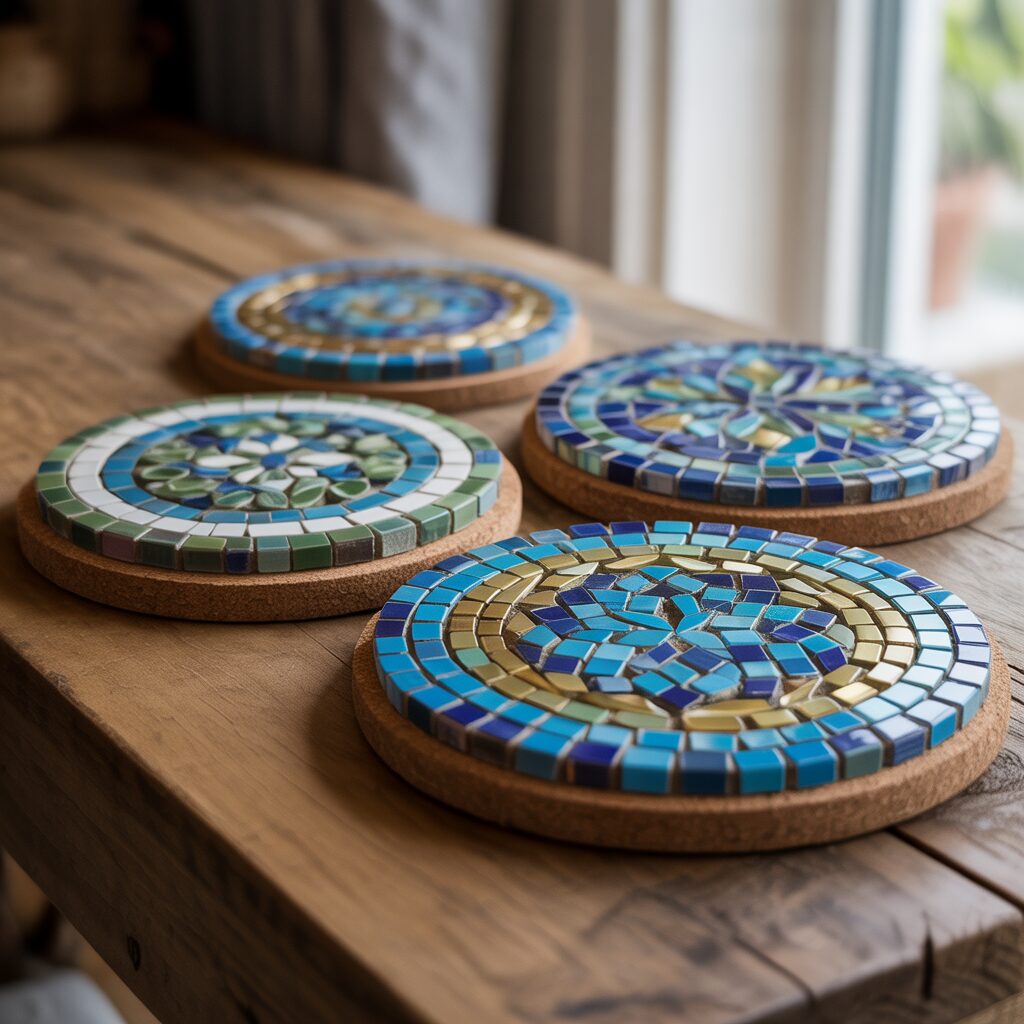
Drinks need a home. Coasters protect the table. Mosaic coasters protect in style.
Cut cement board into 4×4 squares. Arrange tile pieces on the surface. Leave small gaps for grout. Glue them down. Let dry. Grout. Wipe away excess. Seal. Add cork circles to the bottom.
Pro Tip: Use a cookie cutter as a shape guide. Hearts, stars, and circles add personality.
Mistake to Avoid: Do not make coasters too thick. Thin coasters stack better.
2. Mosaic Trivet for Hot Dishes
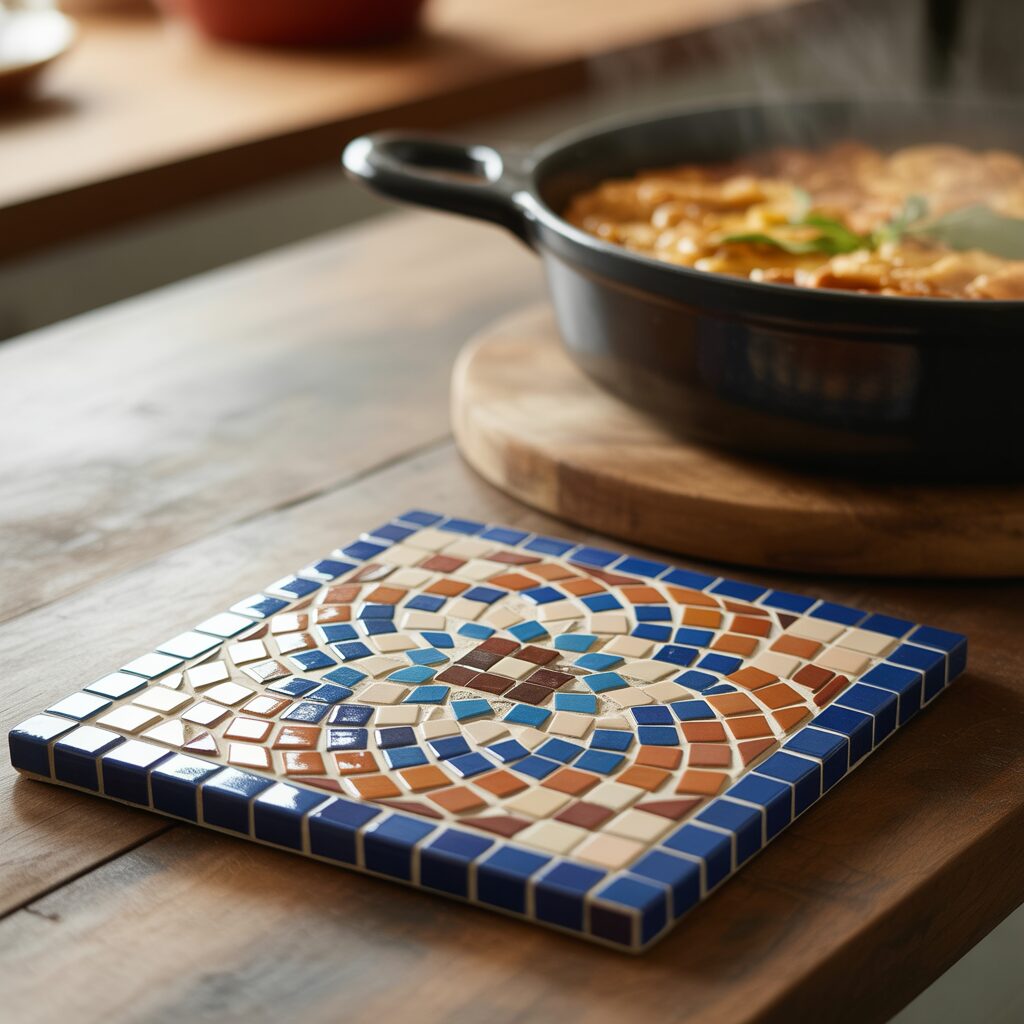
A trivet is a coaster for pots. It needs to be larger. It needs to handle heat.
Cut cement board into 8×8 squares or 8-inch circles. Use larger tile pieces for faster coverage. Arrange in a simple pattern. Grout with heat-resistant grout. Seal. Add felt feet to the bottom.
Pro Tip: Use stone tiles for trivets. Stone handles heat better than glass or ceramic.
Mistake to Avoid: Do not use plastic tiles. Plastic melts.
3. Mosaic Picture Frame from Scrap Strips

Frame a photo. Frame a mirror. Frame a favorite postcard. The frame itself becomes the art.
Use a plain wood frame from a craft store. Cut tile scraps into thin strips. Glue them around the frame edge. Leave gaps. Grout. Wipe away excess. Let dry. Insert photo.
Pro Tip: Use a frame with a wide flat edge. Narrow edges are hard to tile.
Mistake to Avoid: Do not tile over the glass. Remove the glass before starting.
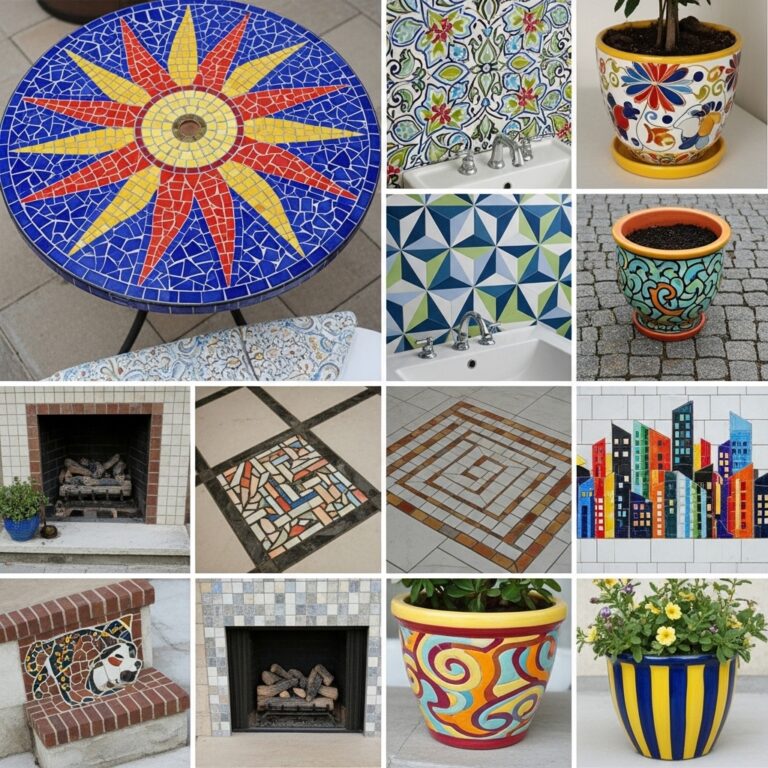
4. Mosaic Flower Pot Cover
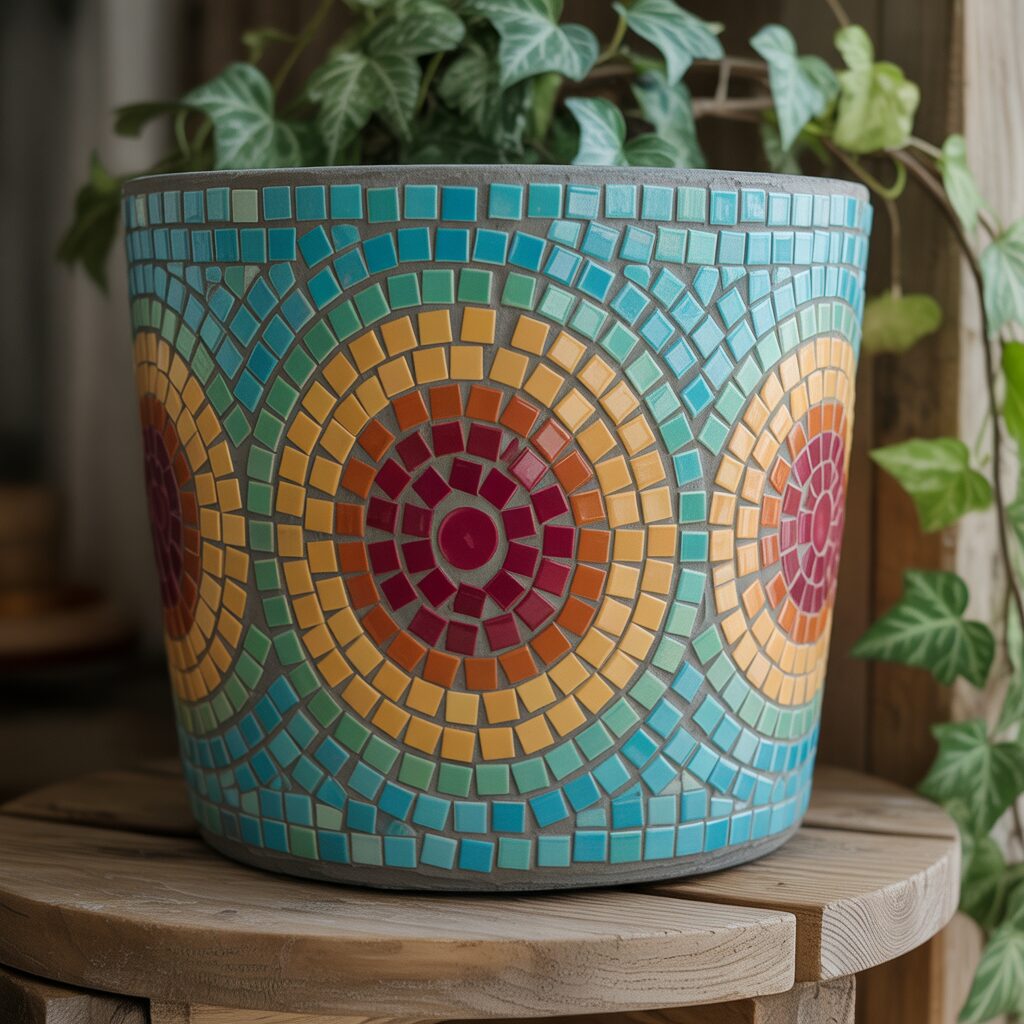
A terracotta pot is porous. Moisture seeps through. Tile does not like moisture.
Do not tile the pot directly. Instead, tile a plastic or metal liner that fits inside the pot. The liner protects the tiles from water.
Break tiles into small pieces. Arrange them on the liner. Glue. Grout. Seal. Place the liner inside the pot. Add a plant.
Pro Tip: Use a liner that is slightly shorter than the pot. The rim of the pot will hide the liner edge.
Mistake to Avoid: Do not use a pot with drainage holes in the center. Water will leak onto the tiles.
5. Mosaic Jewelry Tray
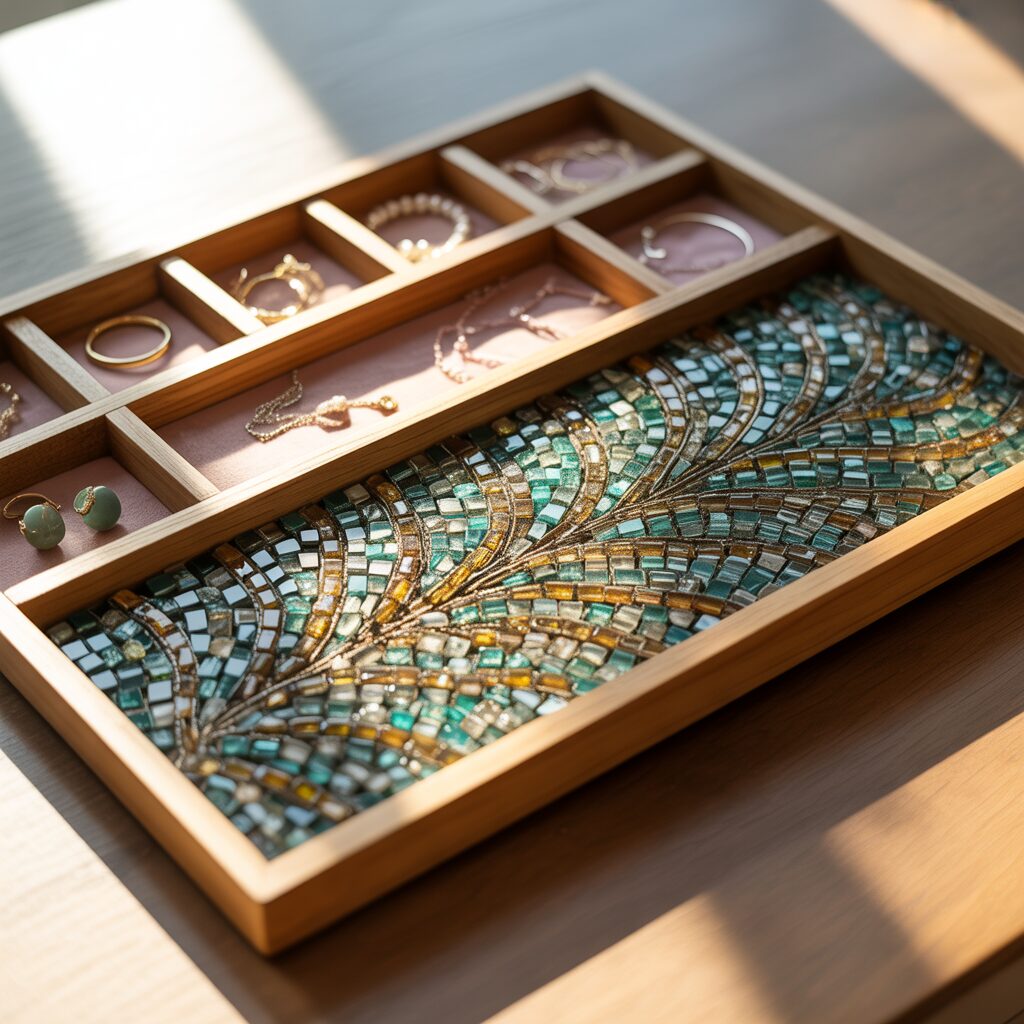
A small tray on the dresser catches rings, earrings, and watches. A mosaic tray catches eyes.
Use a shallow dish or a small wood box lid as the base. Line the inside with tile pieces. Arrange them in a random pattern. Grout. Seal. The tray is complete.
Pro Tip: Use iridescent tiles for jewelry trays. The sparkle complements the jewelry.
Mistake to Avoid: Do not make the tray too deep. Shallow trays are easier to clean.
6. Mosaic Pen Holder from a Tin Can
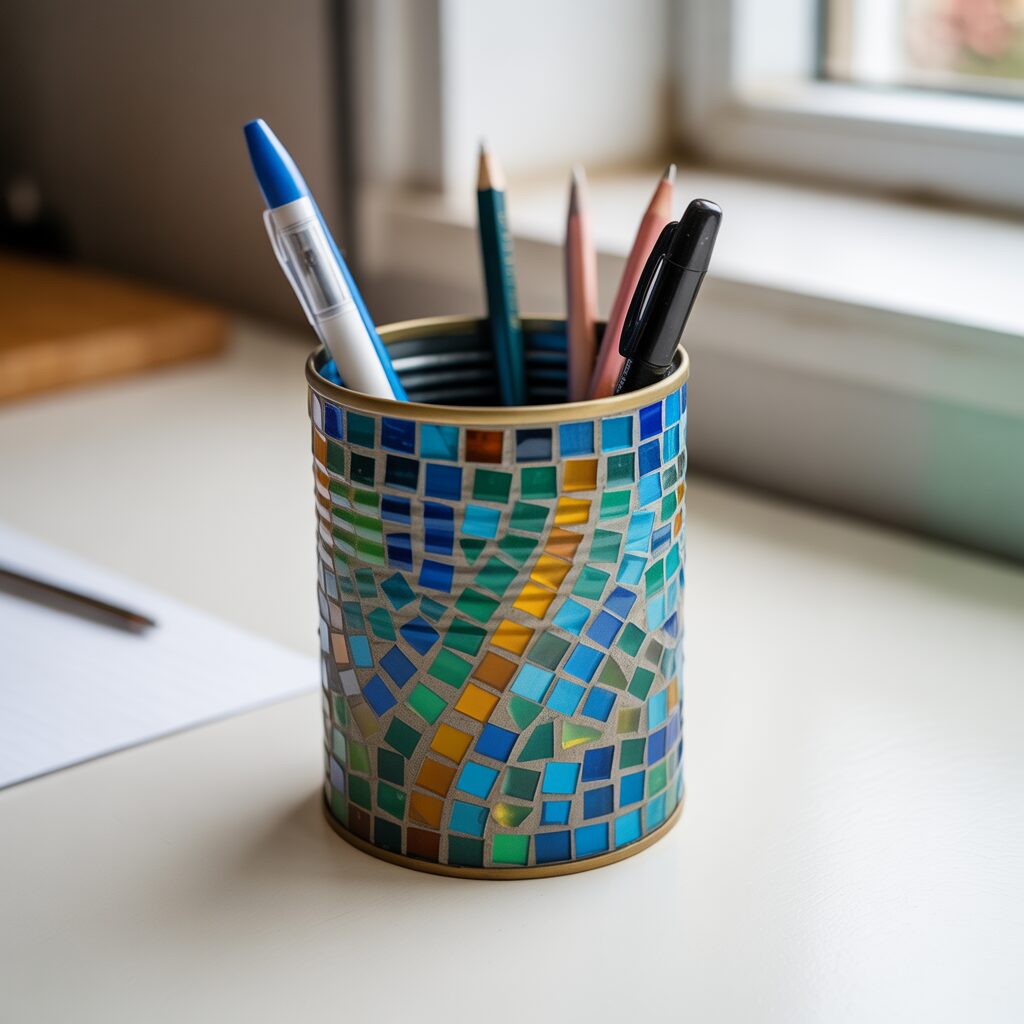
Soup cans. Tomato paste cans. Coffee cans. All of them become pen holders.
Remove the label. Wash the can. Dry thoroughly. Apply adhesive. Press tile pieces around the circumference. Leave gaps. Grout. Seal. Fill with pens.
Pro Tip: Use a can with a smooth surface. Ridged cans are hard to tile.
Mistake to Avoid: Do not use a can with sharp edges. File the rim smooth before starting.
7. Mosaic Key Holder by the Door

Keys need a home near the entrance. A mosaic key holder gives them one.
Cut a piece of plywood to 6×8 inches. Tile the surface. Leave a small space un-tiled for a cup hook. Let dry. Grout. Seal. Screw in the cup hook. Mount near the door.
Pro Tip: Use a dark color palette near the entry. Dark tiles hide dirt from keys.
Mistake to Avoid: Do not make the board too heavy. Lightweight plywood is best.
8. Mosaic Soap Dish for the Bathroom
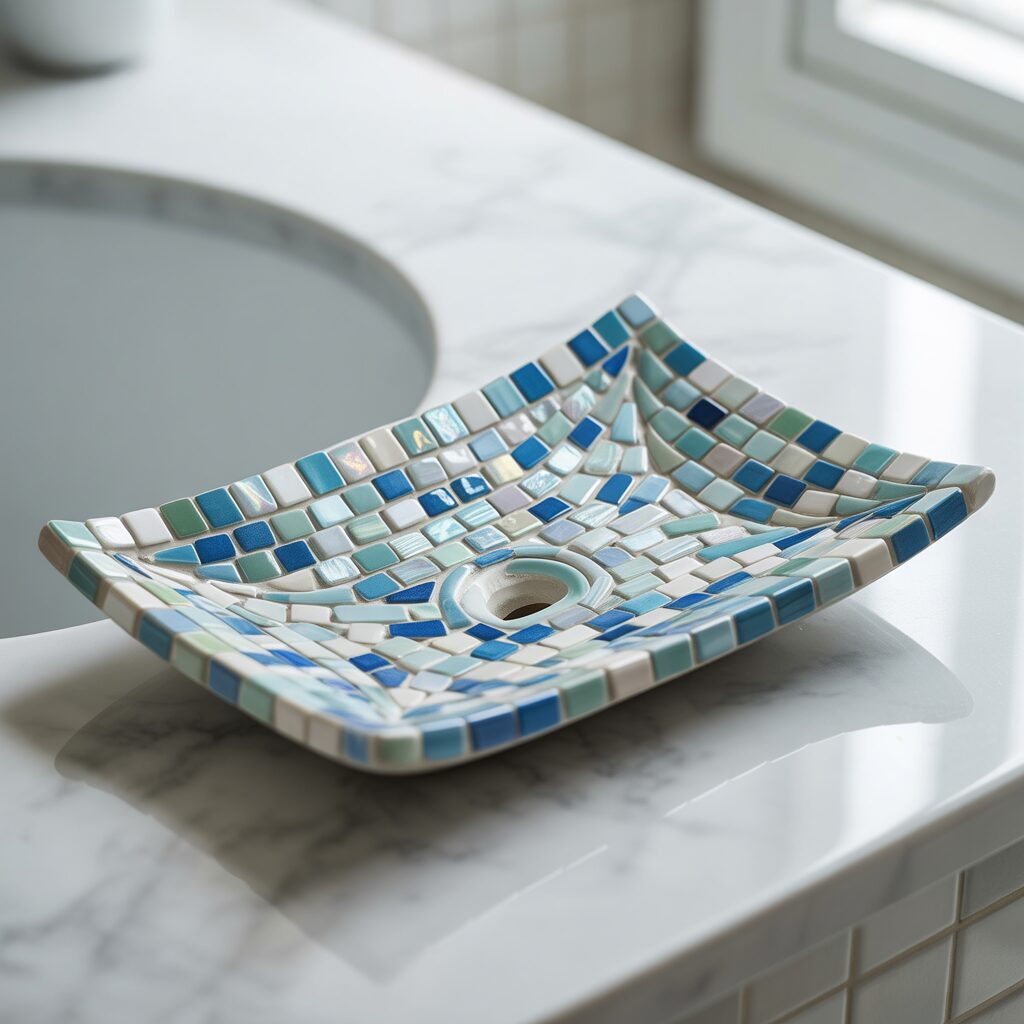
A soap dish keeps the bar from sitting in water. A mosaic soap dish makes the bathroom feel custom.
Use a small ceramic dish as the base. Tile the inside and the rim. Do not tile the bottom. The bottom needs to drain. Grout. Seal with waterproof sealant.
Pro Tip: Use glossy tiles for soap dishes. Glossy surfaces are easier to clean.
Mistake to Avoid: Do not use matte tiles. Matte tiles absorb soap residue.
9. Mosaic Napkin Rings from Cardboard Tubes
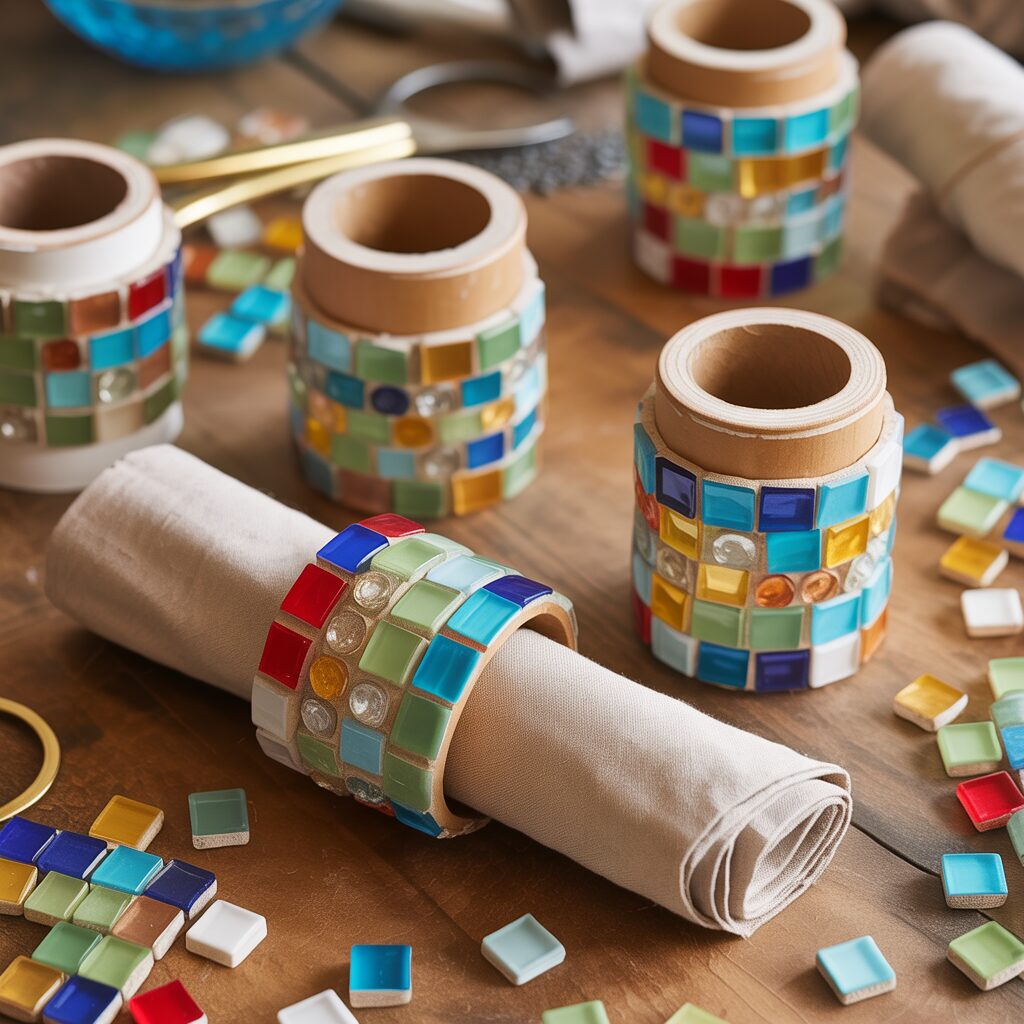
Paper towel tubes become napkin rings. Cut them into 2-inch sections. Tile the outside.
Cut cardboard tubes with a serrated knife. Sand the edges. Apply adhesive. Press small tiles around the circumference. Leave gaps. Grout. Seal. The napkin slides through the center.
Pro Tip: Use lightweight tiles for napkin rings. Heavy tiles make the ring tip over.
Mistake to Avoid: Do not use cardboard tubes that are bent. The napkin ring will wobble.
10. Mosaic Bookends from Scrap Wood
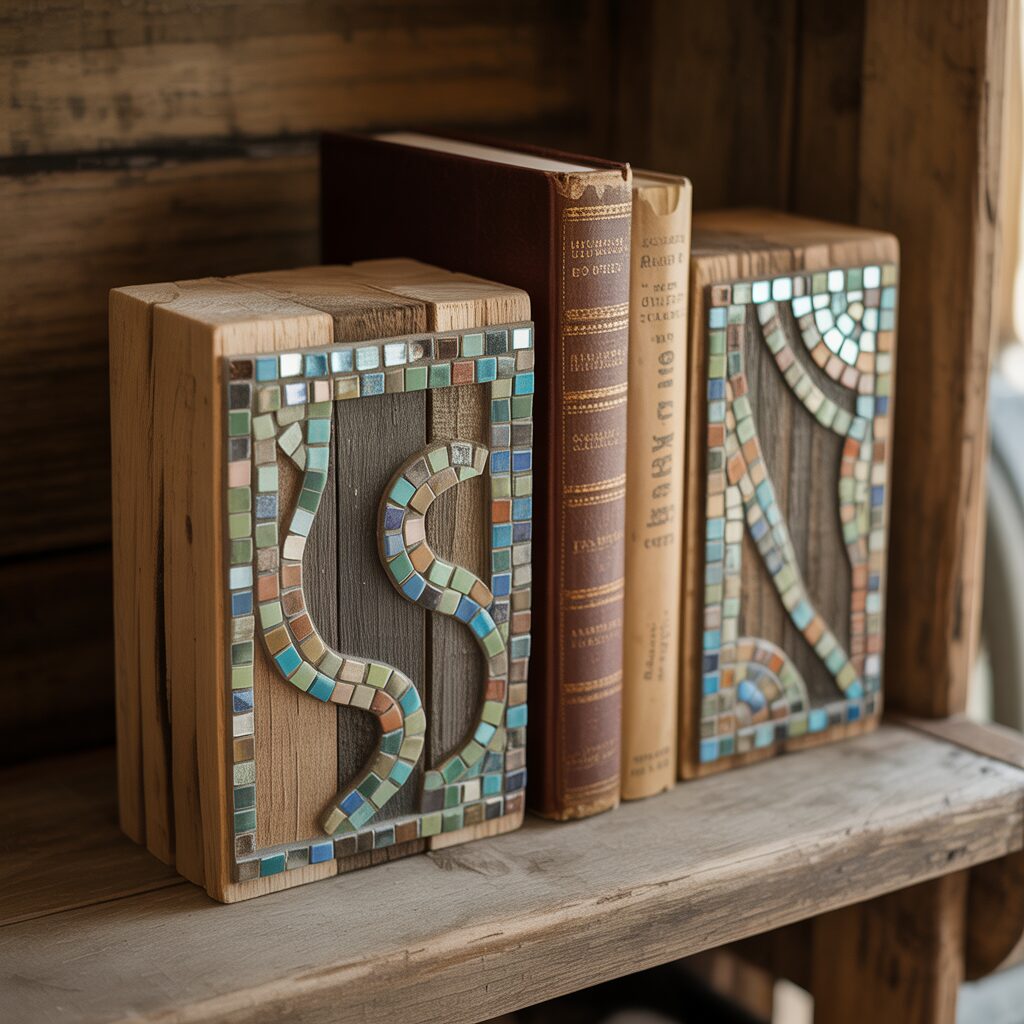
Books need support. Heavy bookends work best. Concrete bookends are heavy. Wood bookends are lighter. Tile adds weight.
Cut two blocks of wood to 5×5 inches. Tile the front face of each block. Grout. Seal. Place one at each end of a row of books.
Pro Tip: Use a miter saw for straight cuts. Crooked bookends look sloppy.
Mistake to Avoid: Do not tile the bottom. The bottom needs to grip the shelf.
11. Mosaic Letter Holder for the Desk
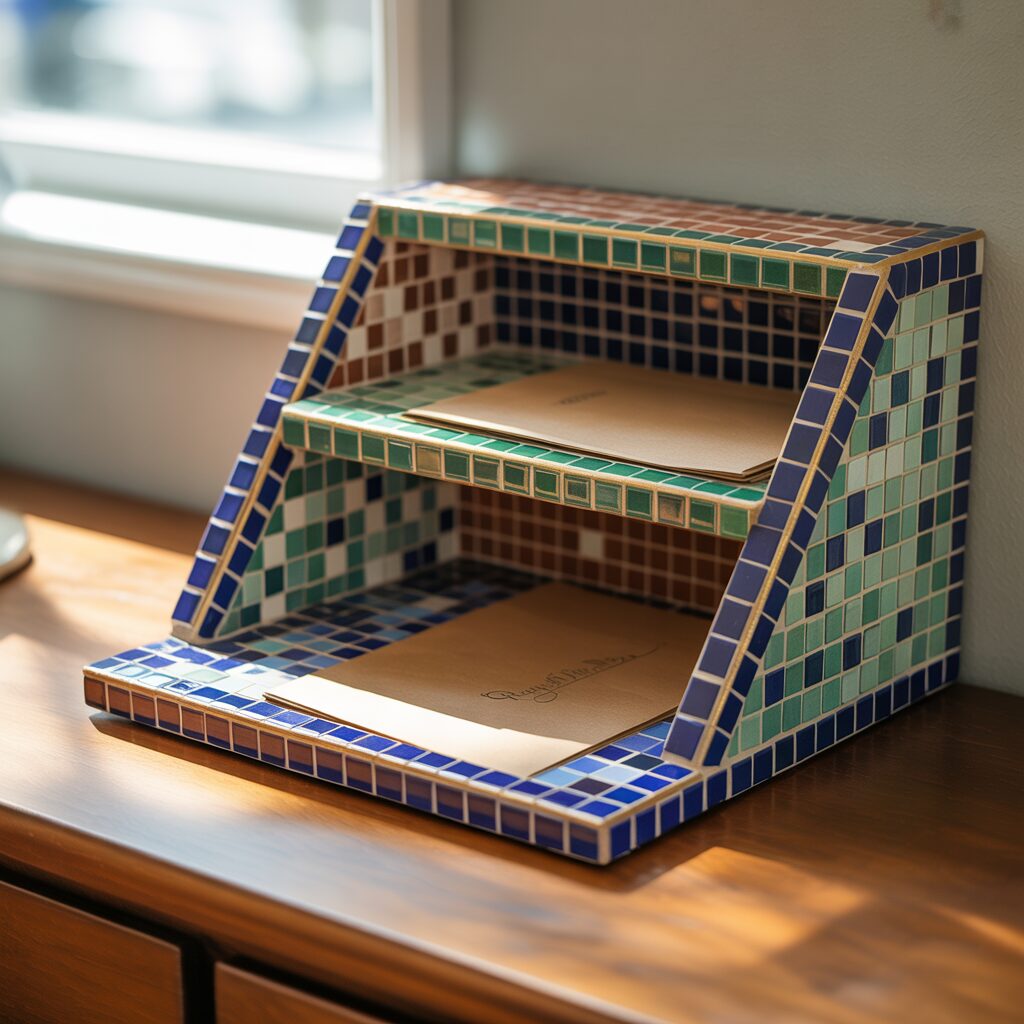
Mail piles up on the desk. A letter holder corrals it. A mosaic letter holder makes the pile look intentional.
Cut a piece of plywood into a shallow box shape. Three sides. An open front. Tile the exterior. Leave the interior bare. Grout. Seal. Slide letters inside.
Pro Tip: Make the holder wide enough for standard envelopes (9 inches).
Mistake to Avoid: Do not tile the interior. Rough grout will tear paper edges.
12. Mosaic Switch Plate Cover
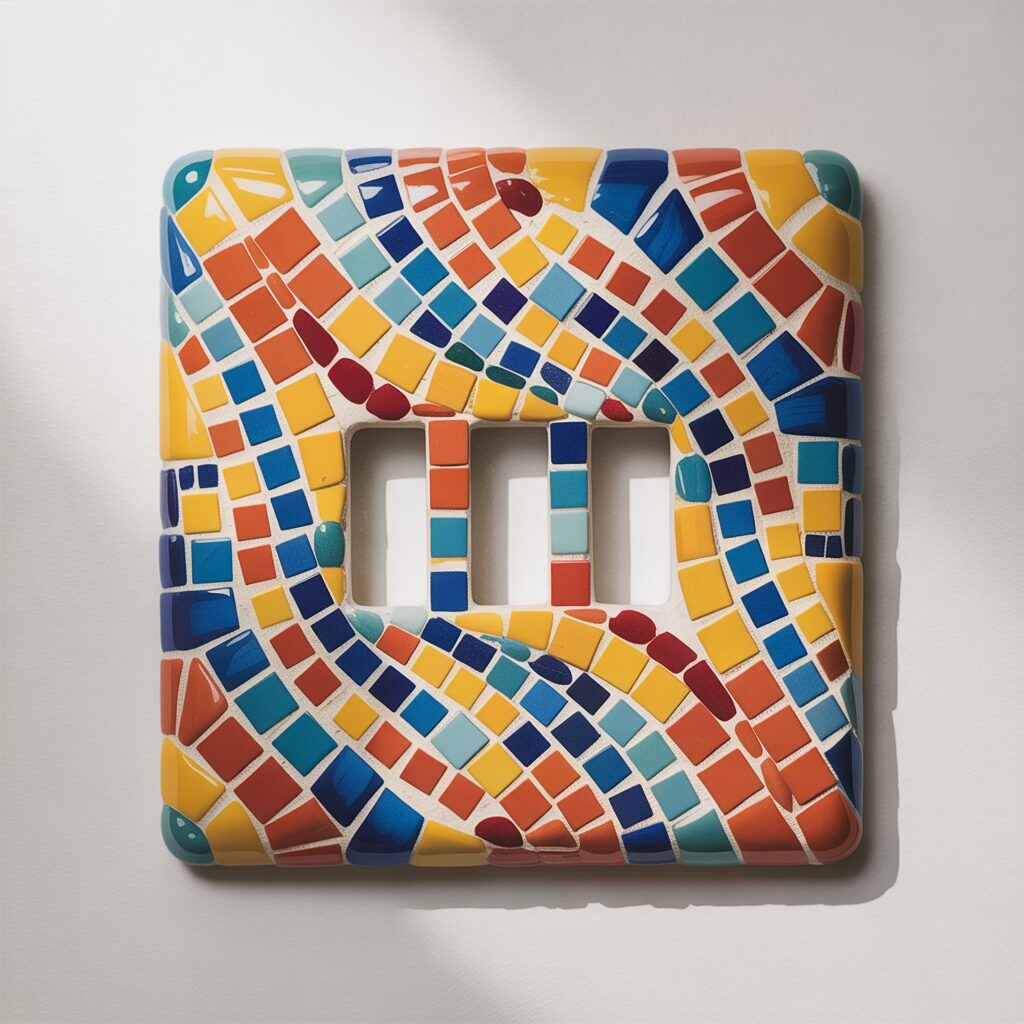
Light switches are ugly. Tile covers are not. A mosaic switch plate turns a necessity into decor.
Remove the existing cover. Trace its shape onto a piece of cement board. Cut it out. Cut holes for the switches. Tile the surface. Grout. Seal. Install.
Pro Tip: Use small tiles around the switch holes. Small tiles fit into tight spaces.
Mistake to Avoid: Do not make the cover too thick. The switch must still function.
13. Mosaic Candle Holder from a Glass Jar
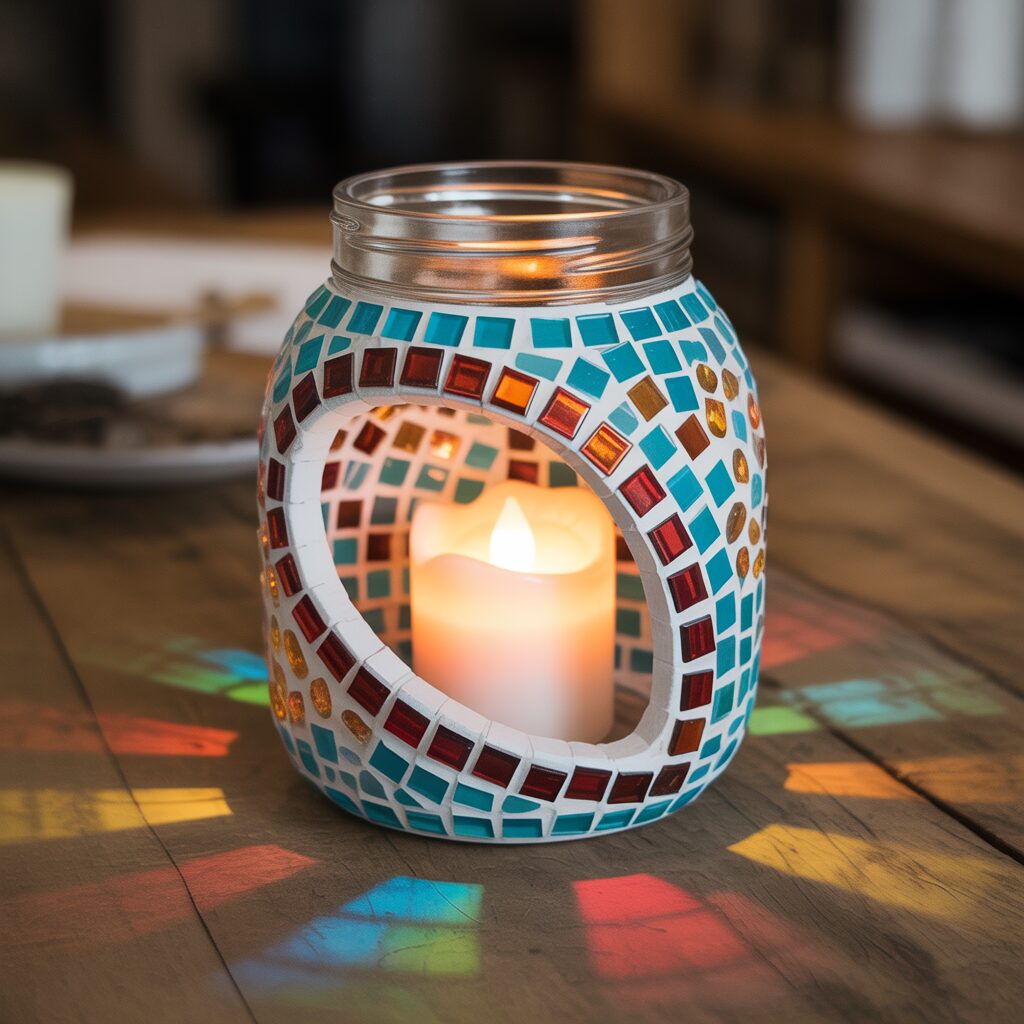
Glass jars are everywhere. Pasta sauce. Pickles. Salsa. Clean one. Tile the outside. Leave gaps for light to shine through.
Apply adhesive to the jar. Press small tiles onto the surface. Leave gaps between tiles. Do not grout. The gaps are the windows for candlelight.
Pro Tip: Use a battery-operated candle. Real candles make the jar hot.
Mistake to Avoid: Do not wash the jar after tiling. The tiles will fall off.
14. Mosaic Hairpin Leg Stool
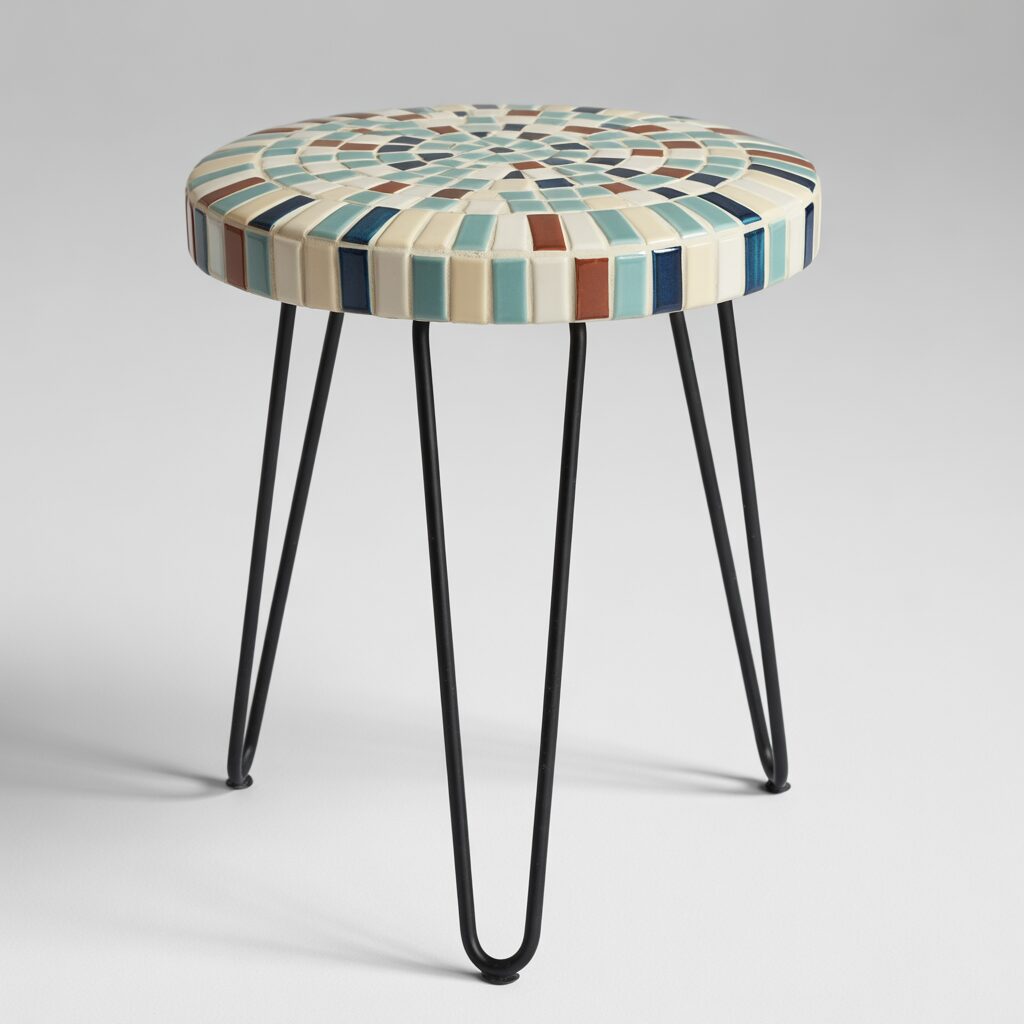
A small stool is useful everywhere. Entryway. Bedroom. Bathroom. Tile the seat. Leave the legs plain.
Cut a plywood circle or square for the seat. Attach hairpin legs. Tile the top surface. Grout. Seal. The stool is complete.
Pro Tip: Use a round seat. Round stools fit into corners better.
Mistake to Avoid: Do not tile the underside. The underside needs to be smooth for your legs.
15. Mosaic Drawer Pulls
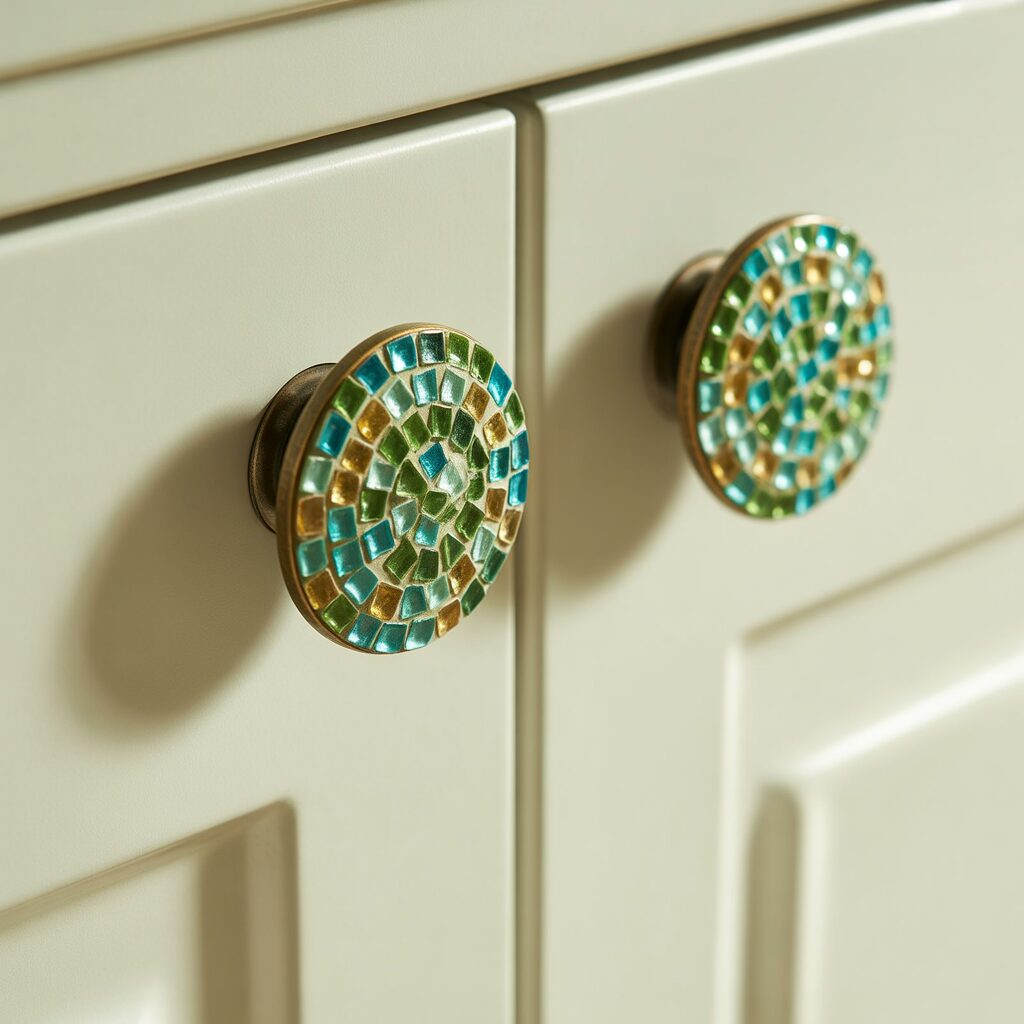
Drawer pulls are functional. They are also decorative. Replace plain pulls with tiled ones.
Remove existing pulls. Cut small wood blocks to the same size. Tile the front face. Drill a hole for the screw. Grout. Seal. Install.
Pro Tip: Use a washer between the tile and the screw head. The washer distributes pressure.
Mistake to Avoid: Do not make the pulls too heavy. Heavy pulls strain the drawer slide.
16. Mosaic Tissue Box Cover
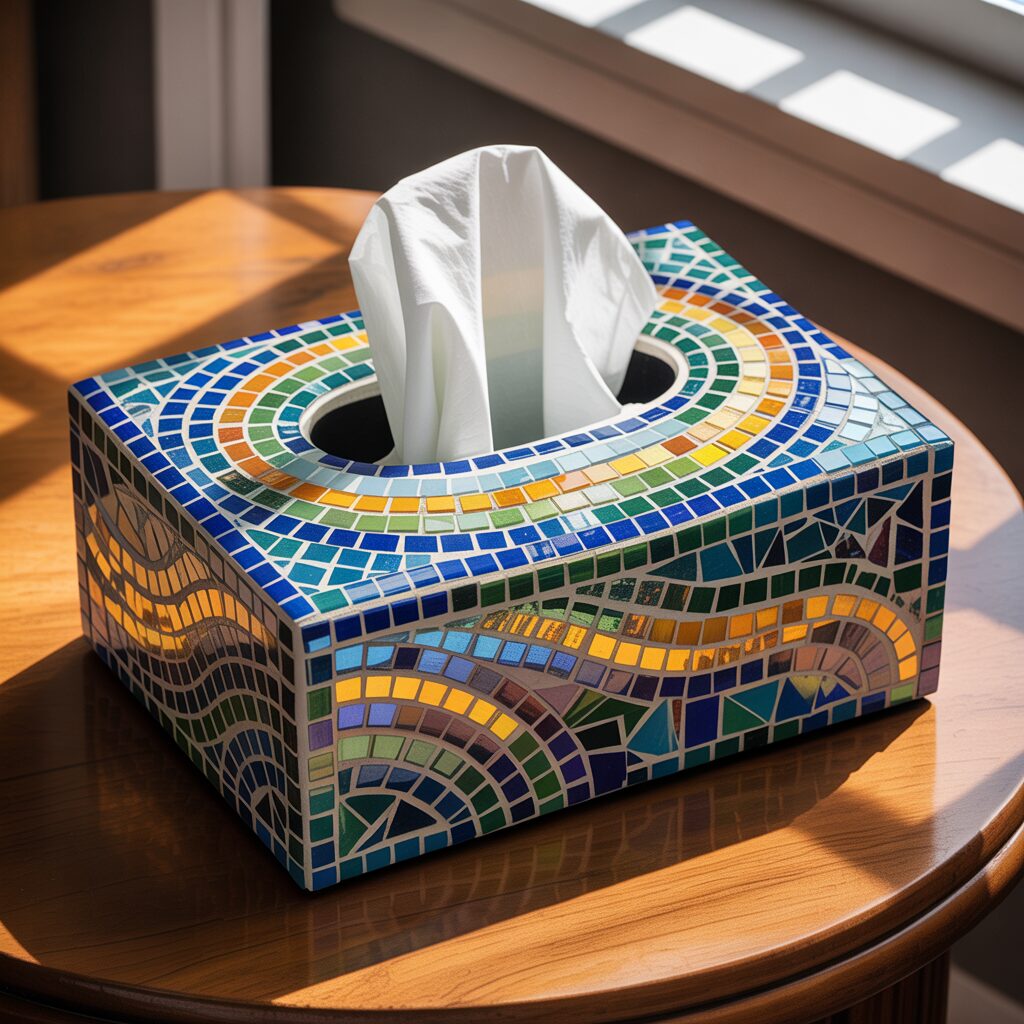
A tissue box is plastic. Plastic is ugly. A mosaic cover hides the plastic. The tissues come through a tiled opening.
Build a shallow box around the tissue box. The box should fit snugly. Leave an opening for the tissues. Tile the exterior. Grout. Seal. Slide the plastic box inside.
Pro Tip: Make the opening slightly larger than the tissues. The tissues need room.
Mistake to Avoid: Do not tile the interior. The plastic box must slide in and out.
17. Mosaic Spoon Rest for the Stove
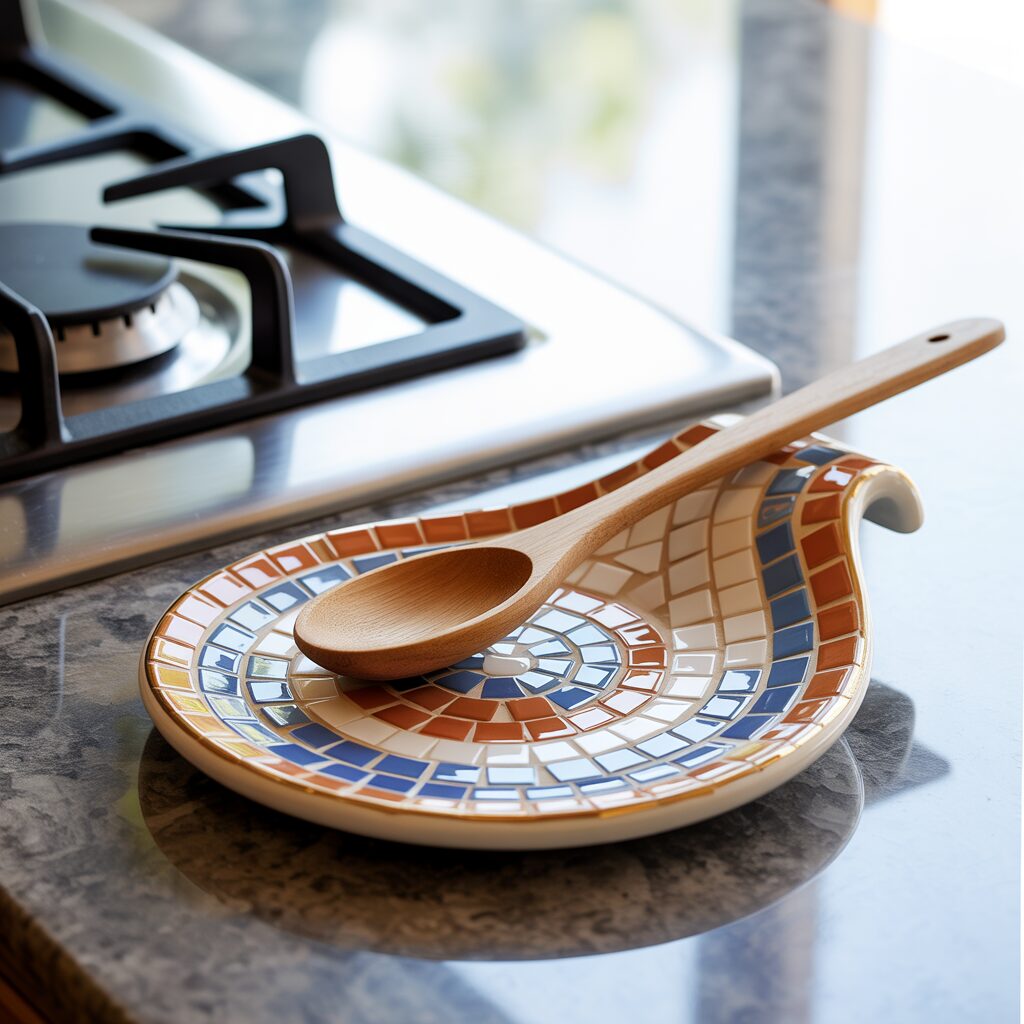
A spoon rest catches drips. A mosaic spoon rest catches drips beautifully.
Use a small ceramic dish as the base. Tile the inside and the rim. Use heat-resistant adhesive and grout. Seal with heat-resistant sealant. Place near the stove.
Pro Tip: Use dark tiles for spoon rests. Dark tiles hide stains.
Mistake to Avoid: Do not use plastic tiles near the stove. Plastic melts.
18. Mosaic Ornaments for the Christmas Tree
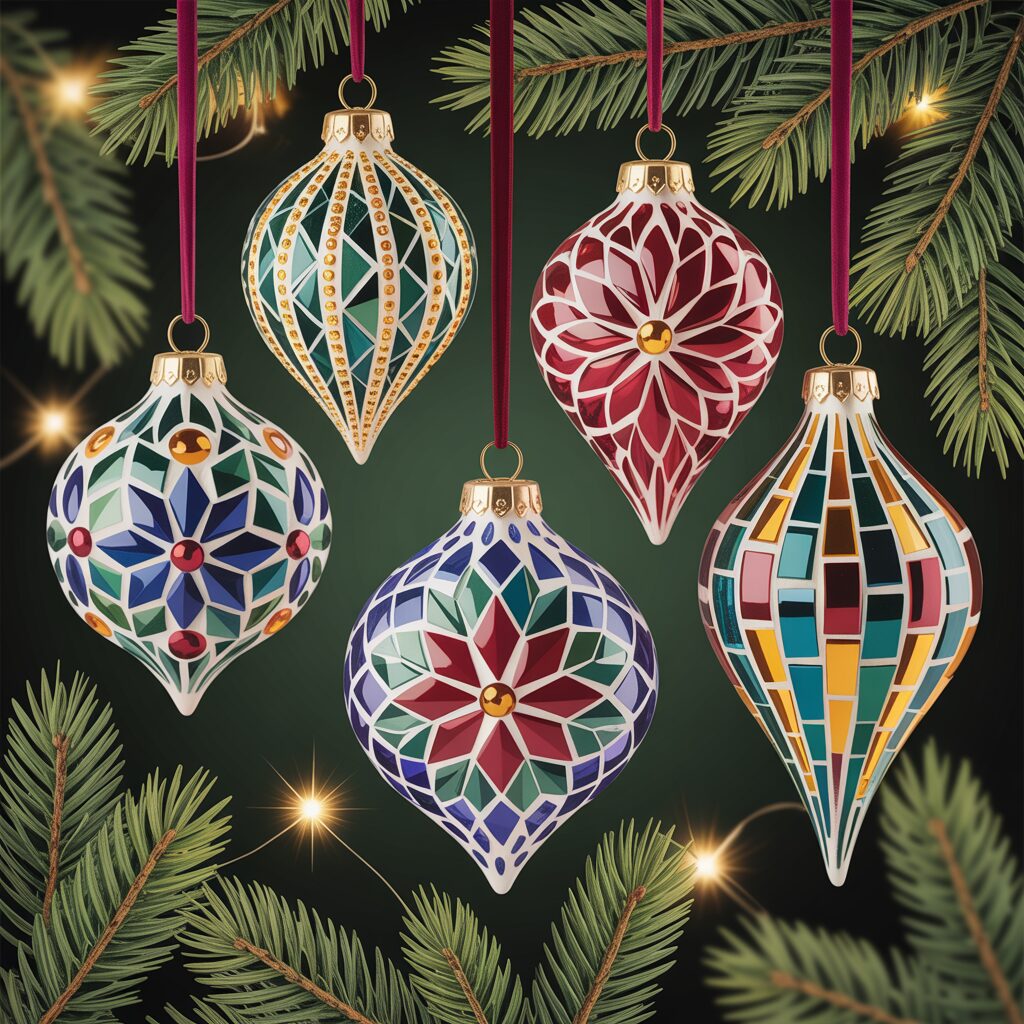
Mosaic ornaments are heavy. The tree branch must be strong. Use lightweight tiles. Use small bases.
Cut small shapes from foam board. Tile one side only. Leave gaps. Skip the grout. Grout adds weight. Glue a ribbon loop to the back.
Pro Tip: Use iridescent tiles for ornaments. The sparkle catches Christmas lights.
Mistake to Avoid: Do not use glass tiles for the back. Foam board needs lightweight materials.
19. Mosaic Sunglasses Holder

Sunglasses get scratched in drawers. A holder keeps them safe. A holder on the wall is convenient.
Cut a small block of wood. Glue a dowel to the front. The dowel holds the sunglasses. Tile the base. Grout. Seal. Mount to the wall.
Pro Tip: Make the dowel slightly wider than the sunglasses bridge. Sunglasses should slide on easily.
Mistake to Avoid: Do not tile the dowel. The sunglasses need a smooth surface.
20. Mosaic Decorative Bowl
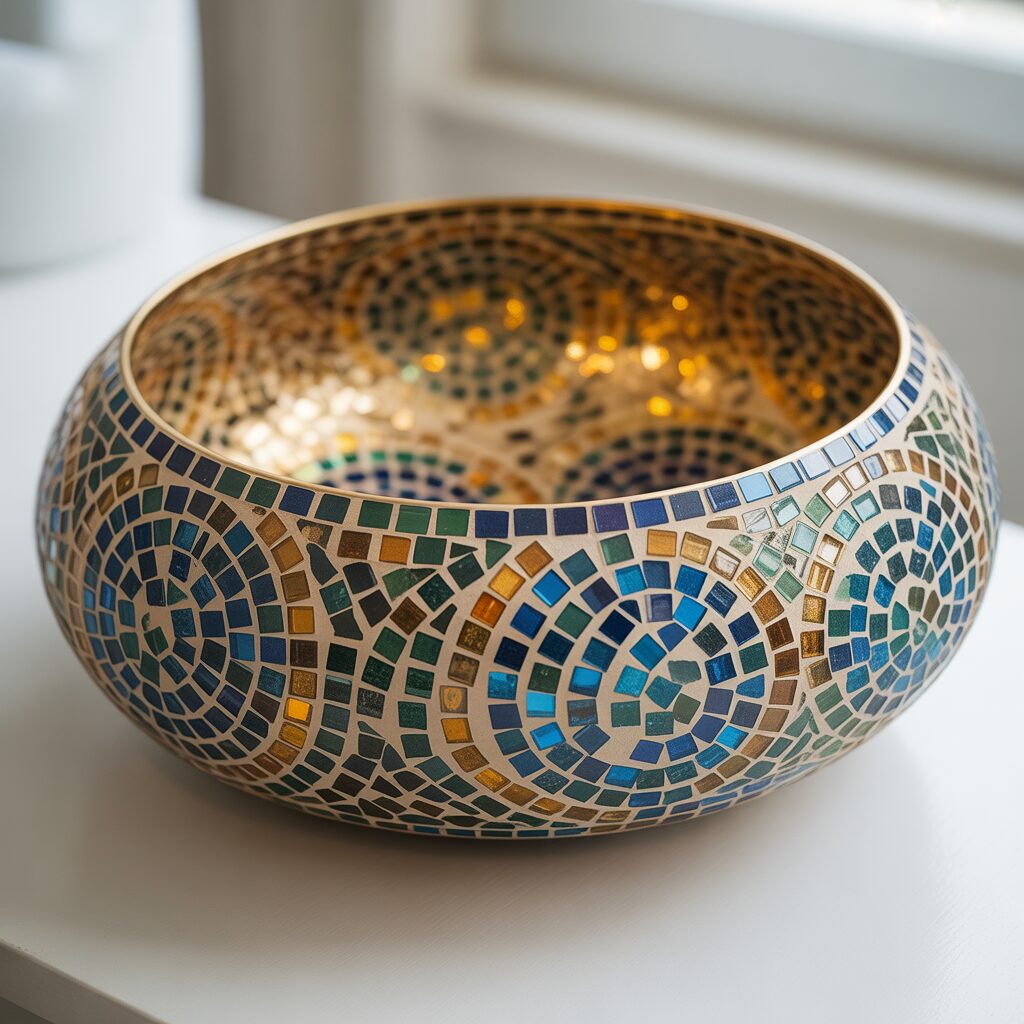
A bowl holds fruit. A bowl holds keys. A bowl holds nothing at all. The bowl itself is the point.
Use a plain ceramic bowl as a mold. Not as the base. Cover the outside of the bowl with tesserae (mosaic pieces). Let dry. Remove the bowl. The mosaic holds its shape.
Pro Tip: Use plastic wrap between the bowl and the tiles. The wrap prevents sticking.
Mistake to Avoid: Do not use this technique for food bowls. The grout is not food-safe.
Frequently Asked Questions
What adhesive works best for small mosaic crafts?
Weldbond. It is white. It dries clear. It cleans up with water. It holds tiles securely. It is available at most craft stores.
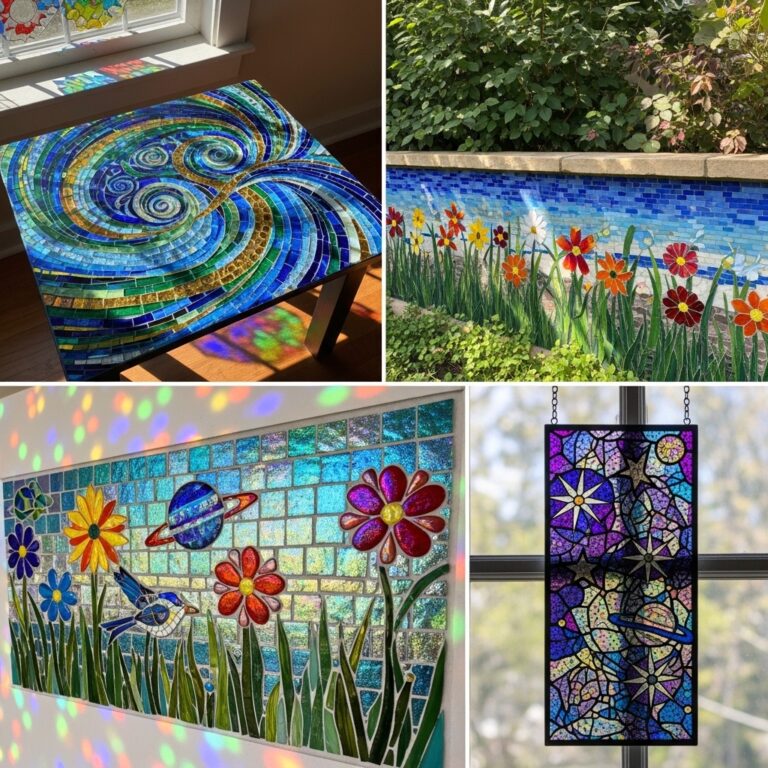
Can I use stained glass for mosaic crafts?
Yes. Stained glass cuts easily with tile nippers. The colors are brilliant. Wear safety glasses. Glass shards are sharp.
How do I cut small tiles for detailed crafts?
Use a tile nipper. Squeeze gently. Take small bites. Patience is more important than strength.
How long should I wait before grouting?
Wait 24 hours. The adhesive needs time to cure. Grouting too soon shifts the tiles.
Conclusion
Leftover tiles do not need to go in the trash. They become coasters for drinks. Trivets for hot dishes. Picture frames for memories. Flower pot covers for plants. Jewelry trays for dressers. Pen holders for desks. Key holders for entries. Soap dishes for bathrooms. Napkin rings for tables. Bookends for shelves.
Start with one project today. A coaster. A pen holder. A key holder. The tiles are already there. The tools are simple. The result will be useful. And the scraps will finally have a purpose.