15 Kids Room Design Ideas That Create Functional, Beautiful & Growth-Ready Spaces to Love
Designing a child’s room is a unique challenge that no other room in your home presents.
You need storage that works today and furniture that adapts tomorrow. Color that delights without overwhelming.
Safety that protects without feeling restrictive. Style that reflects your child’s personality at every age.
The best kids room designs grow with your child from toddler to teenager with minimal changes.
A thoughtful design saves you money, time, and the headache of redecorating every few years.
This guide delivers 15 kids room design ideas that create functional, beautiful, and growth-ready spaces.
From zoning to lighting, each idea balances today’s needs with tomorrow’s possibilities.
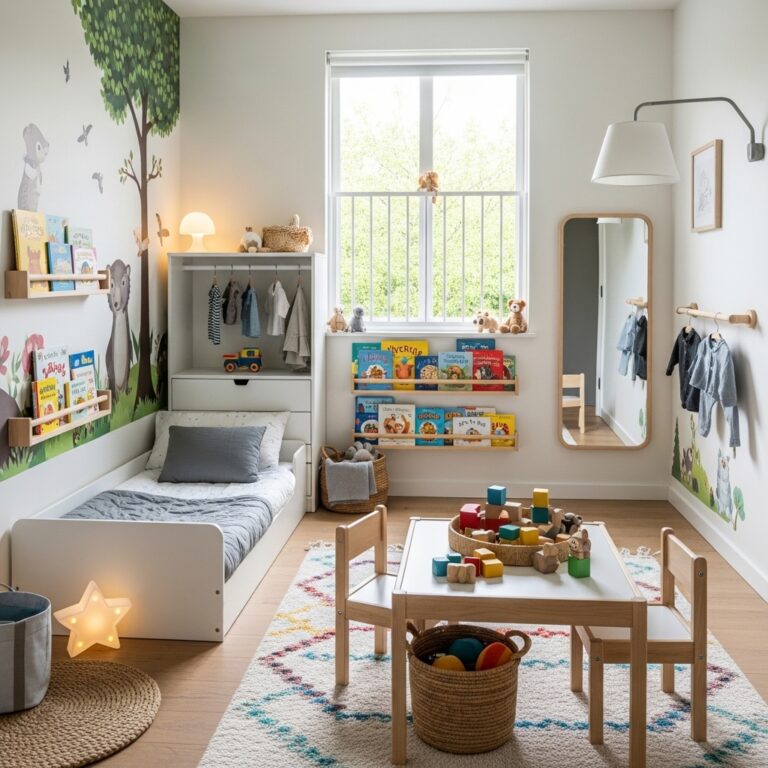
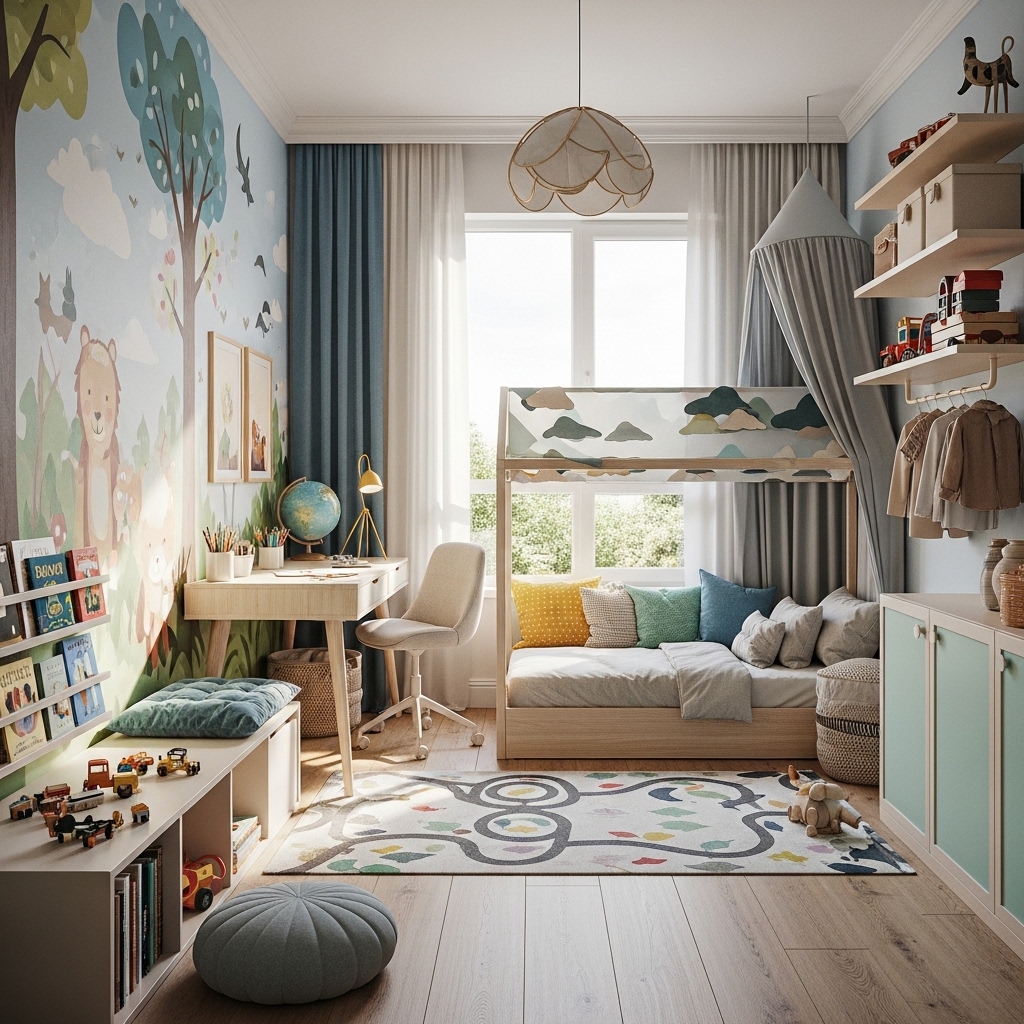
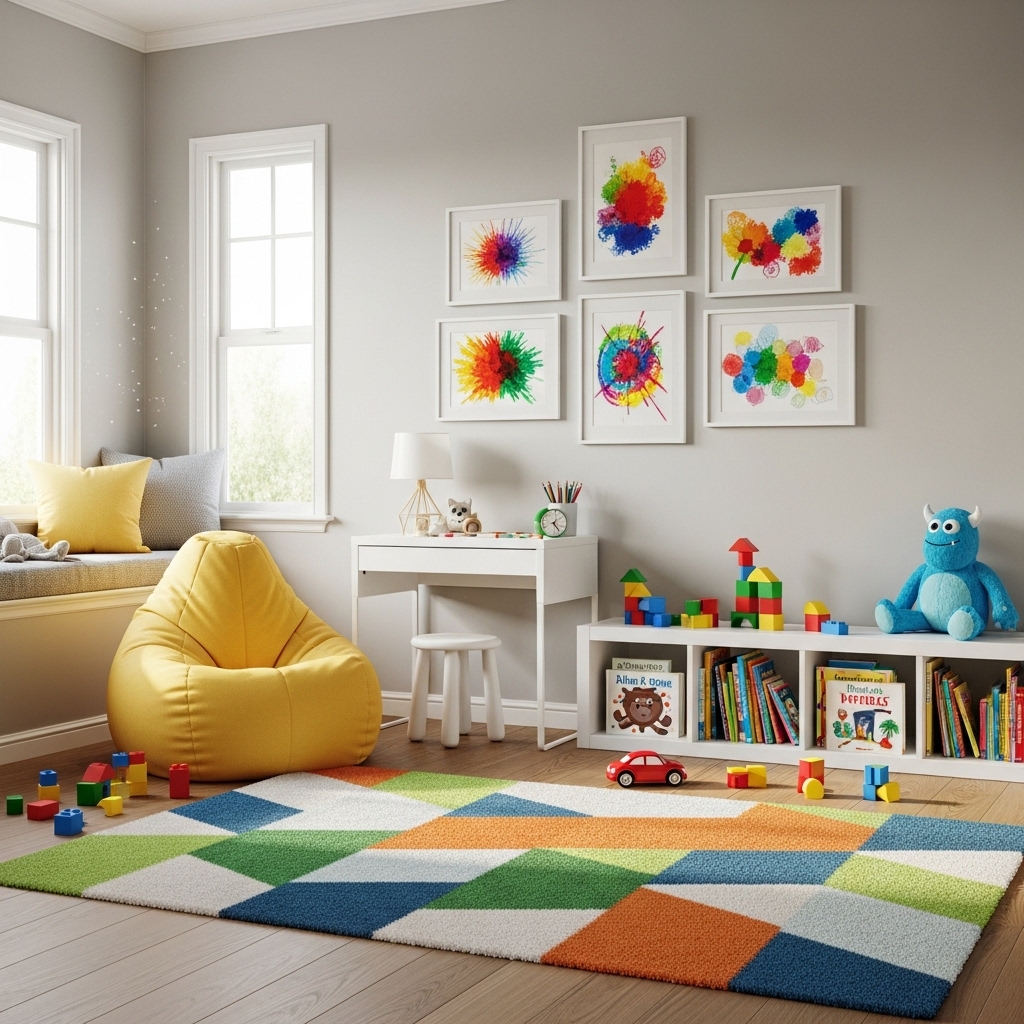
1. Zone the Room into Sleep, Play, and Study Areas
Use this idea when your child’s room serves multiple purposes throughout each day.
Divide the room into three distinct zones using furniture placement and rugs. Sleep zone around the bed.
Play zone on the floor with a soft rug. Study zone at a desk or table near natural light.
Mixed-up furniture creates chaos. Defined zones tell your child what each area of the room is for.
Pro Tip: Use different colored rugs to mark each zone. A blue rug for sleep. A green rug for play. A yellow rug for study.
Mistake to Avoid: Do not put your child’s desk facing a wall with posters or toys. The study zone needs minimal visual distractions.
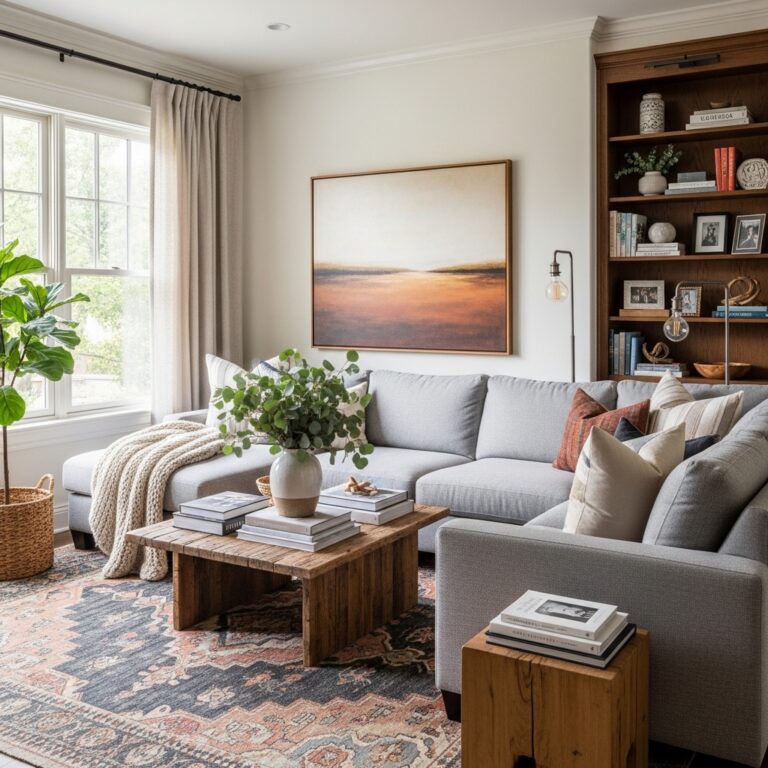
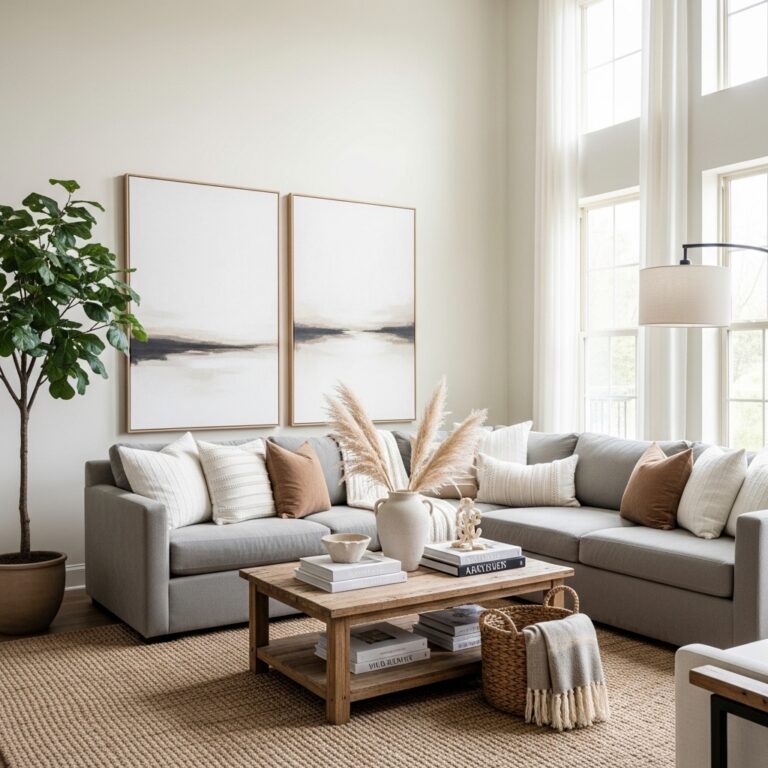
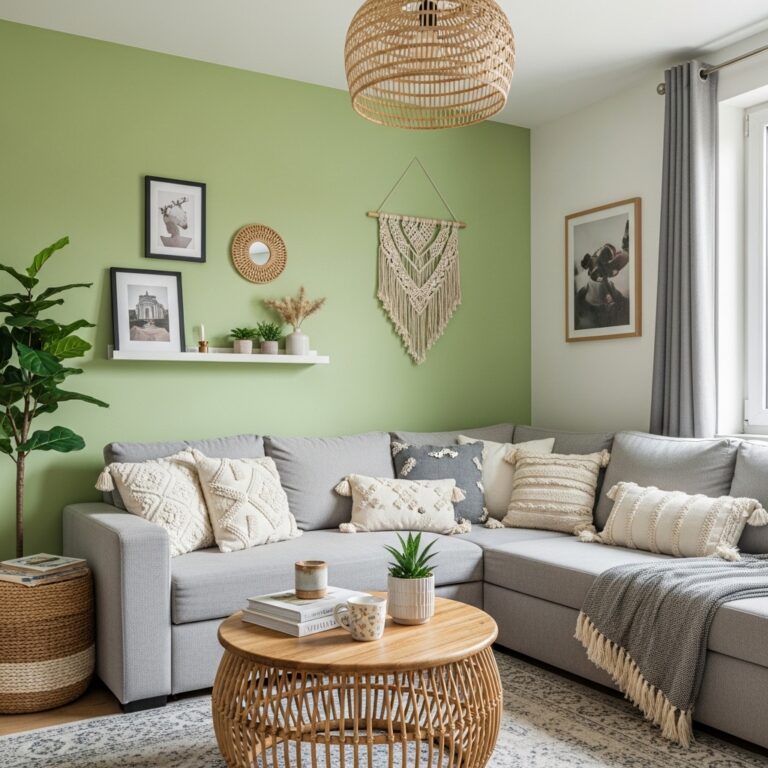
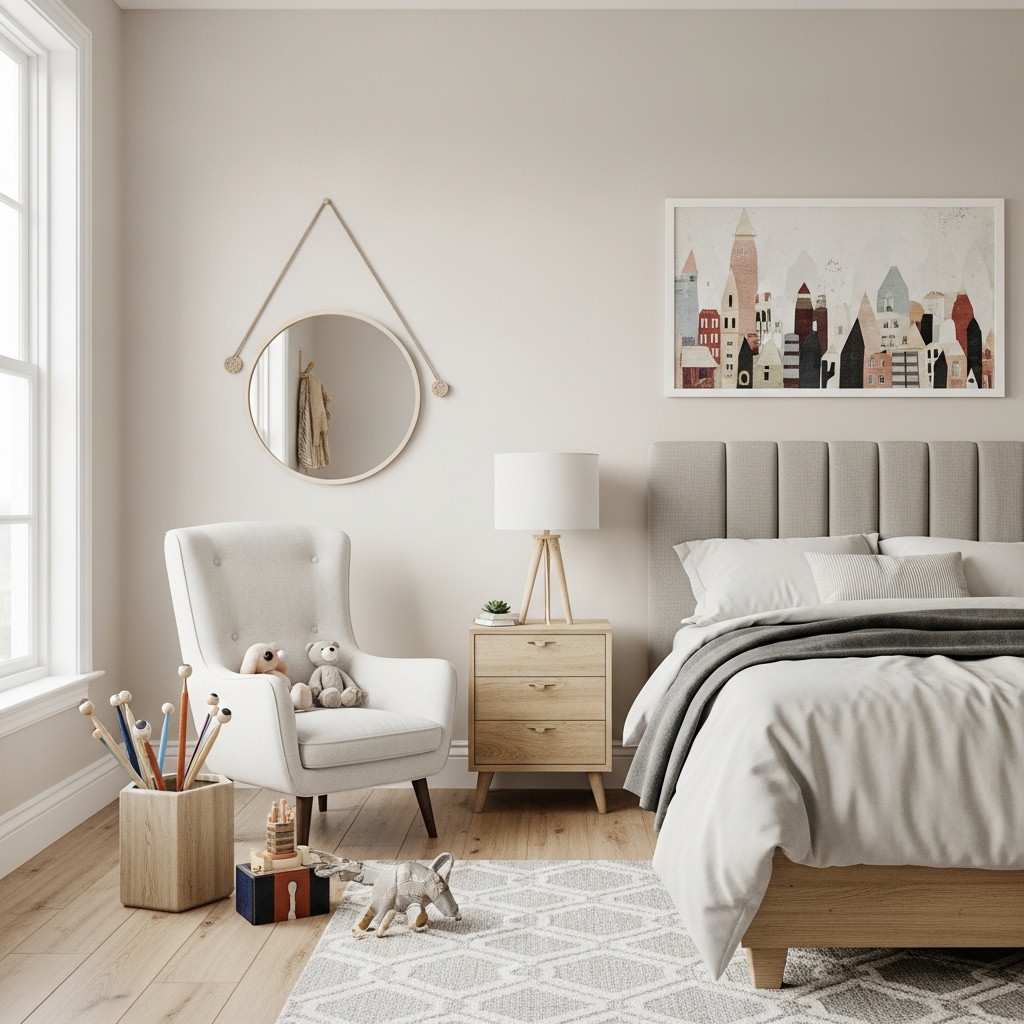
2. Choose Neutral Walls with Colorful Accessories
Choose this approach when you want a room that grows with your child without repainting every two years.
Paint all walls a neutral color like warm white, light gray, or soft beige. Add color through bedding, rugs, and art.
When your child’s taste changes, you swap accessories instead of repainting entire walls.
Bright walls lock you into a theme. Neutral walls give you flexibility to evolve as your child grows.
Pro Tip: Choose a neutral with warm undertones. Warm grays and beiges feel cozy. Cool grays feel cold and institutional.
Mistake to Avoid: Do not choose pure white. Pure white shows every fingerprint, scuff mark, and crayon swipe.
3. Install Adjustable or Modular Furniture
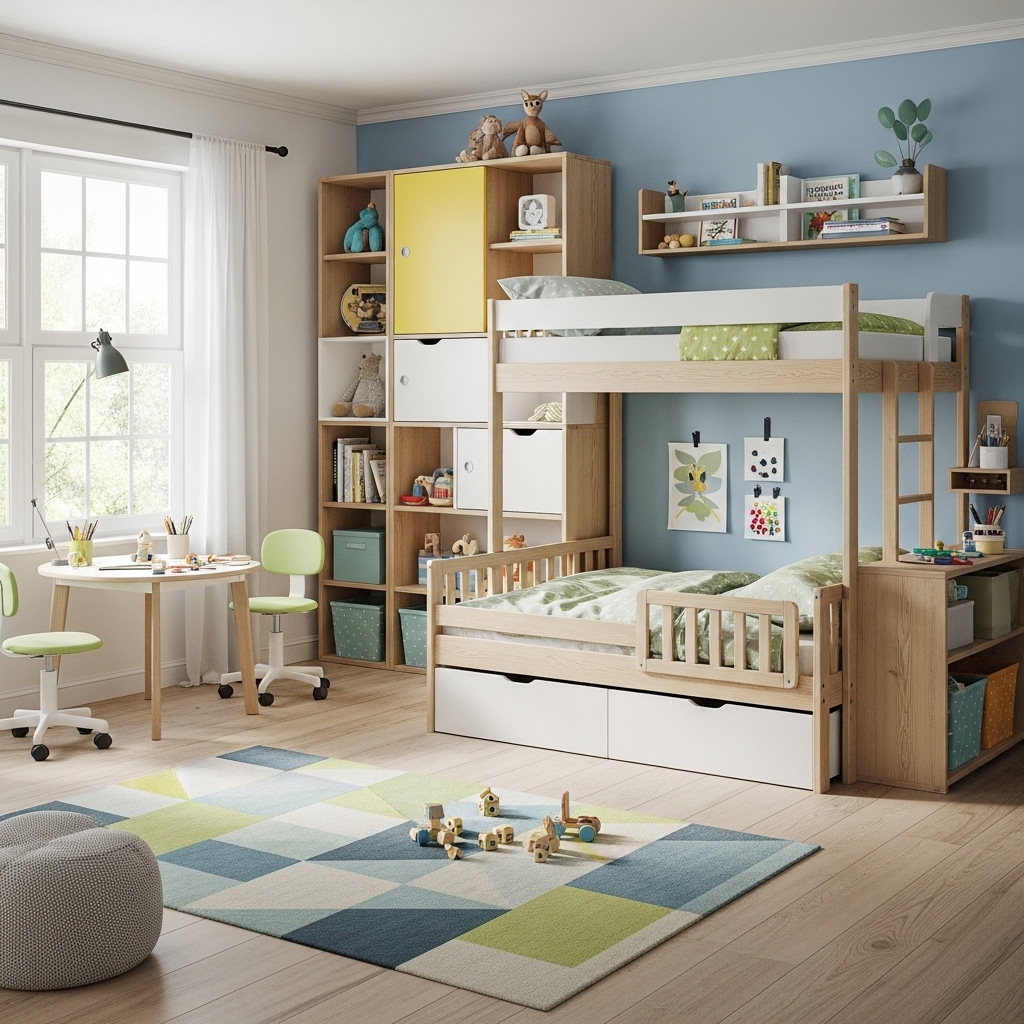
Apply this method when you want furniture that adapts as your child grows taller and needs change.
Buy a crib that converts to a toddler bed, then to a daybed. Choose a desk with adjustable legs.
Modular furniture costs more upfront but saves money long-term because you do not rebuy pieces.
Standard furniture fits for two years. Adjustable furniture fits for fifteen years. The math is simple.
Pro Tip: Look for dressers where you can remove the top changing tray. A nursery dresser becomes a big kid dresser in minutes.
Mistake to Avoid: Do not buy convertible furniture with missing parts. Ensure all conversion pieces come included in the original box.
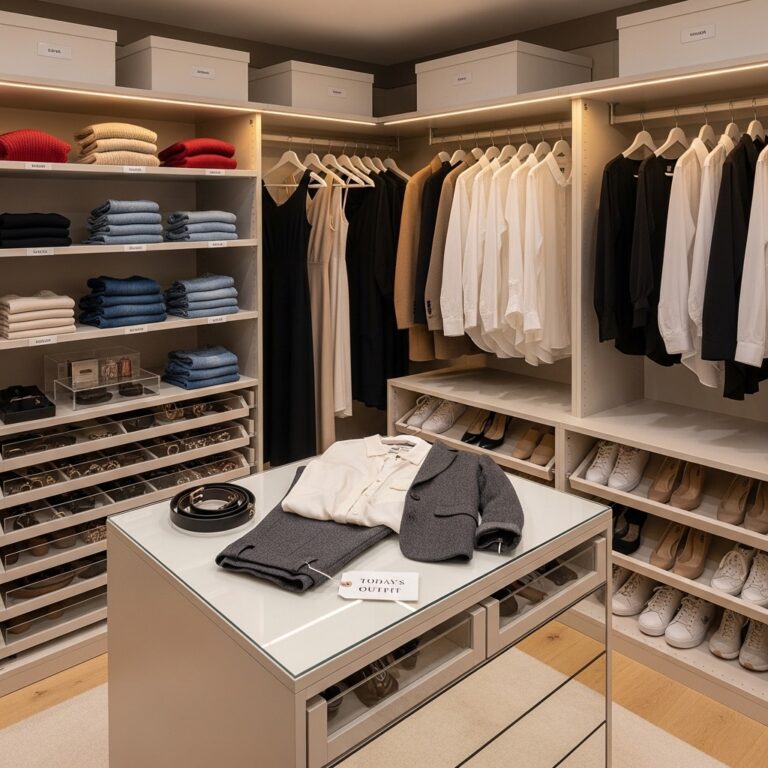
4. Maximize Vertical Space with Tall Storage
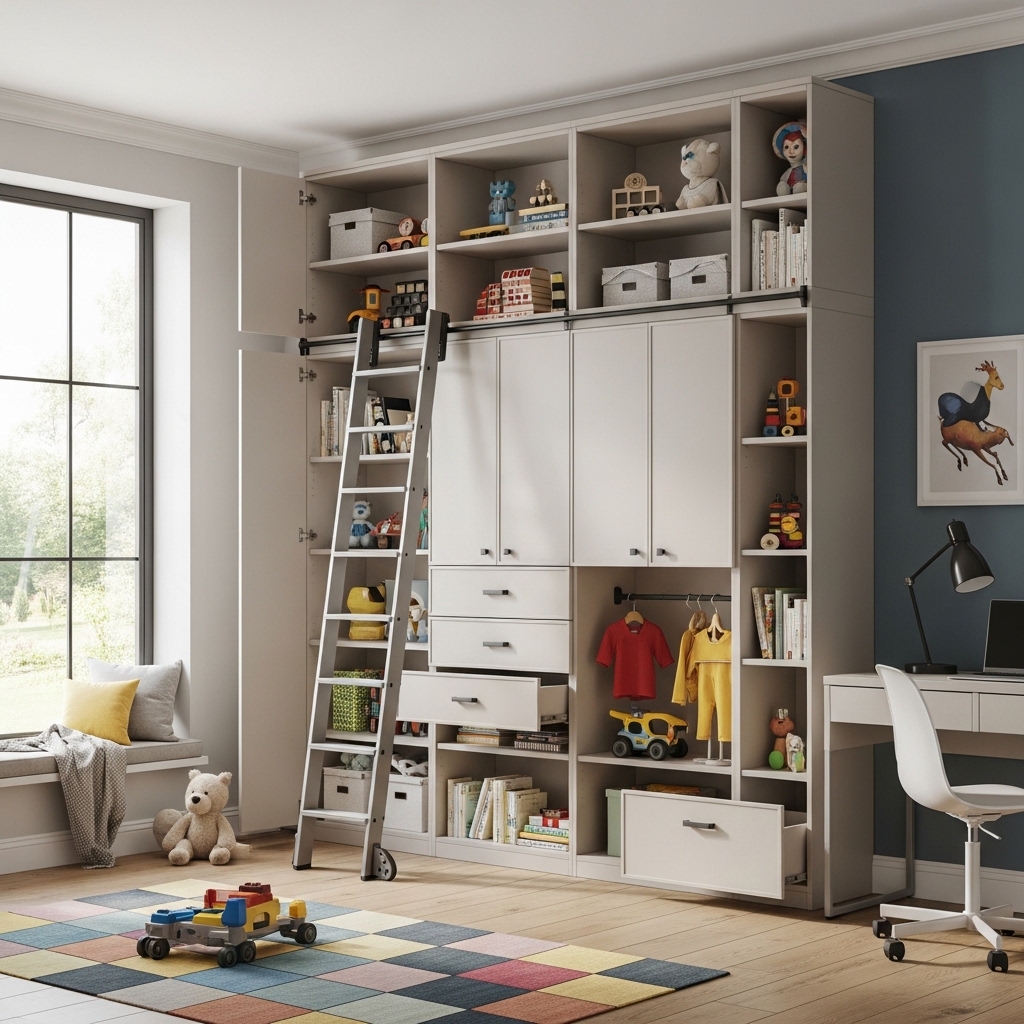
Use this strategy when your child’s floor space is limited and every square inch matters.
Install floor-to-ceiling shelving, tall bookcases, or stackable cube units against one wall.
Vertical storage uses wall space that nothing else can occupy. Your floor stays open for playing and walking.
Floor-level storage consumes precious square footage. Tall storage gives you the same capacity without the footprint.
Pro Tip: Place less frequently used items on top shelves. Store daily toys and books on lower shelves at your child’s height.
Mistake to Avoid: Do not forget to anchor tall furniture to the wall. Tip-over accidents are a serious safety risk for young children.
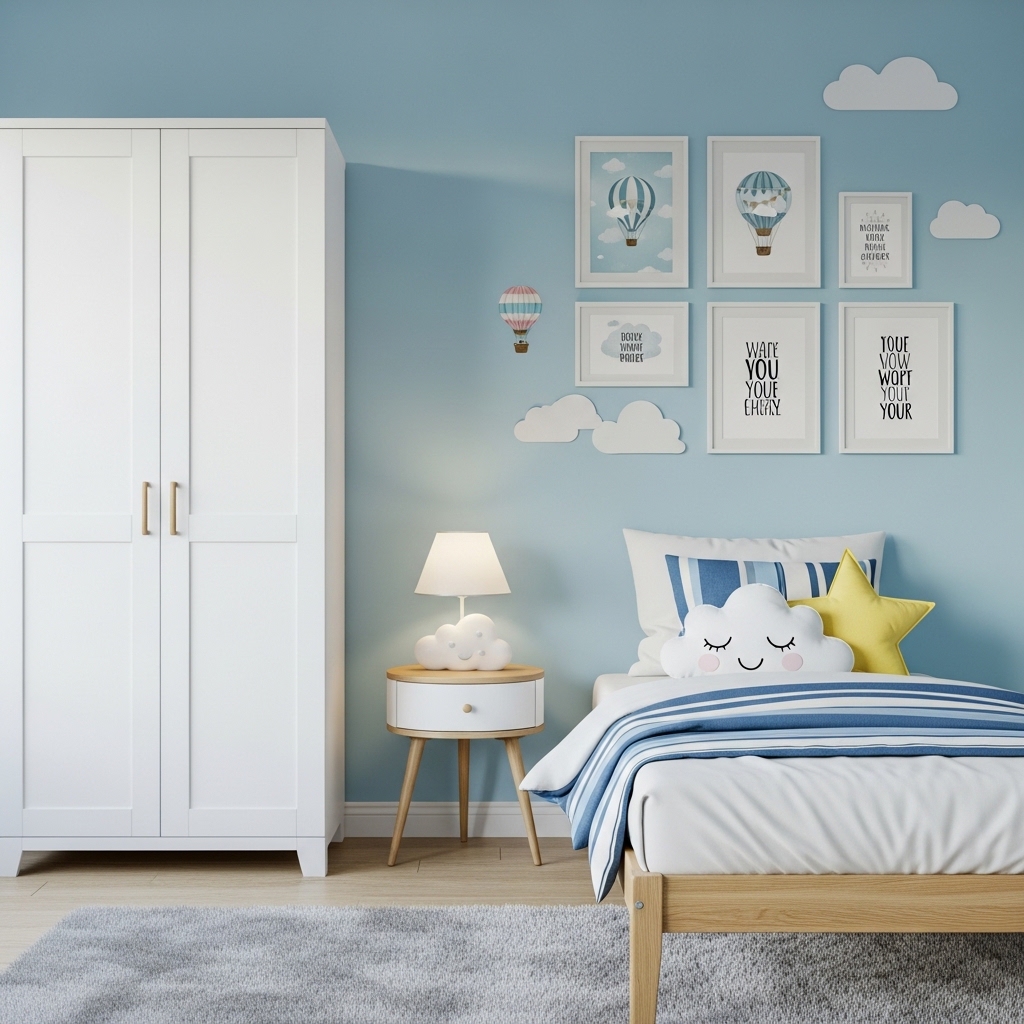
5. Create a Gallery Wall at Child’s Eye Level
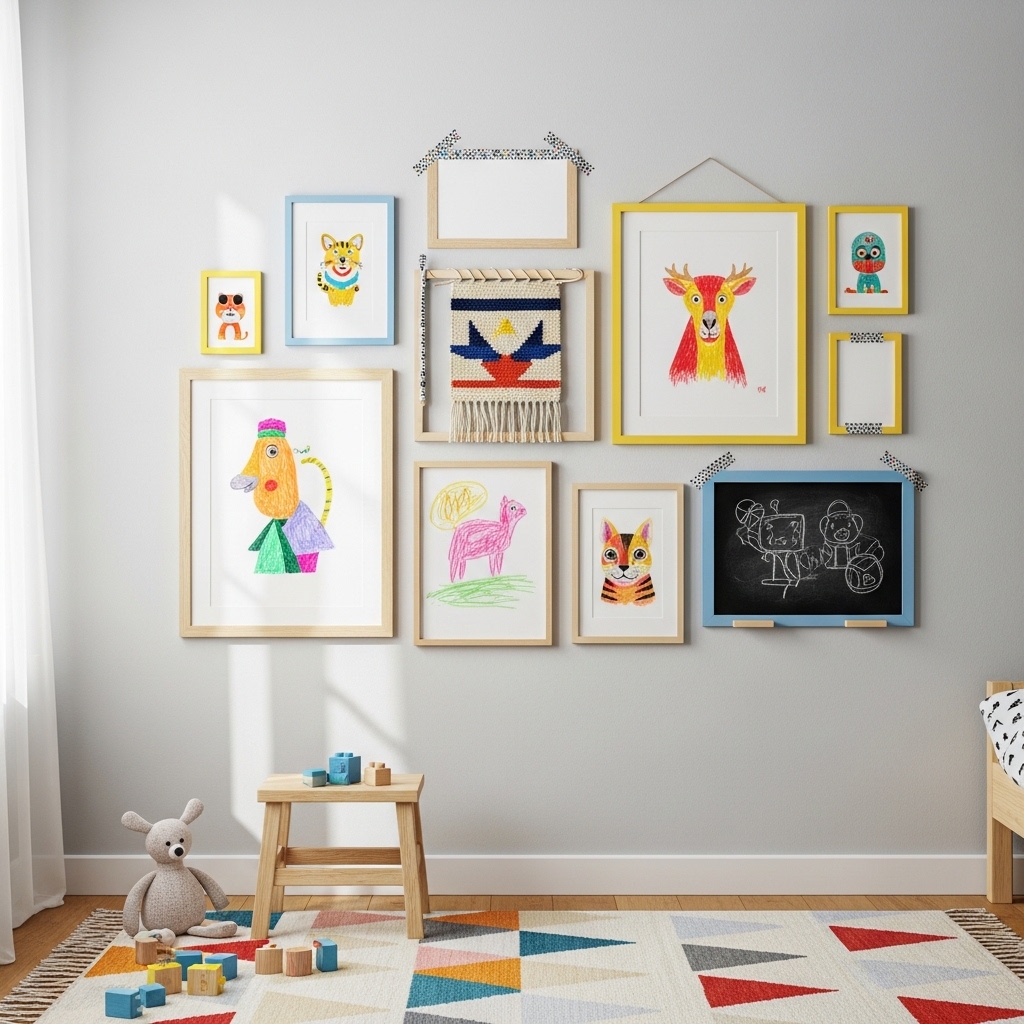
Choose this approach when you want your child to feel like the room truly belongs to them.
Hang art, photos, and your child’s own artwork on a wall at their eye level, roughly 36 to 48 inches high.
Your child sees the wall as theirs. They connect with the images daily because the height is accessible.
Art hung at adult height is invisible to children. Eye-level art engages them every single day.
Pro Tip: Use clipboards instead of frames. Clipboards make swapping artwork easy as your child creates new masterpieces.
Mistake to Avoid: Do not use glass frames at child height. Acrylic frames only. Glass breaks dangerously when knocked off walls.
6. Use Bins and Baskets Instead of Lids and Drawers

Apply this method when your child struggles to put toys away because lids and drawers are too hard.
Provide open bins and baskets without lids on low open shelves. No lids to remove. No drawers to slide.
Your child drops toys into bins and slides the bin onto the shelf. Cleanup takes seconds instead of minutes.
Lids frustrate small hands. Drawers pinch fingers. Open bins invite even the youngest child to help clean up.
Pro Tip: Take a photo of each bin’s contents. Tape the photo to the front. Your child matches toys to pictures during cleanup.
Mistake to Avoid: Do not use bins that are too heavy for your child to carry. Test each bin’s weight before putting it on a low shelf.
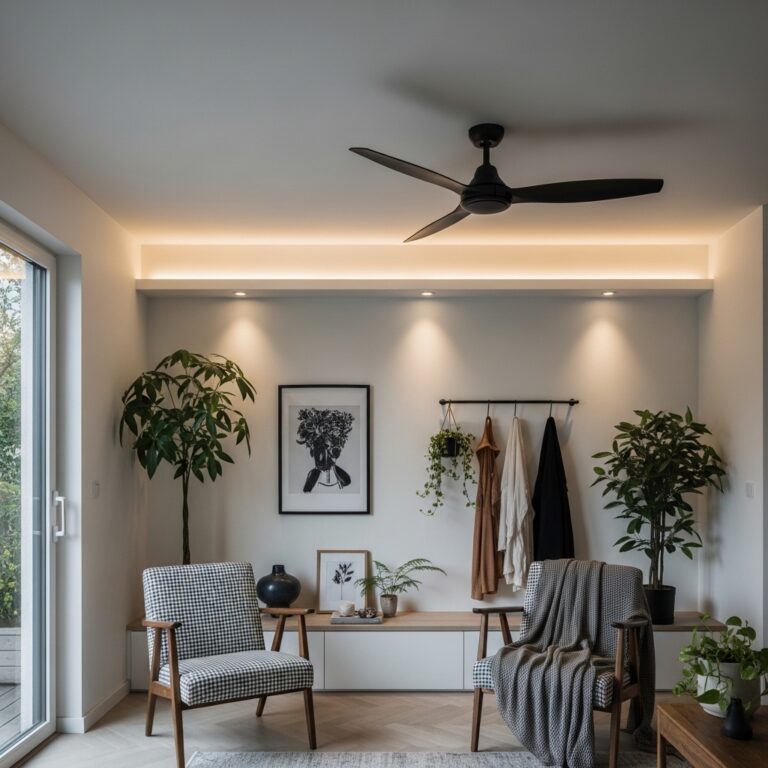
7. Install Dimmer Switches on All Overhead Lights
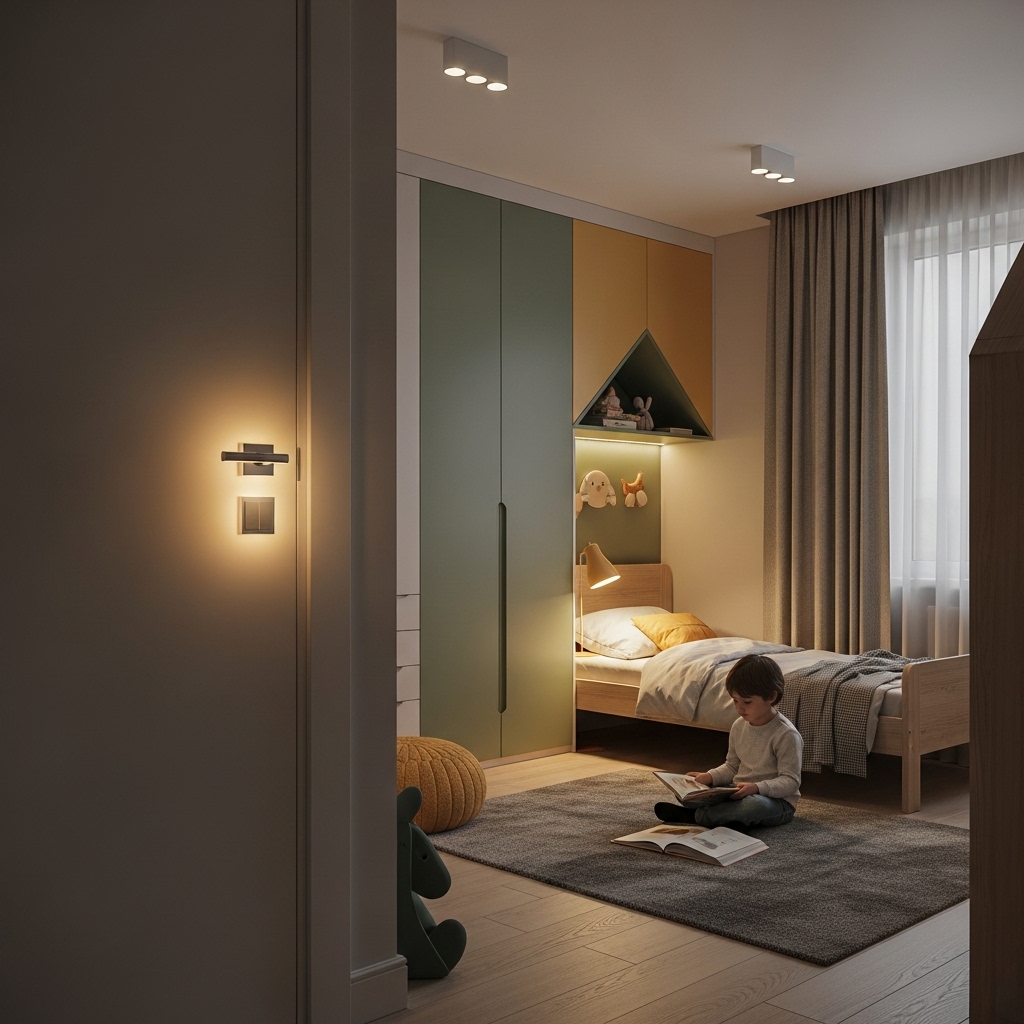
Use this idea when your child needs bright light for play and dim light for winding down before sleep.
Replace standard light switches with dimmer switches. Choose a dimmer with a slider or rotary control.
Bright light for energetic play and homework. Dim light for quiet time and bedtime stories.
Harsh overhead lights overstimulate children before sleep. Dimmable lights give you control over their energy level.
Pro Tip: Install a dimmer with a preset button. One tap returns to your favorite brightness level every time.
Mistake to Avoid: Do not use dimmers with incompatible LED bulbs. Check that your bulbs say “dimmable” on the package.
8. Choose a Neutral Floor That Hides Wear and Tear
Choose this approach when your child’s floor will endure spills, scuffs, and dropped toys daily.
Select flooring in a medium tone like warm gray, brown, or beige with subtle pattern or texture.
Medium tones hide dirt between cleanings. Pattern and texture disguise scratches and scuff marks.
White floors show everything. Dark floors show every speck of dust. Medium floors are the sweet spot for kids’ rooms.
Pro Tip: Choose flooring with a low-gloss finish. High-gloss floors show every scratch. Matte and satin finishes hide imperfections.
Mistake to Avoid: Do not install carpet in a child’s room. Carpet traps allergens, stains permanently, and is impossible to keep truly clean.
9. Position the Bed for Safety and Flow

Apply this method when you want your child’s bed placement to support safe sleep and easy movement.
Place the bed against a solid wall, not under a window. Keep at least 18 inches of walking space on three sides.
A bed against a wall feels secure. Walking space prevents tripping during nighttime bathroom trips.
Beds under windows risk drafts, broken glass, and curtain cords. Beds blocking pathways cause falls.
Pro Tip: Position the bed so your child can see the door from lying down. Seeing the door reduces nighttime anxiety.
Mistake to Avoid: Do not place the bed directly in front of a heating vent. Your child will overheat or block airflow to the whole room.
10. Use Window Coverings Without Cords
Use this strategy when safety is your top priority for your child’s room.
Install cordless blinds, roller shades, or curtains on a rod. Eliminate all dangling cords from the room.
Cordless window coverings eliminate strangulation risk. Your child is safe whether you are in the room or not.
Window cords are one of the hidden dangers in children’s rooms. Cordless options are widely available and affordable.
Pro Tip: Choose blackout roller shades. Blackout shades help young children nap during daylight hours and sleep longer in summer mornings.
Mistake to Avoid: Do not use curtain tie-backs with long tails. Tails become strangulation hazards. Choose magnetic or short tie-backs only.
11. Create a Dedicated Display Area for Treasures
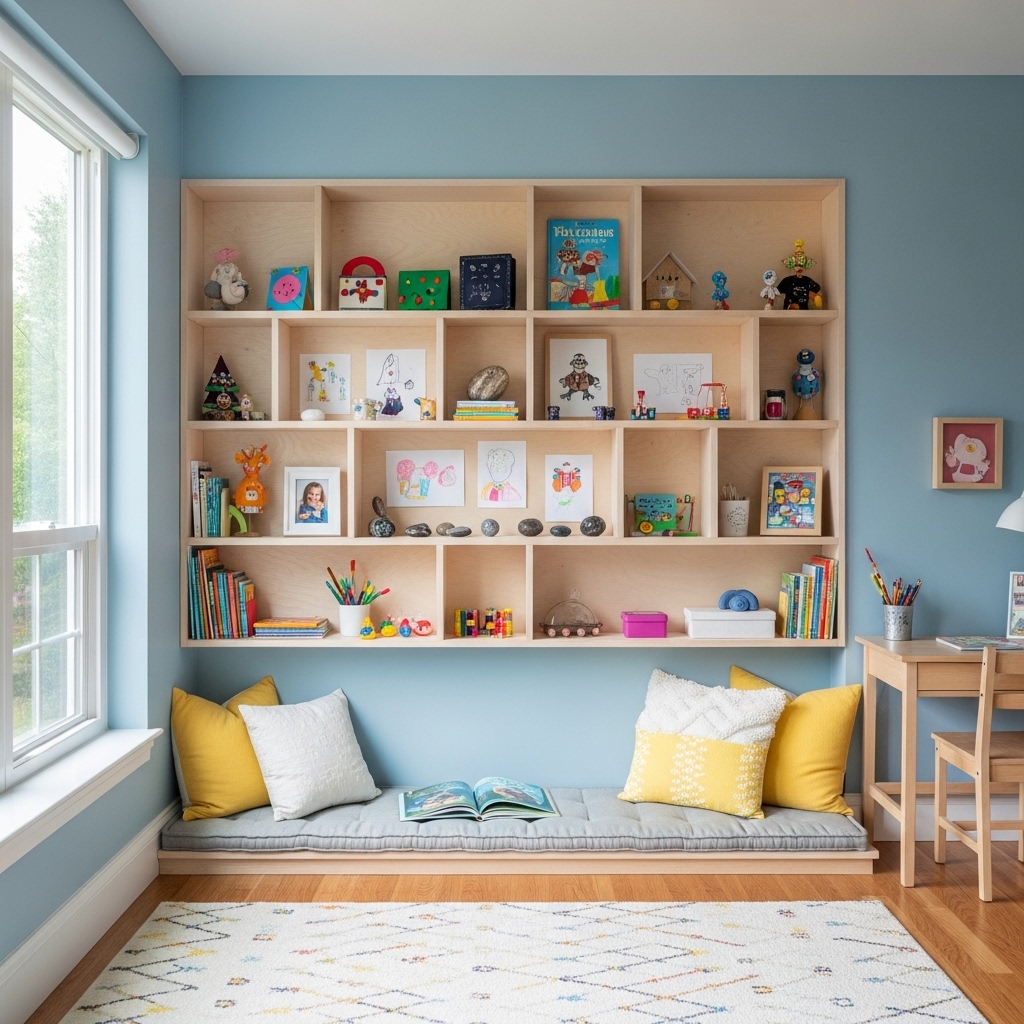
Choose this approach when your child collects rocks, shells, art projects, or small toys.
Install a floating shelf or a picture ledge at your child’s eye level. Use it only for displaying current treasures.
Your child’s collection becomes curated decor. Rotating items keeps the display feeling fresh and special.
Collections scattered around the room look like clutter. A dedicated display area elevates treasures to art.
Pro Tip: Limit the display to five items at a time. Your child chooses which five. The rest go into a keepsake box.
Mistake to Avoid: Do not display breakable items on a shelf accessible to a young child. Save glass and ceramics for upper shelves only.
12. Use Paint to Create a Focal Point Without Wallpaper
Apply this method when you want a dramatic design element without the commitment of wallpaper.
Paint a large arch, circle, or geometric shape on one wall behind the bed or play area.
The painted shape creates a designer look for under $20. Paint is easy to change when your child’s taste evolves.
Wallpaper is expensive and difficult to remove. A painted shape is cheap and easy to paint over later.
Pro Tip: Use a string tied to a pencil to draw your perfect arch or circle before painting. No fancy tools required.
Mistake to Avoid: Do not paint your shape too small. The shape should be at least 50 percent wider than the furniture placed in front of it.
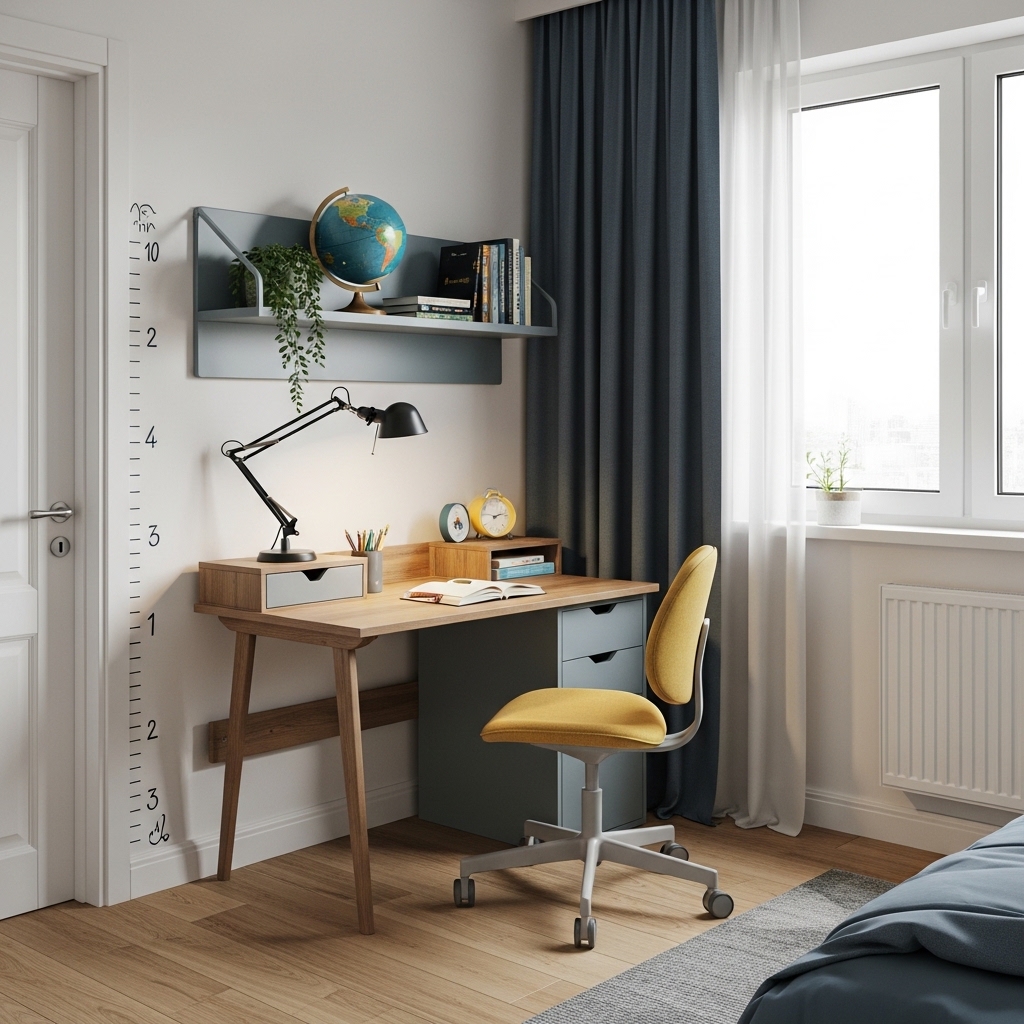
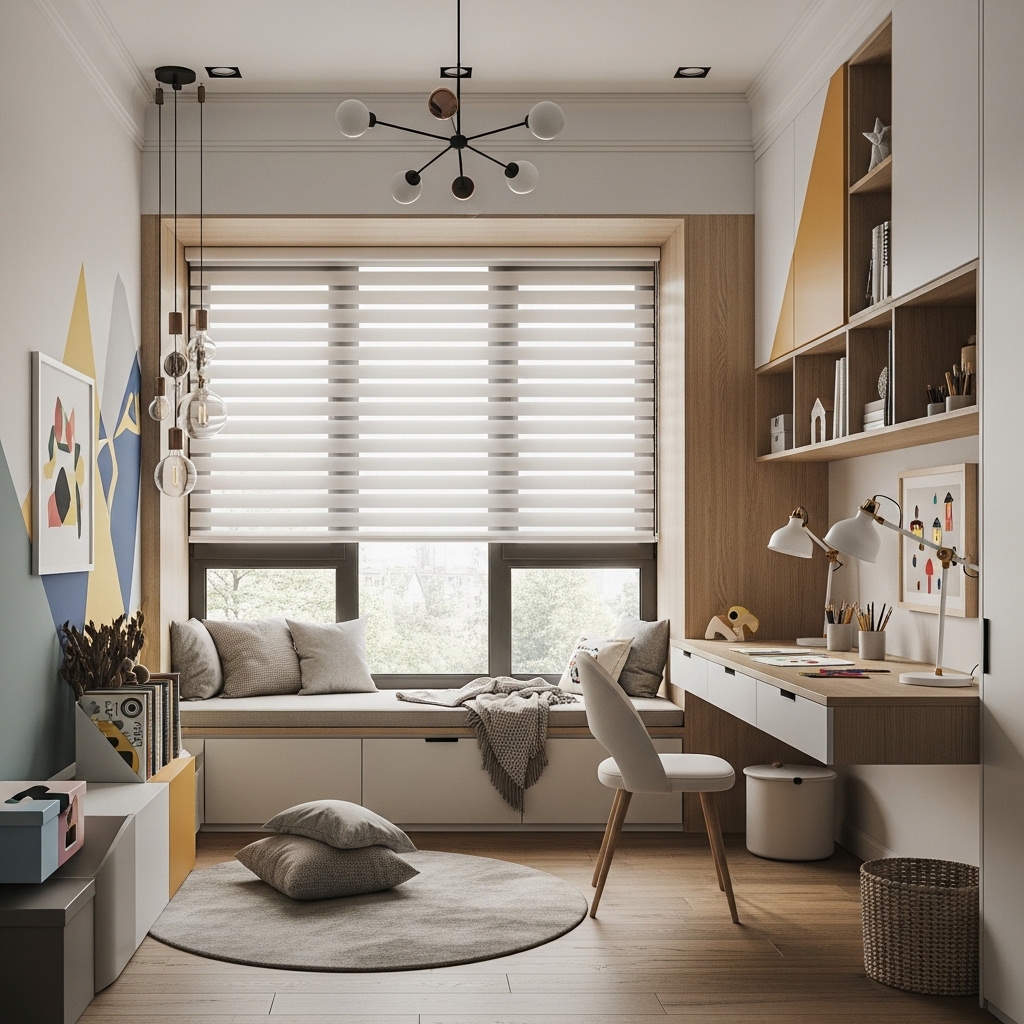
13. Install a Wall-Mounted Desk to Save Floor Space
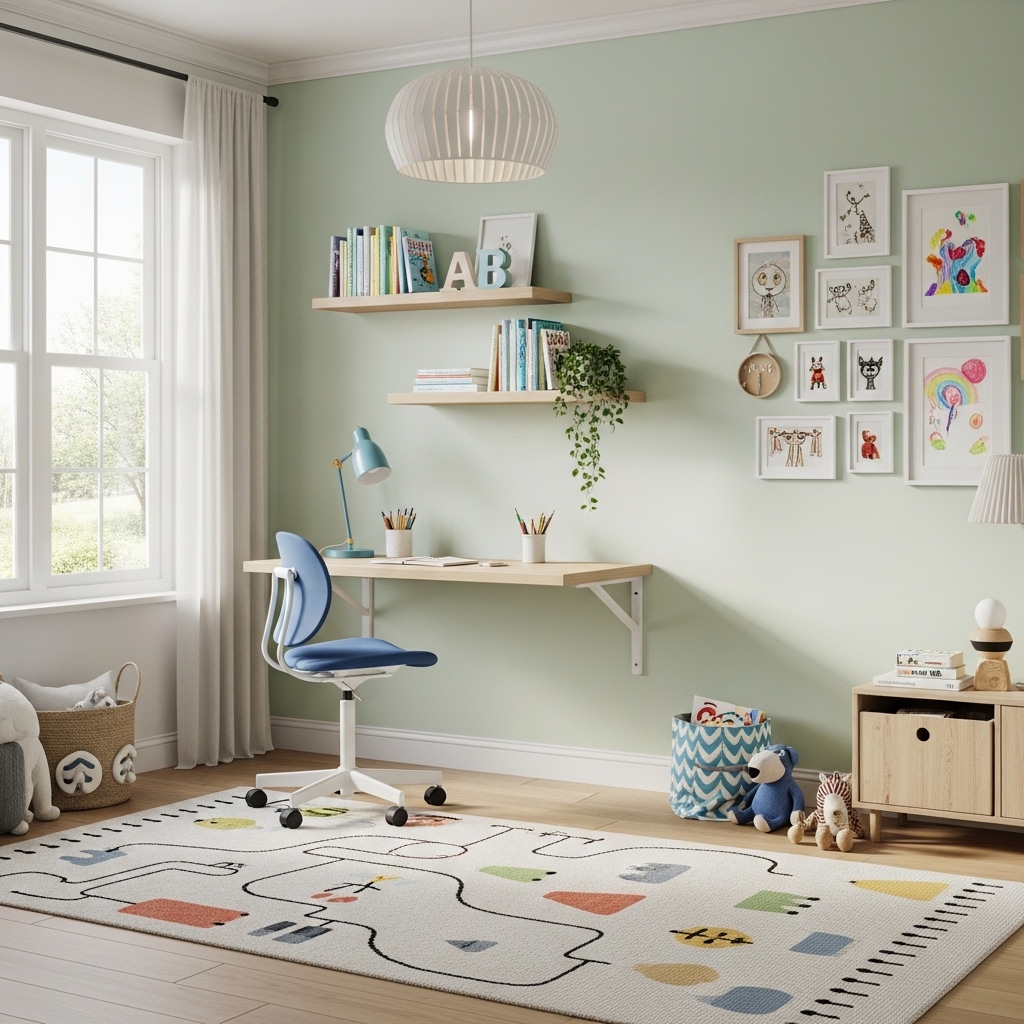
Use this idea when your child needs a study area but floor space is extremely limited.
Mount a fold-down wall desk at your child’s seated height. Add a wall-mounted pencil holder nearby.
The desk folds flat against the wall when not in use. Your child’s floor stays open for play.
A permanent desk consumes floor space all day. A fold-down desk gives you that space back when homework ends.
Pro Tip: Install a small whiteboard above the desk. Your child writes reminders, spelling words, or math formulas on the board.
Mistake to Avoid: Do not mount your desk higher than 26 inches. Your child’s elbows should rest at a 90-degree angle when seated.
14. Choose Multi-Functional Furniture Pieces
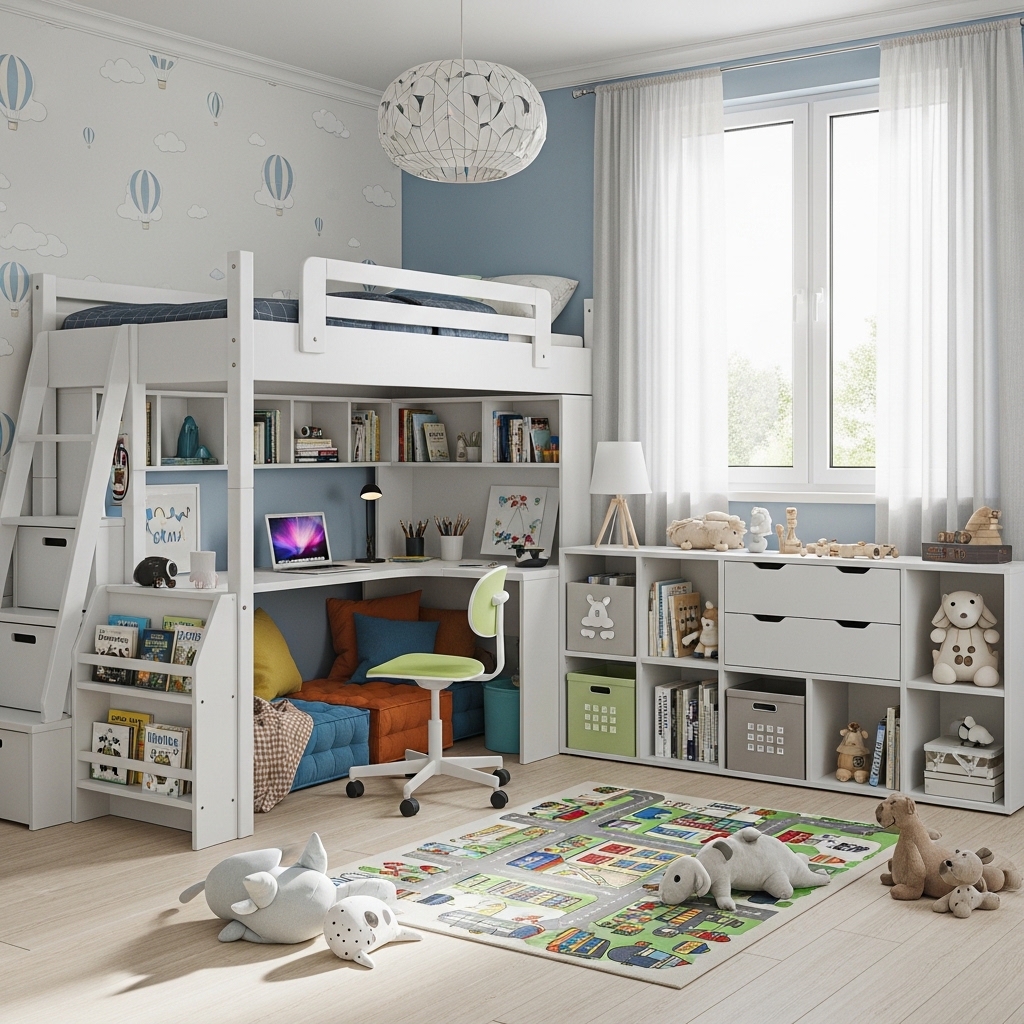
Choose this approach when every piece of furniture needs to earn its square footage.
Select a bed with drawers underneath. A storage ottoman that seats and stores. A bookshelf that divides a room.
Multi-functional furniture gives you two purposes in one footprint. Your room feels larger because less furniture crowds it.
Single-purpose furniture wastes space. A bed without drawers wastes the space underneath. An ottoman without storage wastes interior volume.
Pro Tip: Look for a headboard with built-in shelves. Your child’s books and nighttime water bottle live on the headboard, not the floor.
Mistake to Avoid: Do not buy a bed with drawers that open into your walking path. Drawers need at least 36 inches of clearance to open fully.
15. Leave Empty Wall Space for Future Growth
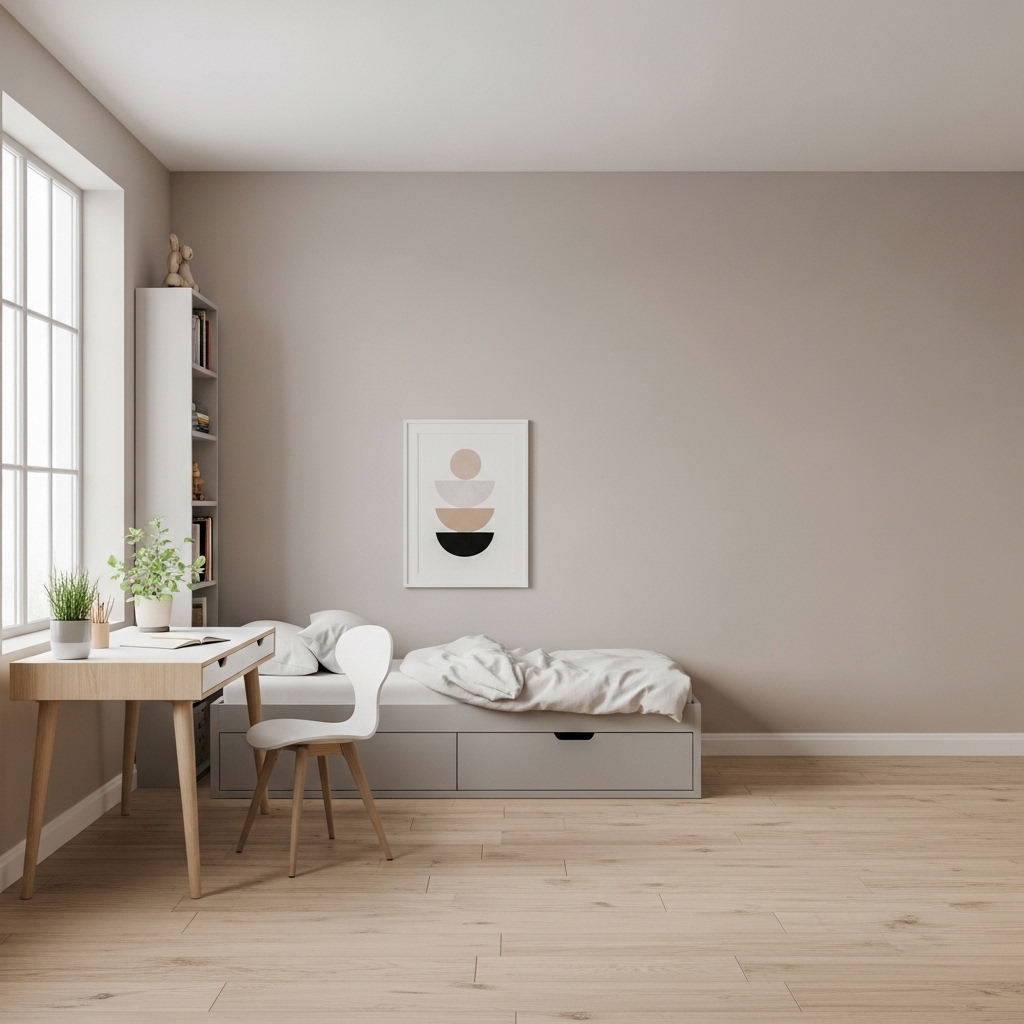
Apply this method when you are tempted to fill every inch of wall with decor right now.
Leave at least one full wall completely empty. No shelves. No art. No decals. Just painted drywall.
That empty wall becomes space for a future desk, a growing child’s height chart, or a teenager’s poster collection.
Filled rooms feel smaller and leave no room for change. Empty space is not wasted. It is future flexibility.
Pro Tip: Use that empty wall for shadow play with a small lamp. Your child’s hand shadows become evening entertainment.
Mistake to Avoid: Do not leave the wall completely bare of color. Paint it a soft, interesting neutral so empty feels intentional.
Conclusion
Great kids room design is not about buying a matching furniture set from a catalog.
The 15 ideas above prove that functional, beautiful, and growth-ready spaces come from smart planning.
Zone the room into sleep, play, and study areas. Choose neutral walls with colorful accessories.
Install adjustable or modular furniture that grows with your child. Maximize vertical space with tall storage.
Create a gallery wall at your child’s eye level. Use bins and baskets instead of frustrating lids and drawers.
Install dimmer switches on all overhead lights. Choose a neutral floor that hides daily wear and tear.
Position the bed for safety and easy flow through the room. Use window coverings without any dangling cords.
Create a dedicated display area for your child’s treasures. Use paint to create a focal point without expensive wallpaper.
Install a wall-mounted desk to save precious floor space. Choose multi-functional furniture that earns its footprint.
Leave empty wall space for future growth because your child’s needs will change faster than you expect.
Start with one idea that solves your biggest frustration. Implement it this weekend.
Then add another idea next month. Great design happens one thoughtful decision at a time.
Your child’s room should work for who they are today and who they will become tomorrow.
Take back the room from chaos starting today. Create a space your child will love for years to come.