How I Organized My Small Room Step-by-Step: A Complete Walkthrough from Chaos to Calm
The room was small. The clutter was not. Every surface held something. Every drawer was stuffed. Every corner was a dumping ground.
The problem was not lack of storage. The problem was lack of a system. Stuff came in. Stuff never left. The room became a container, not a living space.
The solution came in steps. One category at a time. One corner at a time. One decision at a time.
This roundup walks through the exact step-by-step process used to organize a small room. No shortcuts. No expensive products. Just a system that works.
Before Starting: The Assessment Phase
Before throwing anything away, the room needed an honest assessment. What was working? What was not working? Where did clutter accumulate?
The Room Audit Questions
| Question | Answer | Action |
|---|---|---|
| Which surfaces collect the most clutter? | Desk and nightstand | Create landing zones |
| Which drawers are unusable? | Bottom dresser drawer | Empty and reassign |
| Which corners are wasted? | Corner by the window | Add vertical storage |
| What items are always in the way? | Shoes near the door | Create shoe landing zone |
| What is never used but still present? | Old textbooks | Donate immediately |
The Tools Needed
No special products were purchased for this organization project. Only items already owned.
- Trash bags (for actual trash)
- Donation boxes (cardboard boxes from deliveries)
- Cleaning supplies (all-purpose cleaner, microfiber cloths)
- Label maker or masking tape and marker
- Measuring tape
Pro Tip: Do not buy storage bins before decluttering. Bins purchased early are often the wrong size for what remains.
Mistake to Avoid: Do not start without trash bags and donation boxes. Having them ready prevents the “set aside for later” trap.
Step 1: Remove Everything from the Room
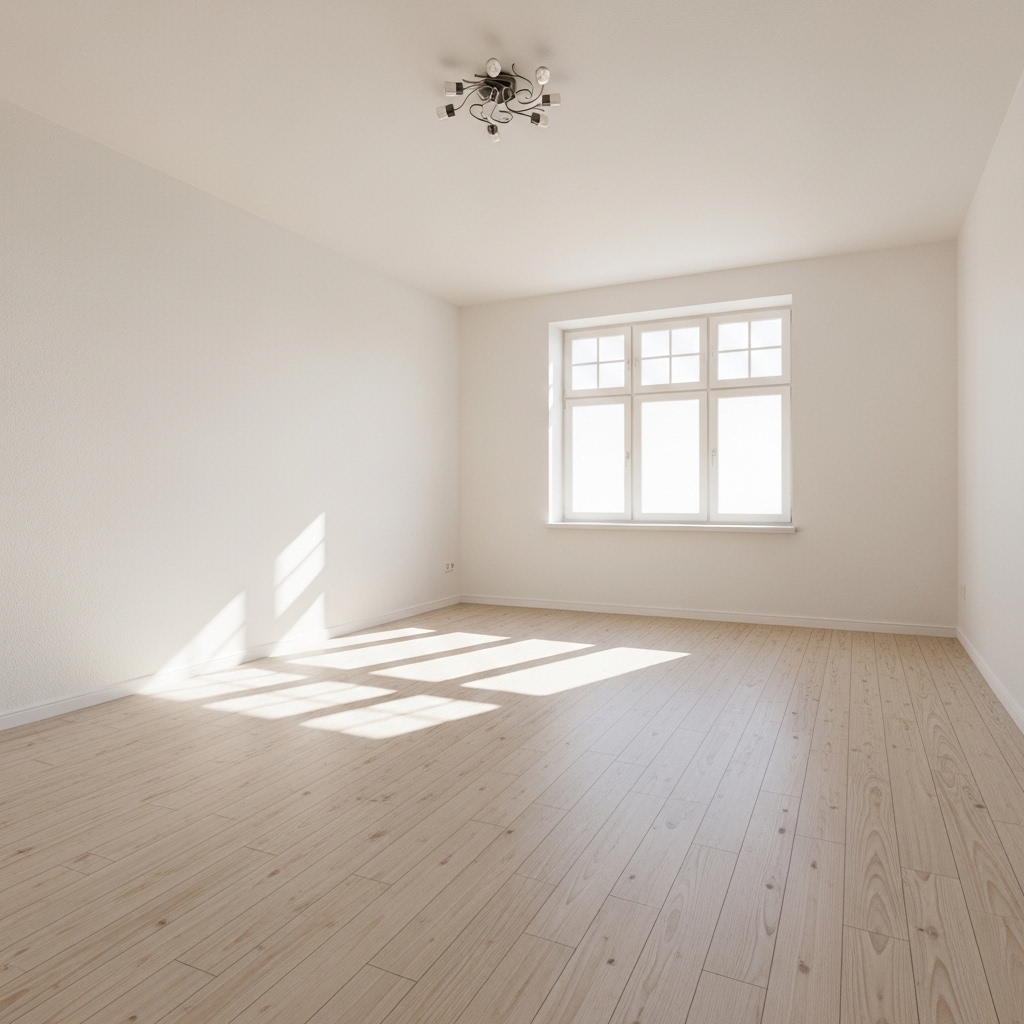
The first step was the hardest. Everything came out. Every single item.
What Came Out
| Category | Items Removed |
|---|---|
| Clothing | 85 items |
| Shoes | 12 pairs |
| Books | 40 books |
| Paper | 3 boxes |
| Electronics | 8 devices, countless cords |
| Decor | 25 items |
| Furniture | 6 pieces moved to center of room |
The Empty Room Feeling
The empty room felt huge. The potential was visible for the first time. The clutter was not the room’s fault. The clutter was the stuff’s fault.
This feeling became motivation. The goal was not to fill the room back up. The goal was to put back only what belonged.
Pro Tip: Take a photo of the empty room. Refer to it when tempted to put back items that do not belong.
Mistake to Avoid: Do not start putting items back immediately. Live with the empty room for a few hours. Let the feeling sink in.
Step 2: Sort Everything into Four Piles

Each item removed from the room went into one of four piles.
The Four Pile System
| Pile | Definition | Destination |
|---|---|---|
| Keep | Used regularly, loved, needed | Stays in the room |
| Donate | Good condition, not used | Donation center within one week |
| Trash | Broken, stained, unusable | Trash immediately |
| Relocate | Belongs in another room | Move to correct room |
How Long Sorting Took
| Category | Time Spent | Hardest Decisions |
|---|---|---|
| Clothing | 2 hours | Sentimental items |
| Books | 1 hour | Books that were never read |
| Paper | 3 hours | Old receipts and manuals |
| Electronics | 1 hour | Cords for unknown devices |
| Decor | 1 hour | Gifts from people |
| Total | 8 hours | Spread across one weekend |
What Was Donated
- 45 clothing items (gently worn, not used in over a year)
- 25 books (already read, unlikely to read again)
- 8 decor items (no longer fit the style)
- 3 small electronics (working but not needed)
What Was Trashed
- 15 clothing items (stained, torn, or worn out)
- 10 expired beauty products
- 2 boxes of old receipts and manuals
- A bag of cords for devices no longer owned
What Was Relocated
- Winter coats (moved to hall closet)
- Extra linens (moved to linen closet)
- Craft supplies (moved to designated craft area)
- Sports equipment (moved to garage)
Pro Tip: Be ruthless with the donate pile. If an item has not been used in the past year, it does not belong in the room.
Mistake to Avoid: Do not create a “maybe” pile. Maybe piles become keep piles. Make a decision on every item.
Step 3: Clean Every Surface
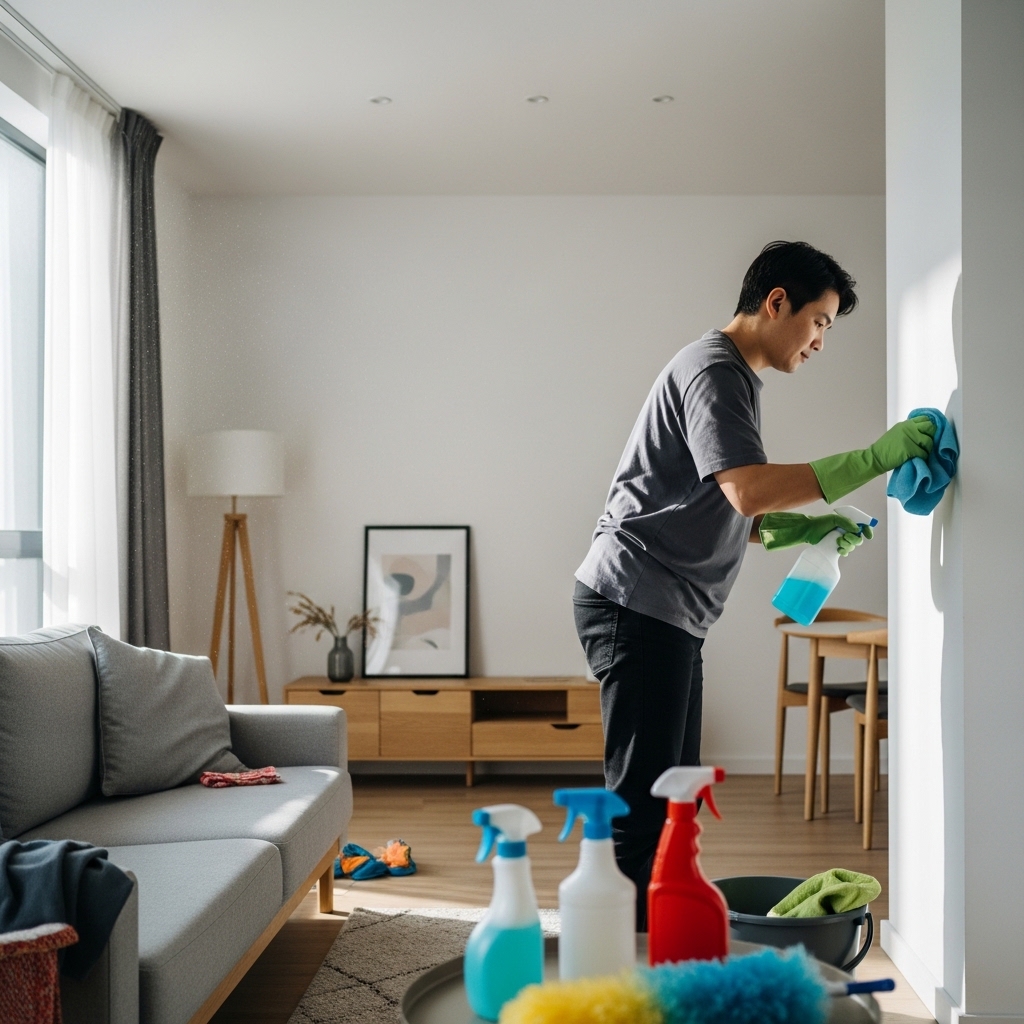
With the room empty, cleaning was finally easy. No items to move around. No dusting around clutter.
The Deep Clean Checklist
| Surface | Cleaning Method | Time |
|---|---|---|
| Walls | Damp microfiber cloth | 10 minutes |
| Baseboards | All-purpose cleaner and rag | 10 minutes |
| Floors | Vacuum, then mop | 15 minutes |
| Windows | Glass cleaner and squeegee | 10 minutes |
| Closet interior | Vacuum and wipe down | 15 minutes |
| Drawer interiors | Wipe with damp cloth | 10 minutes |
The Difference Cleaning Made
The room felt fresh. The room smelled clean. The empty space felt inviting rather than sad.
Cleaning also revealed damage that was hidden by clutter. A small patch of peeling paint. A loose drawer handle. These were noted for future repair.
Pro Tip: Clean top to bottom. Start with ceilings and walls. End with floors. Dirt falls downward.
Mistake to Avoid: Do not skip baseboards and corners. These areas collect dust that becomes visible once the room is organized.
Step 4: Assess the Empty Space
With the room empty and clean, it was time to plan. Where should furniture go? What storage was needed?
The Furniture Placement Strategy
| Furniture | Original Location | New Location | Reason |
|---|---|---|---|
| Bed | Centered on long wall | Corner anchored | Maximized floor space |
| Dresser | Against opposite wall | Inside closet | Removed visual clutter |
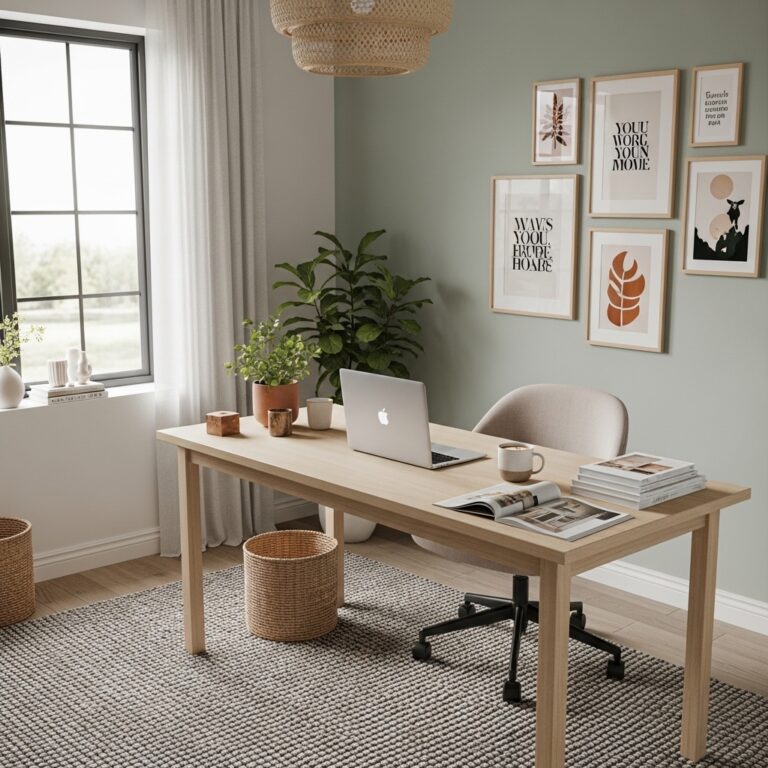
| Desk | Under window | Perpendicular to window | Better natural light |
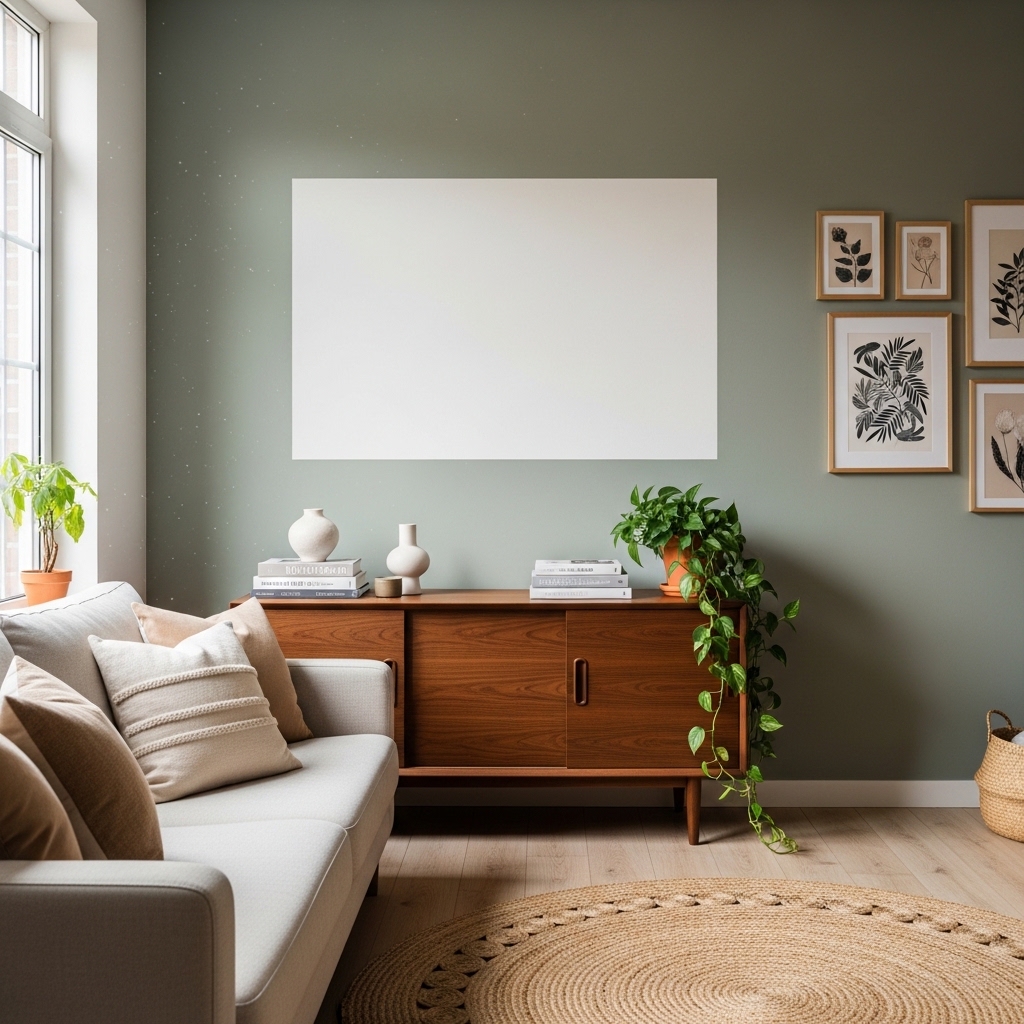
| Bookshelf | Corner | Wall opposite bed | Created focal point |
| Nightstand | Left side of bed | Right side of bed | Better access from door |
The Walking Path Test
After moving furniture, walking paths were tested. Could the door open fully? Could the closet be accessed? Was there room to walk around the bed?
The corner-anchored bed created a clear walking path. The dresser inside the closet freed up wall space. The room felt larger without adding square footage.
Pro Tip: Use painter’s tape to outline furniture footprints before moving heavy pieces. Adjust tape until the layout feels right.
Mistake to Avoid: Do not push all furniture against walls. Floating pieces away from walls creates depth.
Step 5: Create Landing Zones
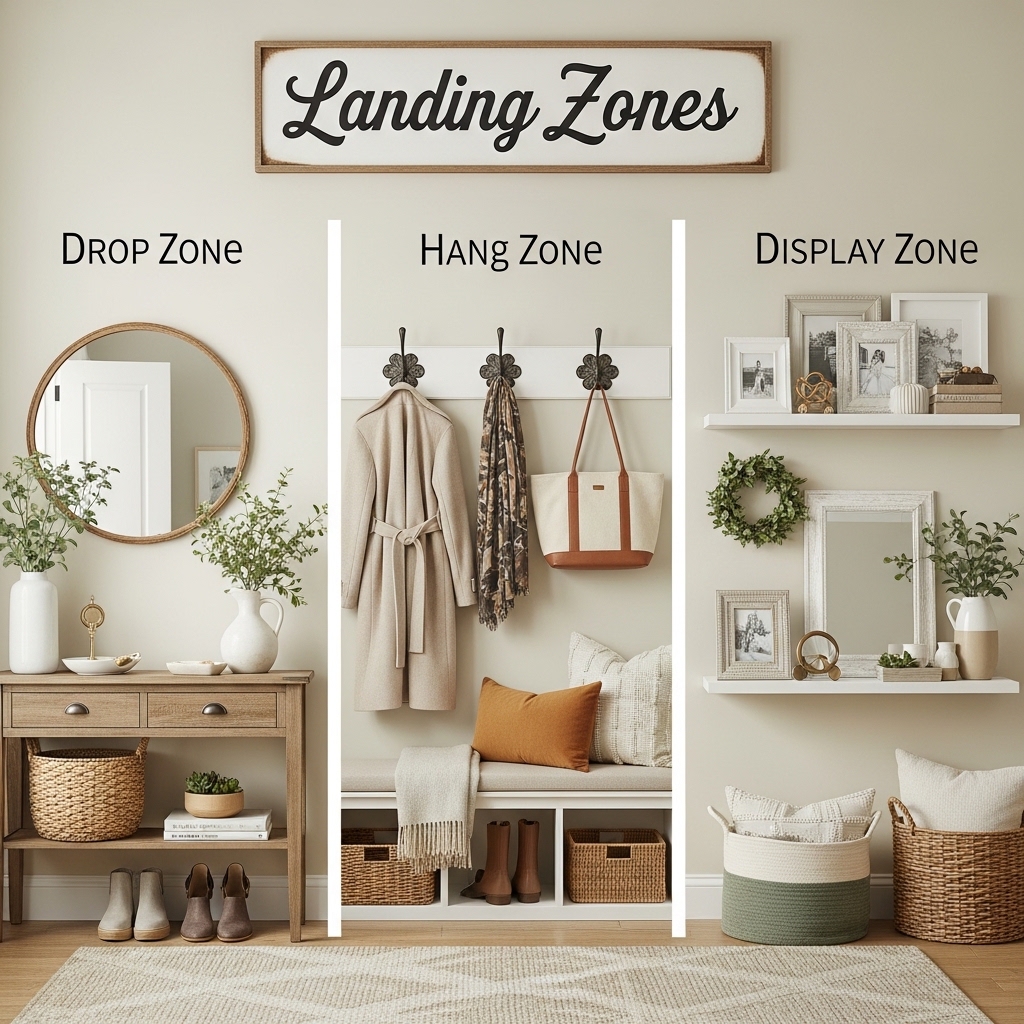
Landing zones are designated spots for daily items that tend to accumulate anywhere.
The Landing Zones Created
| Zone | Location | Items Housed | Daily Time Saved |
|---|---|---|---|
| Entry landing | Small tray near door | Keys, wallet, sunglasses | 3 minutes |
| Bedside landing | Small tray on nightstand | Phone, glasses, lip balm | 2 minutes |
| Desk landing | Small dish on desk | Pens, sticky notes, paper clips | 2 minutes |
| Shoe landing | Shoe rack by door | Daily shoes | 2 minutes |
Before and After: Landing Zone Impact
| Scenario | Before | After |
|---|---|---|
| Leaving the house | Search for keys (3 minutes) | Keys in tray (10 seconds) |
| Bedtime routine | Search for glasses (2 minutes) | Glasses in tray (5 seconds) |
| Finding a pen | Search desk drawers (2 minutes) | Pen in dish (5 seconds) |
Pro Tip: Use small trays or dishes from around the house. No need to buy new organizers. Repurpose what is already owned.
Mistake to Avoid: Do not create too many landing zones. One per major activity (entry, bedside, desk) is sufficient.
Step 6: Implement the 80/20 Storage Rule
Twenty percent of items are used eighty percent of the time. These items need prime storage locations.
The 80/20 Audit
| Item | Frequency of Use | Old Location | New Location |
|---|---|---|---|
| Everyday shoes | Daily | Closet floor | Shoe rack by door |
| Pajamas | Daily | Bottom drawer | Top drawer |
| Phone charger | Daily | Packed in drawer | On nightstand |
| Winter coat | Seasonal | Front of closet | Back of closet |
| Extra linens | Monthly | Top drawer | Under-bed bin |
Prime vs. Secondary Storage
| Storage Location | Best For | Example |
|---|---|---|
| Eye-level shelves | Daily items | Everyday shoes, current book |
| Waist-level drawers | Weekly items | Pajamas, workout clothes |
| High shelves | Monthly items | Extra linens, seasonal decor |
| Under-bed | Seasonal items | Winter coats in summer |
| Back of closet | Rarely used | Formal wear, special occasion items |
Pro Tip: Re-evaluate the 80/20 rule every season. A winter coat is daily in January and never in July.
Mistake to Avoid: Do not store daily items in hard-to-reach places. The inconvenience will cause frustration every single day.
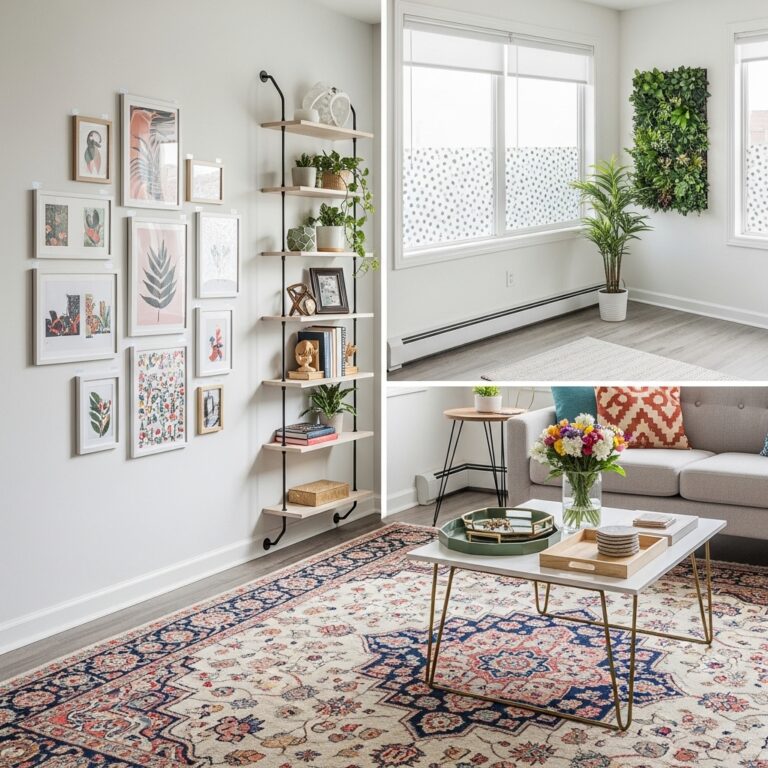
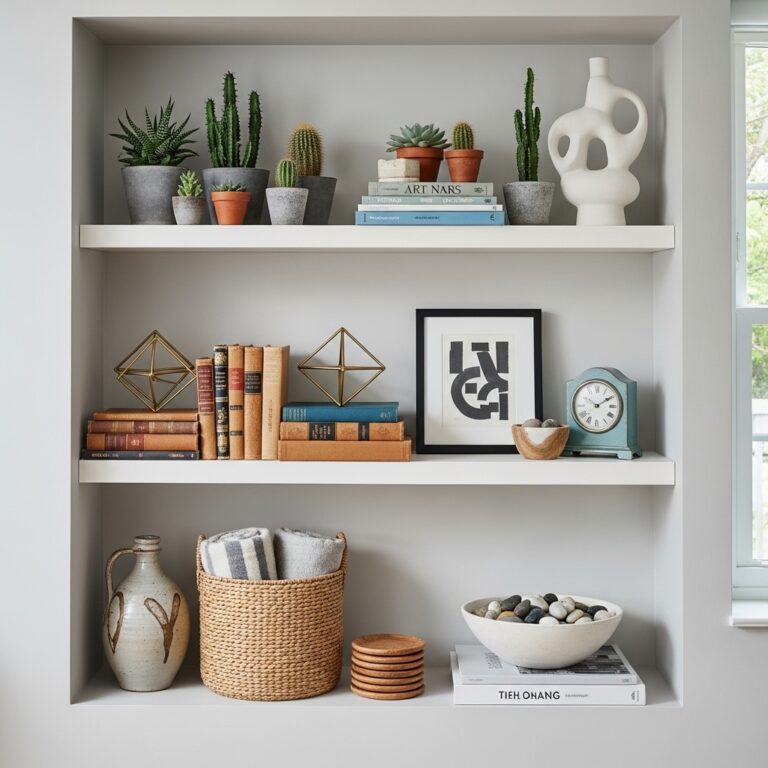
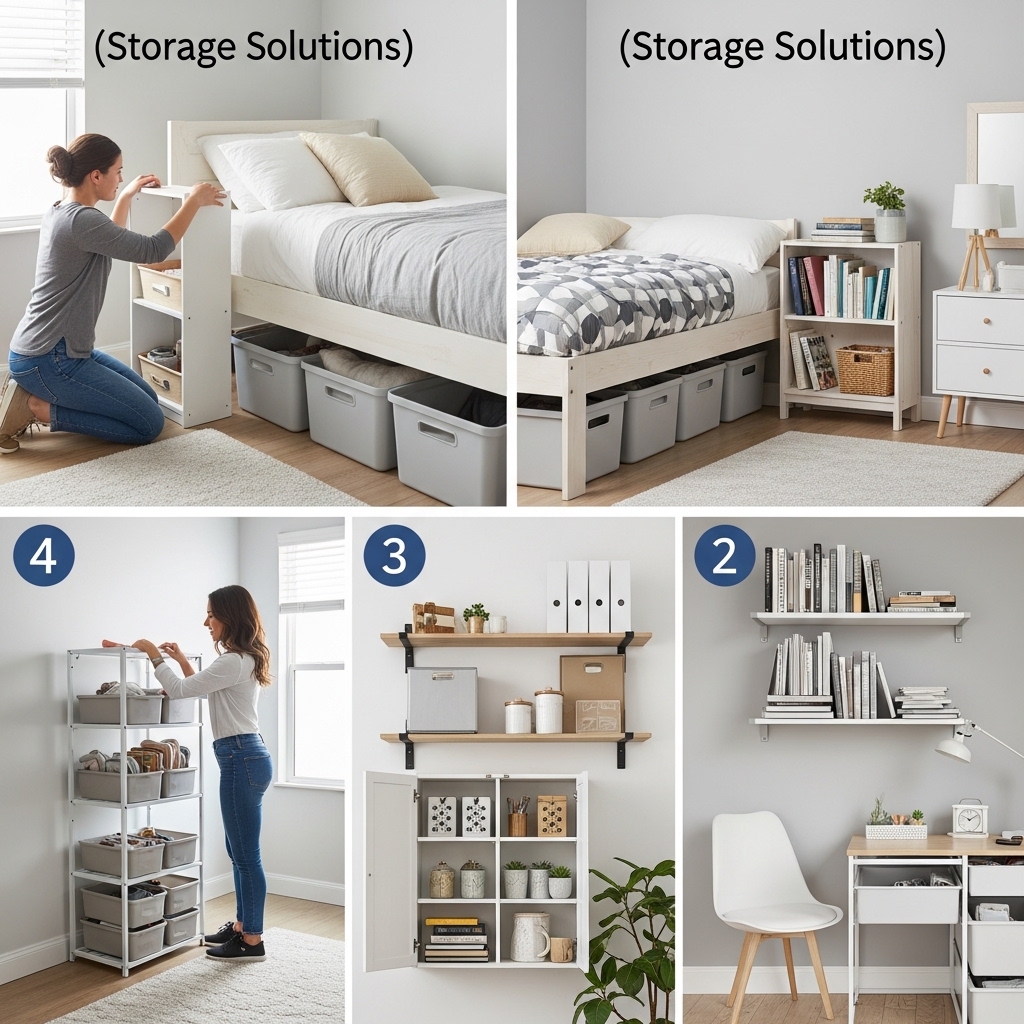
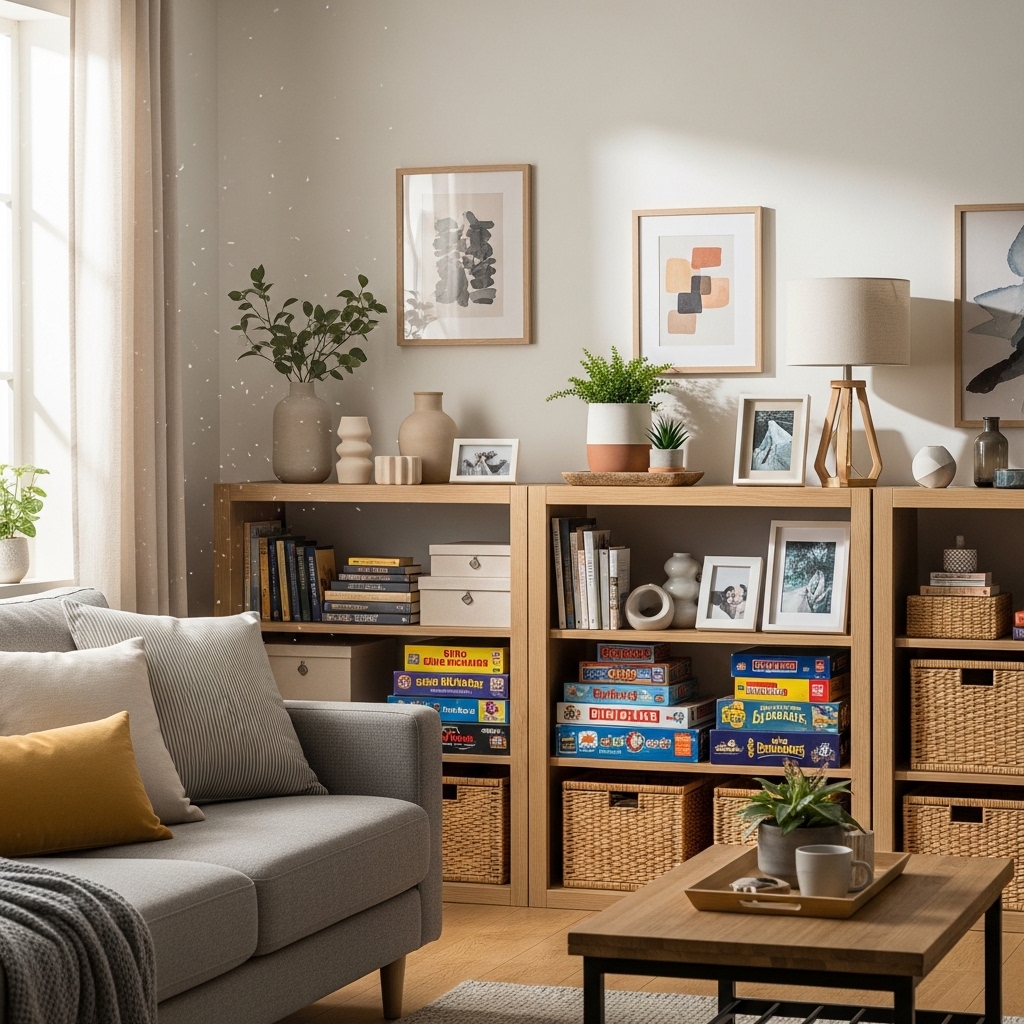
Step 7: Add Vertical Storage
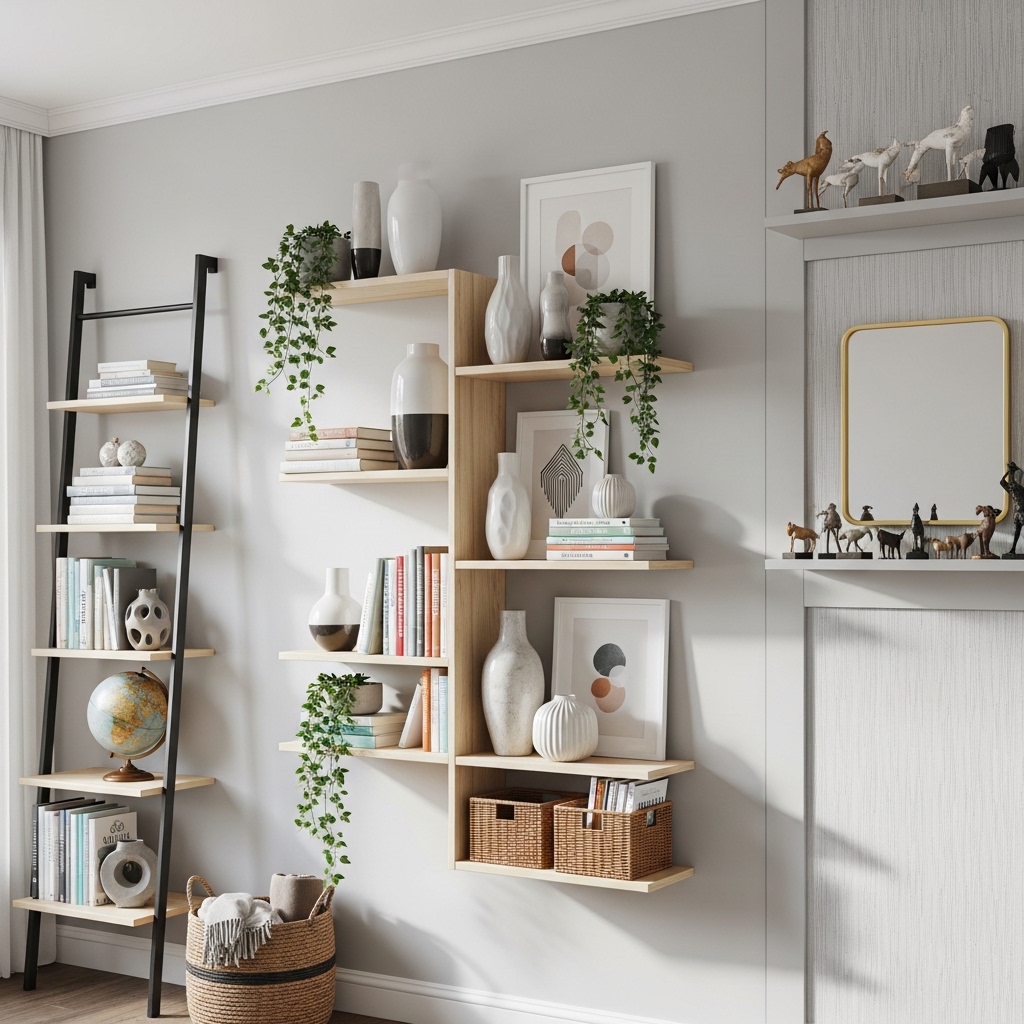
Floor space was limited. Wall space was abundant. The solution was thinking upward.
Vertical Storage Additions
| Item | Before | After | Floor Space Saved |
|---|---|---|---|
| Books | Stacked on floor | Wall-mounted shelves | 4 sq ft |
| Bags | Hanging on chair | Wall hooks | 2 sq ft |
| Jewelry | In drawer | Wall-mounted organizer | 1 sq ft |
| Plants | On dresser | Hanging planters | 1 sq ft |
The Tall Bookshelf Solution
A low dresser was replaced with a tall bookshelf. The floor footprint was the same. The storage capacity tripled.
The bookshelf also drew the eye upward. The ceiling felt higher. The room felt larger.
Pro Tip: Use the top shelves for items used less frequently. Use bottom shelves for daily items.
Mistake to Avoid: Do not push tall furniture against a short wall. Tall furniture needs tall walls to feel balanced.
Step 8: Use Door Space for Storage
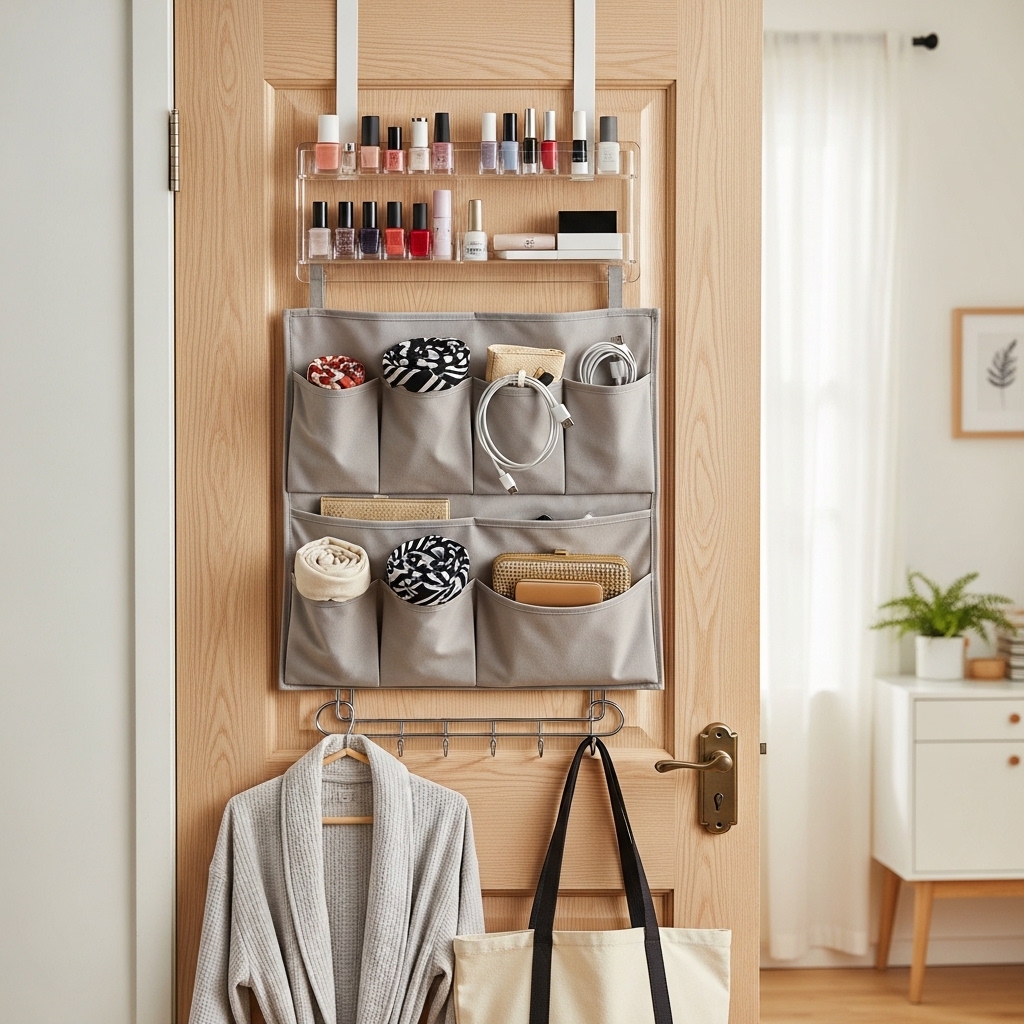
The back of the door was empty. This was free real estate.
Door Storage Additions
| Door | Storage Added | Items Stored |
|---|---|---|
| Closet door | Over-the-door shoe organizer | Shoes, bags, accessories |
| Bedroom door | Adhesive hooks | Robe, towel, tomorrow’s outfit |
| Bathroom door | Small mirror | Outfit checking |
Before and After: Door Space
| Scenario | Before | After |
|---|---|---|
| Finding shoes | Search closet floor (2 minutes) | Visible in door organizer (10 seconds) |
| Hanging a robe | Draped over chair | On door hook |
| Checking outfit | Walk to bathroom mirror | Mirror on bedroom door |
Pro Tip: Use over-the-door organizers without drilling. Most hang over the top of the door and require no tools.
Mistake to Avoid: Do not overload door organizers. Too much weight can pull the door off its hinges over time.
Step 9: Implement the One-In, One-Out Rule
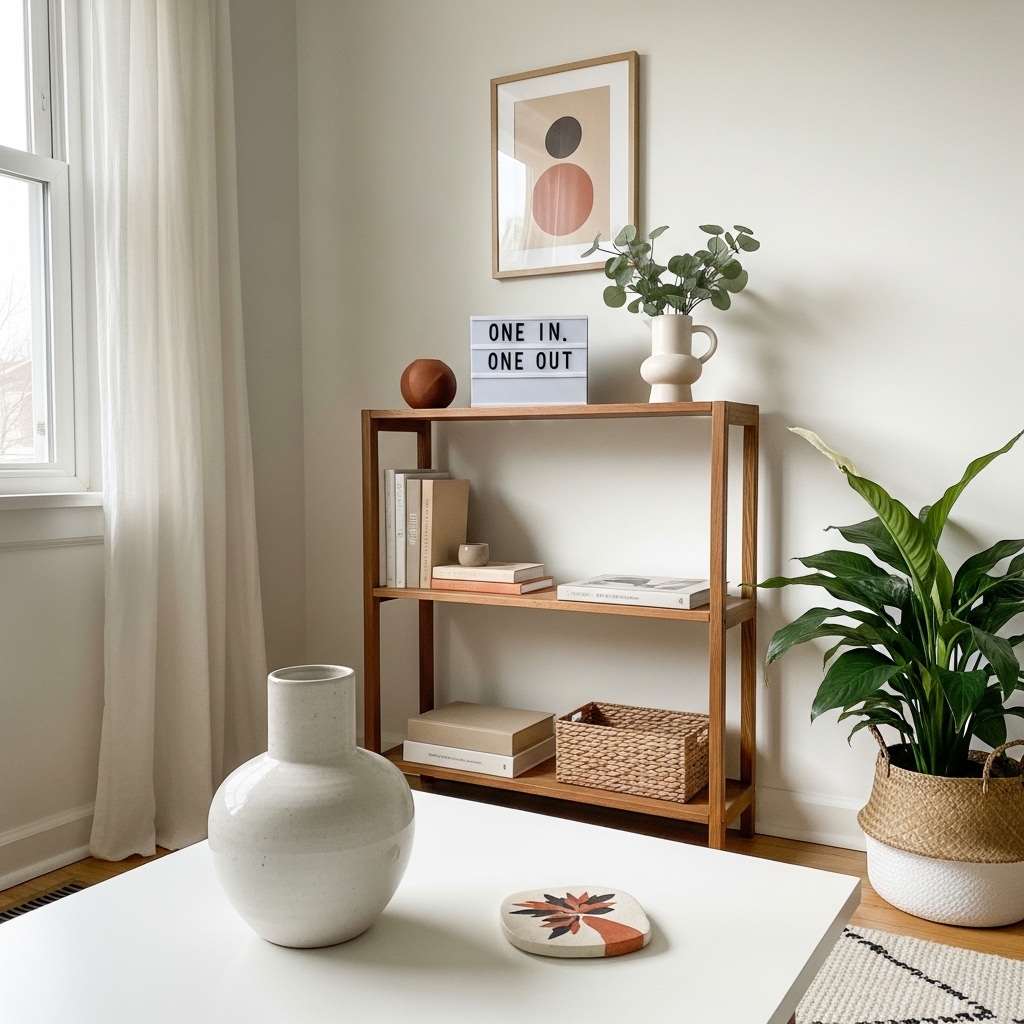
The room was organized. The goal was keeping it that way.
The Rule
For every new item brought into the room, one old item must leave. Donate. Sell. Trash.
How to Apply the Rule
| New Item | Old Item Out |
|---|---|
| New shirt | Old shirt donated |
| New book | Old book donated |
| New decor item | Old decor item donated |
| New pair of shoes | Old pair of shoes donated |
Why the Rule Works
Small rooms have no storage for extras. The rule prevents accumulation. The room stays organized without constant effort.
Pro Tip: Keep a donation box in the closet. When the box fills, take it to the donation center immediately.
Mistake to Avoid: Do not make exceptions. One exception becomes two. Two becomes a pile.
Step 10: Establish a Daily and Weekly Reset Routine
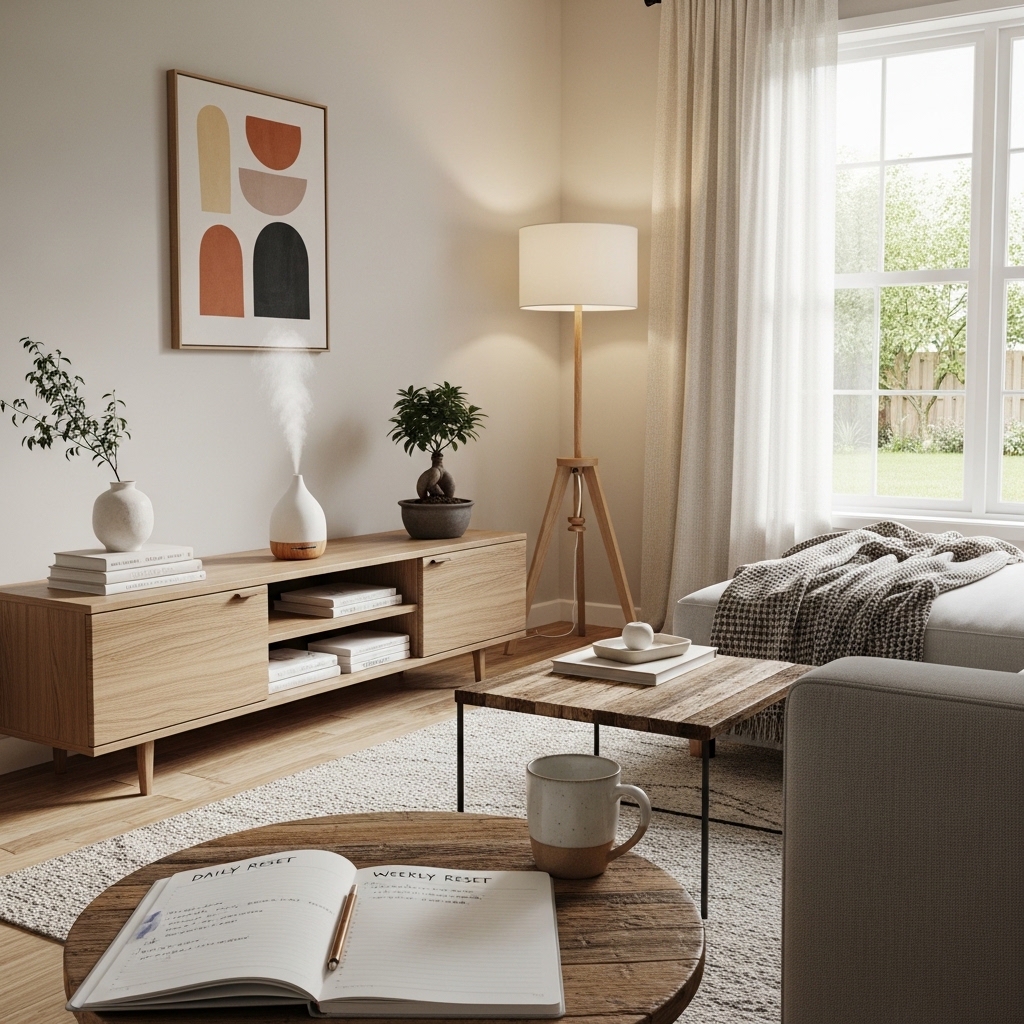
Organization systems work only when maintained. A reset routine keeps the system alive.
The Daily Reset (5 minutes)
| Task | Time |
|---|---|
| Make the bed | 2 minutes |
| Put away items in landing zones | 1 minute |
| Hang up clothes on chair | 1 minute |
| Wipe down surfaces | 1 minute |
The Weekly Reset (15 minutes)
| Task | Time |
|---|---|
| Return stray items to their homes | 5 minutes |
| Sort and file loose papers | 3 minutes |
| Vacuum or sweep floors | 5 minutes |
| Empty trash and recycling | 2 minutes |
Before and After: Reset Routine Impact
| Scenario | Before | After |
|---|---|---|
| Monday morning room condition | Chaotic from weekend | Clean and calm |
| Time spent tidying before guests | 45 minutes | 10 minutes |
| Stress level about room appearance | 7/10 | 2/10 |
Pro Tip: Set a recurring alarm on your phone for the daily and weekly reset. The alarm triggers the habit.
Mistake to Avoid: Do not skip the reset for two days in a row. Two days becomes a week. A week becomes chaos again.
Before and After: The Complete Transformation
| Category | Before | After |
|---|---|---|
| Visible floor space | 40% | 75% |
| Time to find keys | 3 minutes | 10 seconds |
| Time to clean the room | 45 minutes | 15 minutes |
| Donated items | 0 | 78 items |
| Trashed items | 0 | 30 items |
| Relocated items | 0 | 25 items |
| Stress level about room (1-10) | 7 | 2 |
| Satisfaction with room (1-10) | 3 | 9 |
Products Used (All Already Owned or Low-Cost)
| Item | Cost | Source |
|---|---|---|
| Trash bags | Already owned | Kitchen drawer |
| Donation boxes | $0 | Delivery boxes |
| Cleaning supplies | Already owned | Under sink |
| Label maker | Already owned | Desk drawer |
| Measuring tape | Already owned | Tool drawer |
| Wall-mounted shelves | $20 | Discount store |
| Over-the-door organizer | $15 | Discount store |
| Adhesive hooks | $5 | Discount store |
| Small trays (3) | $0 | Repurposed from around house |
Total spent: $40
The 7-Day Small Room Organization Plan
Day one: Remove everything from the room. Every single item.
Day two: Sort into four piles. Keep. Donate. Trash. Relocate.
Day three: Deep clean every surface. Walls, floors, windows, drawers.
Day four: Assess furniture placement. Use painter’s tape to test layouts.
Day five: Create landing zones for daily items. Keys, wallet, glasses, phone.
Day six: Add vertical storage. Shelves, hooks, door organizers.
Day seven: Establish reset routines. Daily five minutes. Weekly fifteen minutes.
Conclusion
A small room can feel spacious. The difference is not square footage. The difference is a system.
The step-by-step process worked. Remove everything. Sort into piles. Clean every surface. Assess furniture placement. Create landing zones. Use vertical space. Add door storage. Implement the one-in, one-out rule. Establish reset routines.
The room went from chaos to calm. The time spent looking for items dropped dramatically. The stress about the room disappeared.
The process took one weekend. The results have lasted for years.
Start with one step today. Clear one surface. Sort one drawer. Create one landing zone.
Small steps add up to complete transformations. The organized room is waiting.
Take back your small room starting today. Step by step. Item by item. Decision by decision.