35 Modern Small Patio Ideas That Maximize Style, Space, and Everyday Use
Small patio design | Compact outdoor living | Budget-friendly patio makeover | Space-saving patio ideas | Cozy balcony decor
When we think about patios they often do not work out as we want them to. This happens when we only think about how they look and not about how we will use the space.
Even if we use decorations and clean lines the patio can still feel small patio ideas if we do not plan the layout and the size of things correctly.
This guide is about making a patio that looks good and is also easy to use. We will show you ideas that combine design with things that work well in real life.
The goal is to make a patio that feels big and easy to use even if it’s small.
Part 1: Smart Space-Saving Furniture & Layouts (Ideas 1-7)
Each idea will help you make a space that’s nice to be in and easy to move around even in small outdoor areas, like modern small patios.
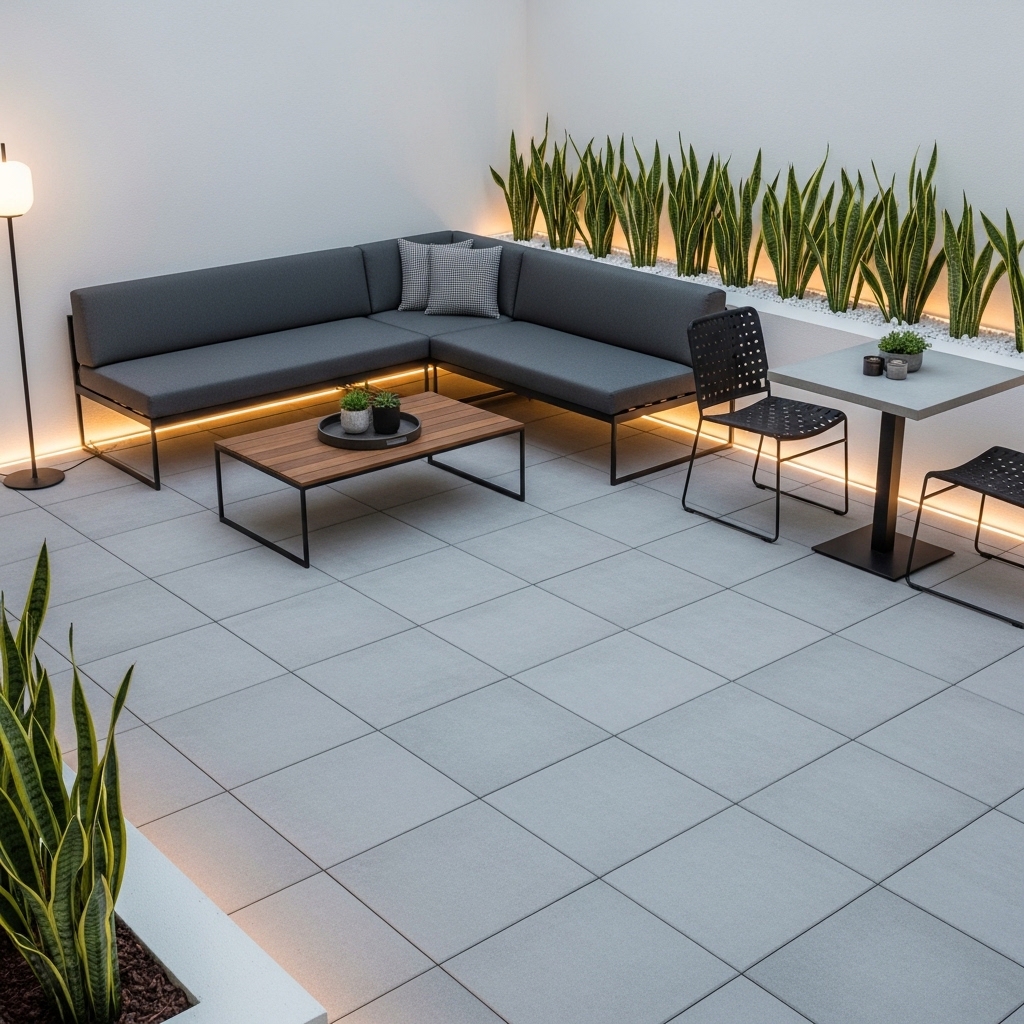
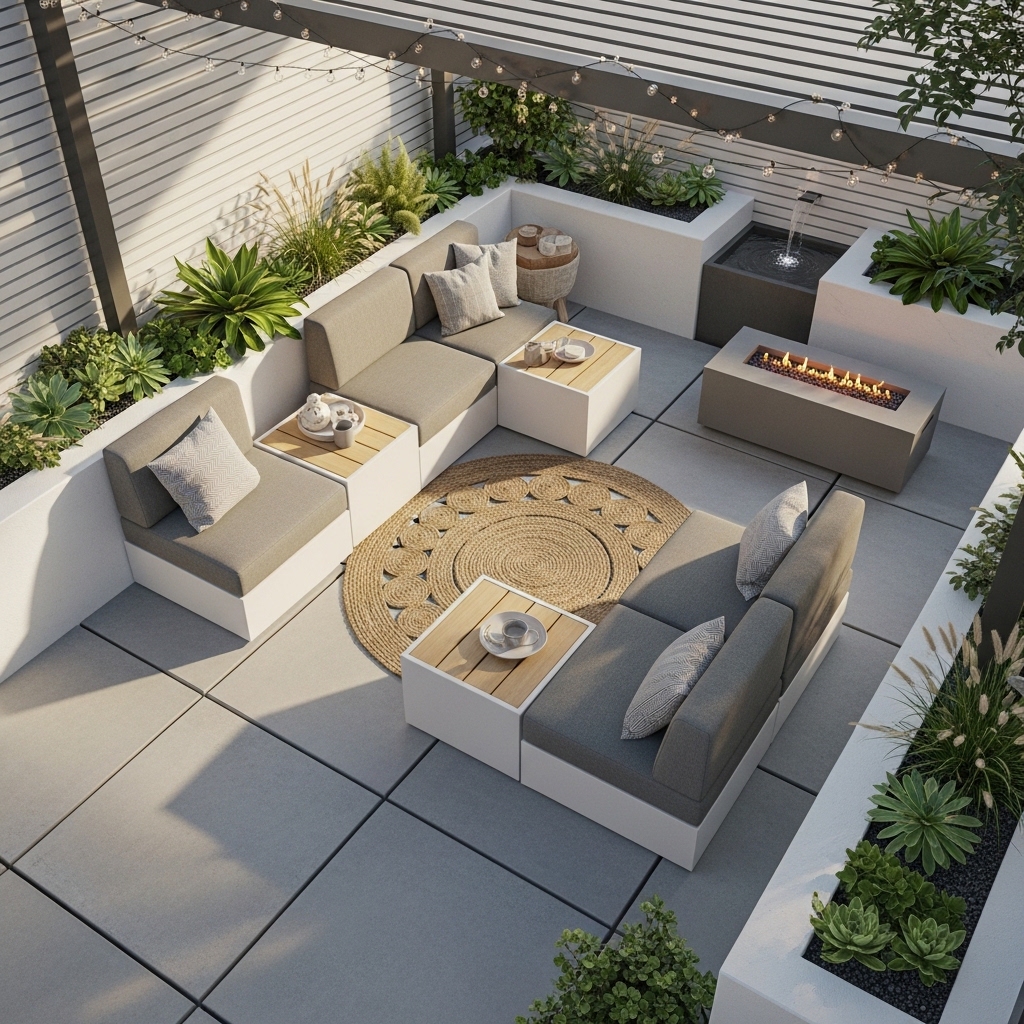
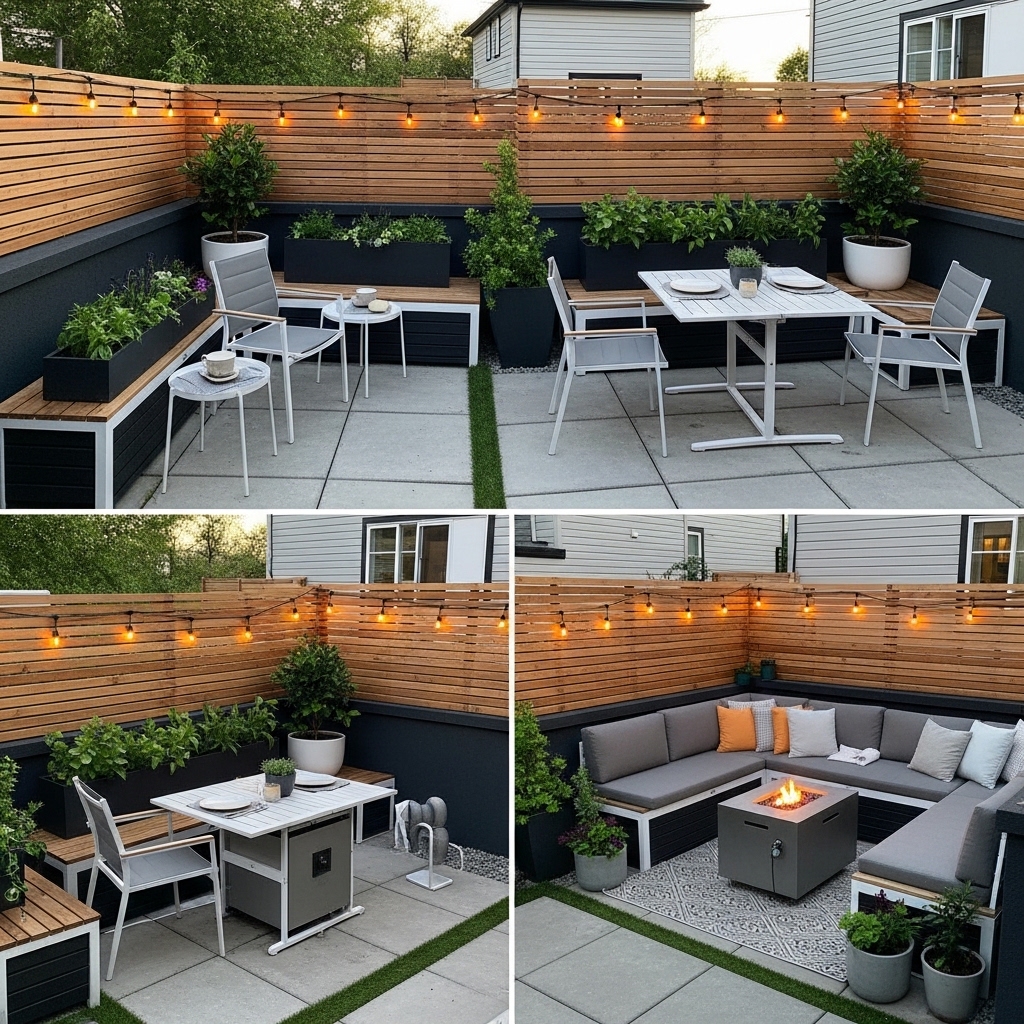
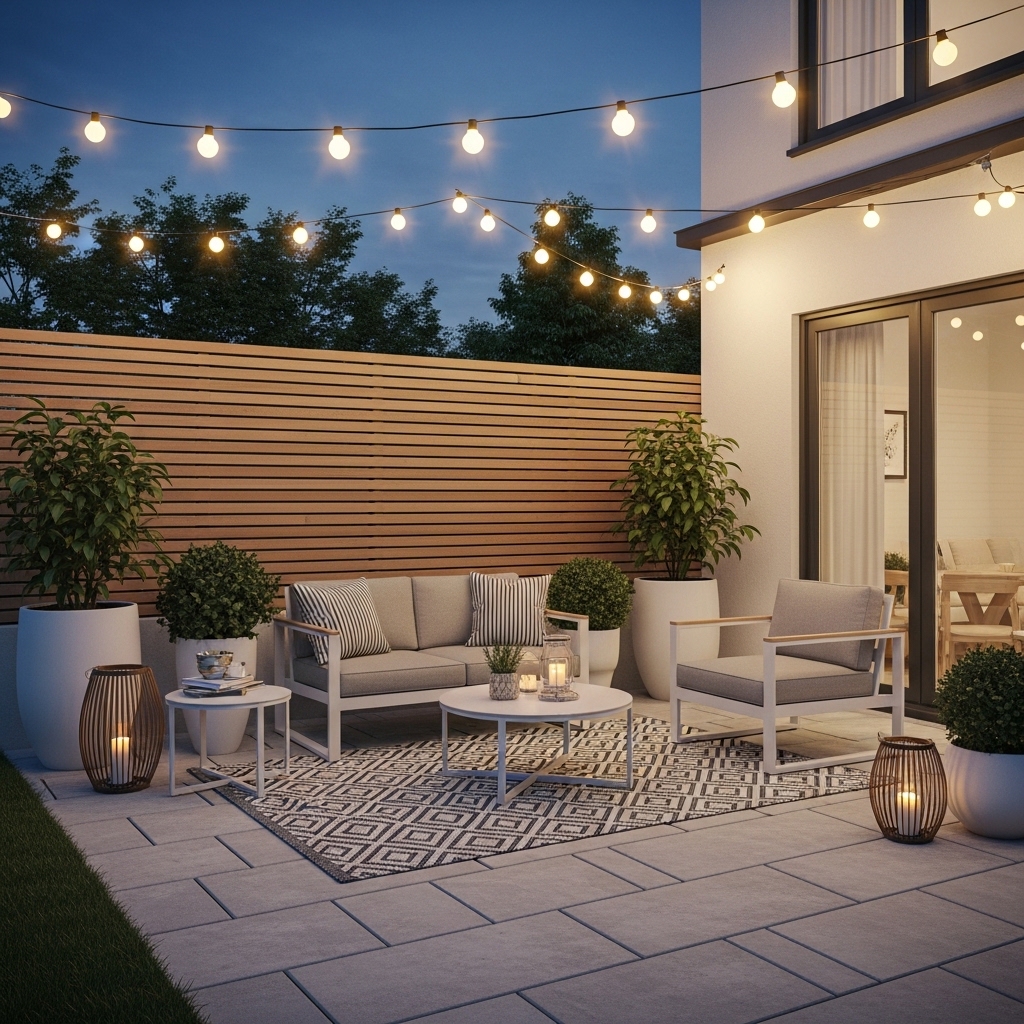
1. Use Low-Profile Seating to Keep the Patio Visually Open
Ideal for: Small patios that feel enclosed or visually heavy.
Choose seating with low backs and slim frames to maintain clear sightlines across the space. Position furniture away from direct edges to avoid a boxed-in feel.
This works because lower furniture allows the eye to travel freely, making the patio appear larger than it actually is. It also supports a clean modern aesthetic.
Avoid bulky or tall seating, which blocks views and compresses the space visually.
Pro Tip: Pair low seating with a slightly higher table for balance.
2. Stick to a Controlled Color Palette With One Accent
Best for: Modern patios that risk looking cluttered.
Use a limited palette such as neutrals with one bold accent color. Apply it consistently across furniture and decor.
This approach creates visual cohesion and prevents the space from feeling chaotic. It also reinforces a modern design identity.
Avoid mixing too many colors, which disrupts the clean aesthetic.
Pro Tip: Use the accent color in small repeated elements.
3. Align Furniture With Clean Straight Lines
Great for: Small patios needing structure and order.
Place furniture in straight, parallel lines instead of scattered arrangements. Keep spacing consistent between pieces.
This works because alignment simplifies the layout and makes the space feel intentional and organized.
Avoid random placement that breaks visual flow.
Pro Tip: Use flooring lines or edges as guides for placement.
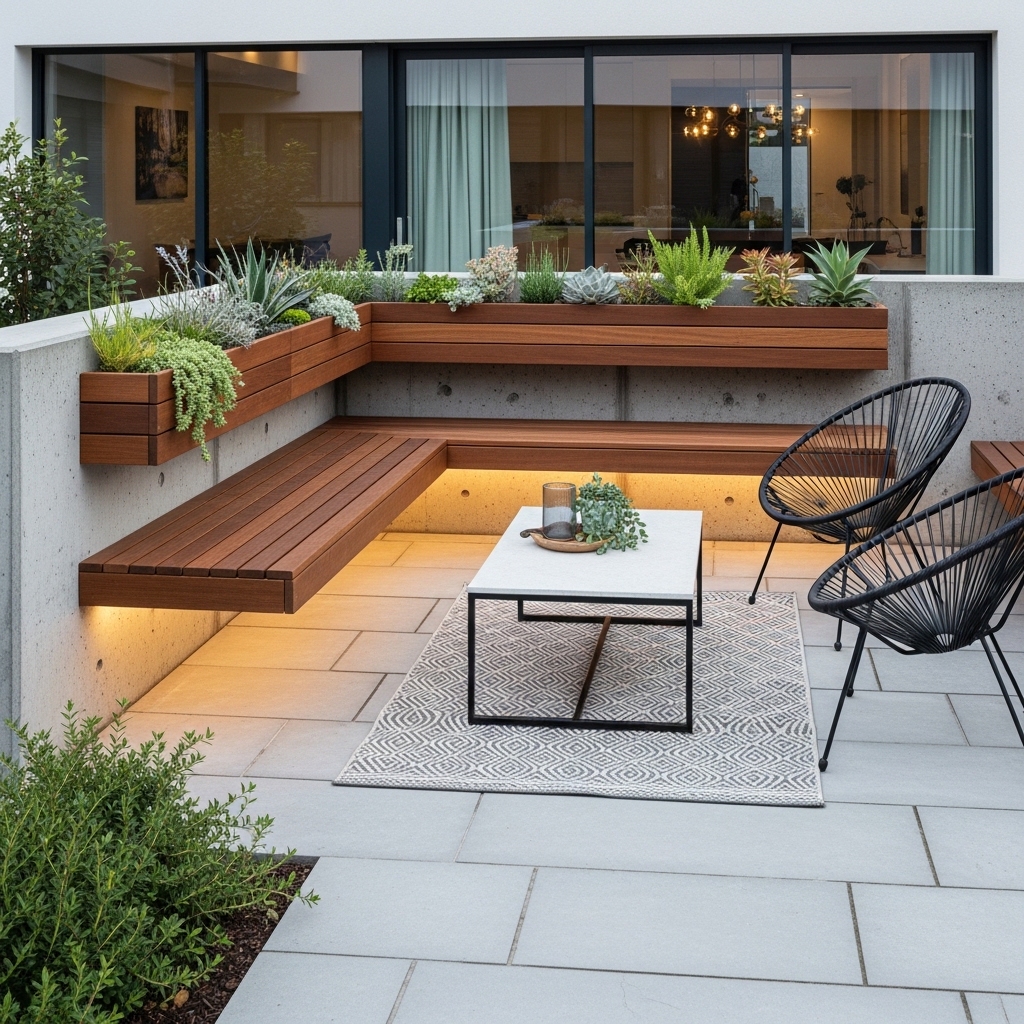
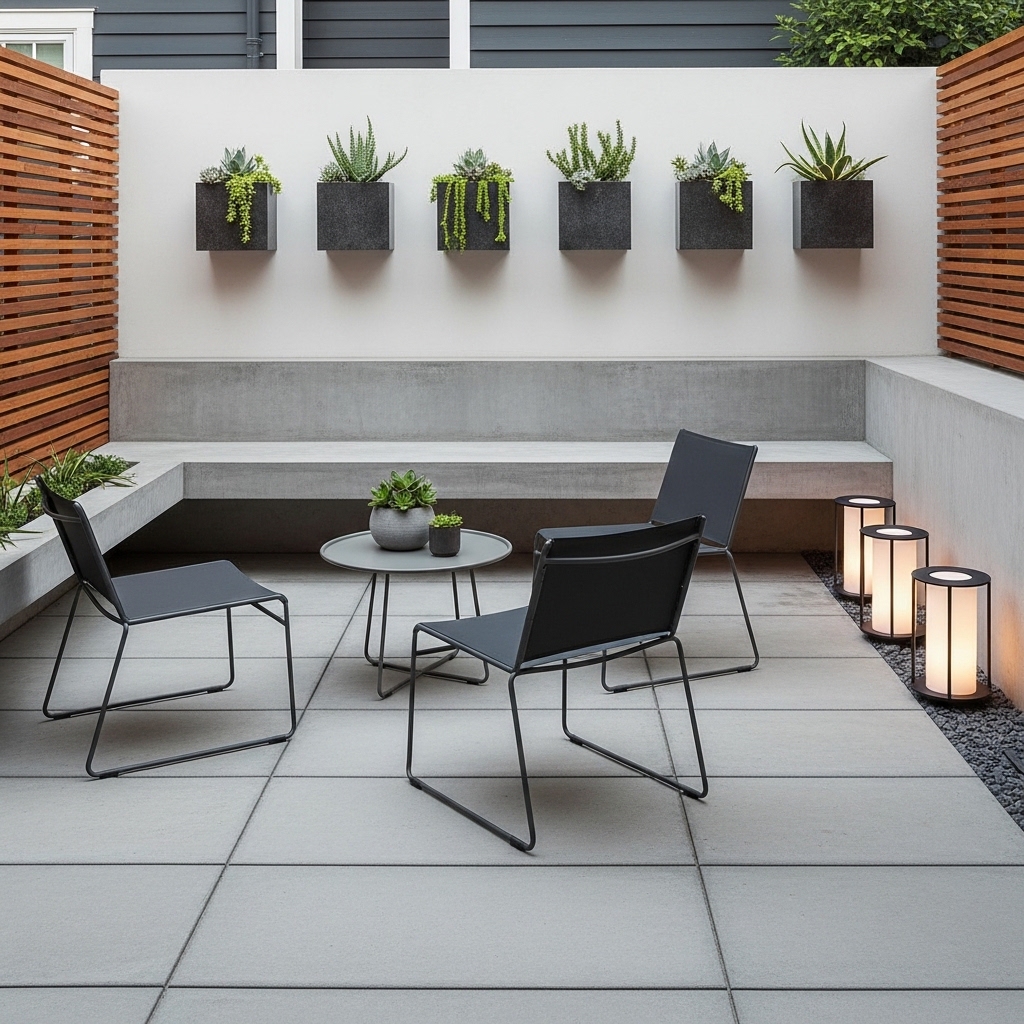
4. Use Floating Elements to Reduce Ground Clutter
Ideal for: Patios where floor space is limited.
Install wall-mounted shelves, planters, or lighting to free up the ground. Keep items elevated where possible.
Floating elements create more usable space while maintaining functionality. They also enhance the modern look.
Avoid overcrowding walls, which can feel heavy.
Pro Tip: Keep spacing between wall elements consistent.
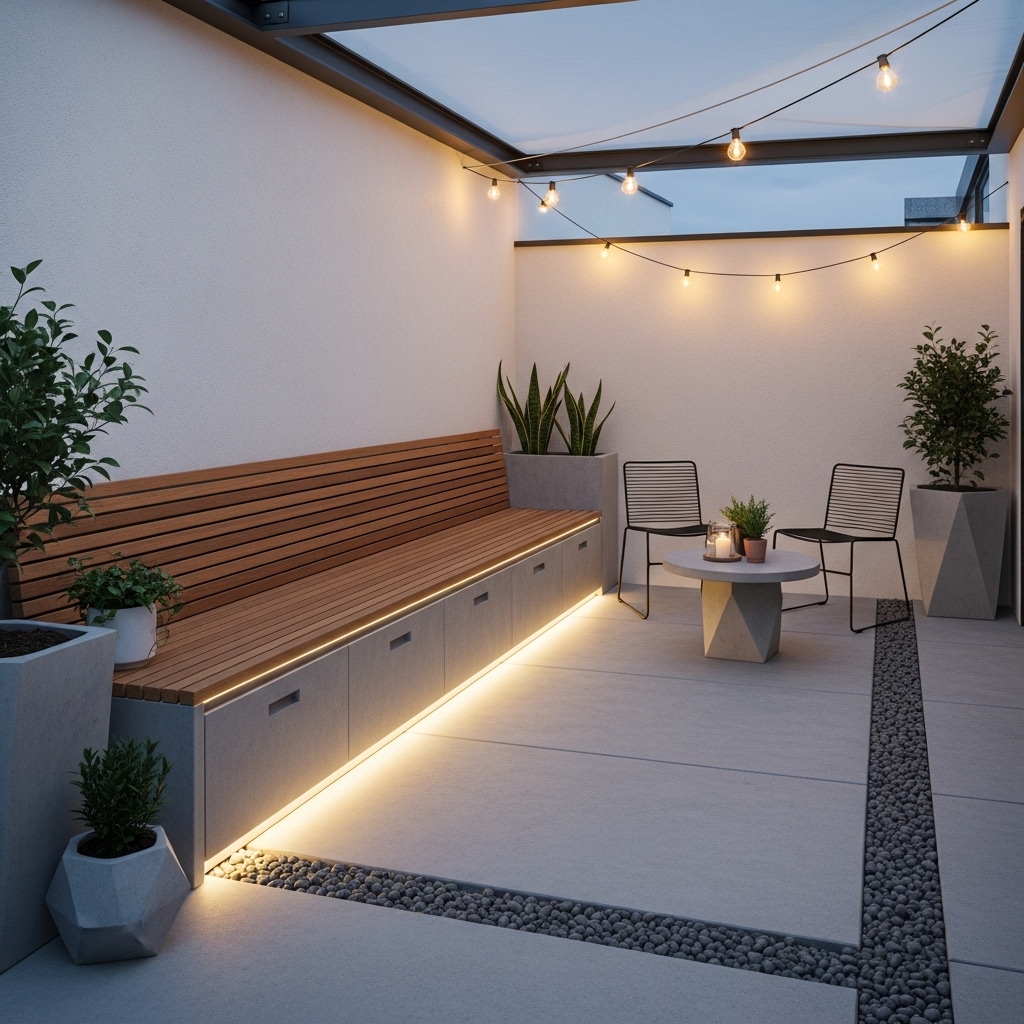
5. Incorporate Hidden Storage to Maintain Clean Surfaces
Best for: Small patios that get cluttered quickly.
Use benches or tables with built-in storage to keep items out of sight. Place them near seating areas for convenience.
Hidden storage keeps the patio visually clean while improving functionality. It’s essential for maintaining a modern look.
Avoid open storage that exposes clutter.
Pro Tip: Store cushions and accessories inside seating units.
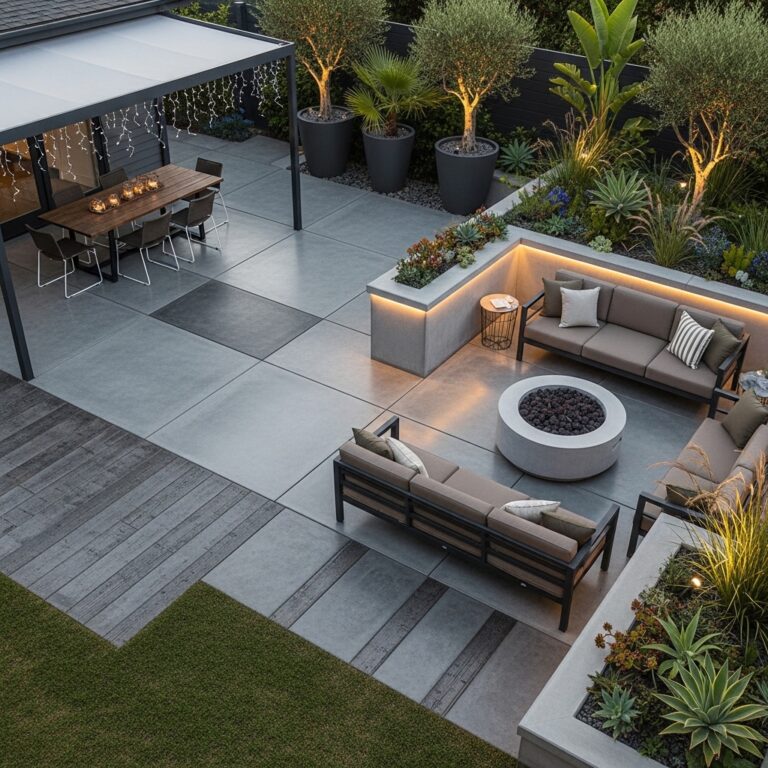
6. Define Zones Using Subtle Level Changes
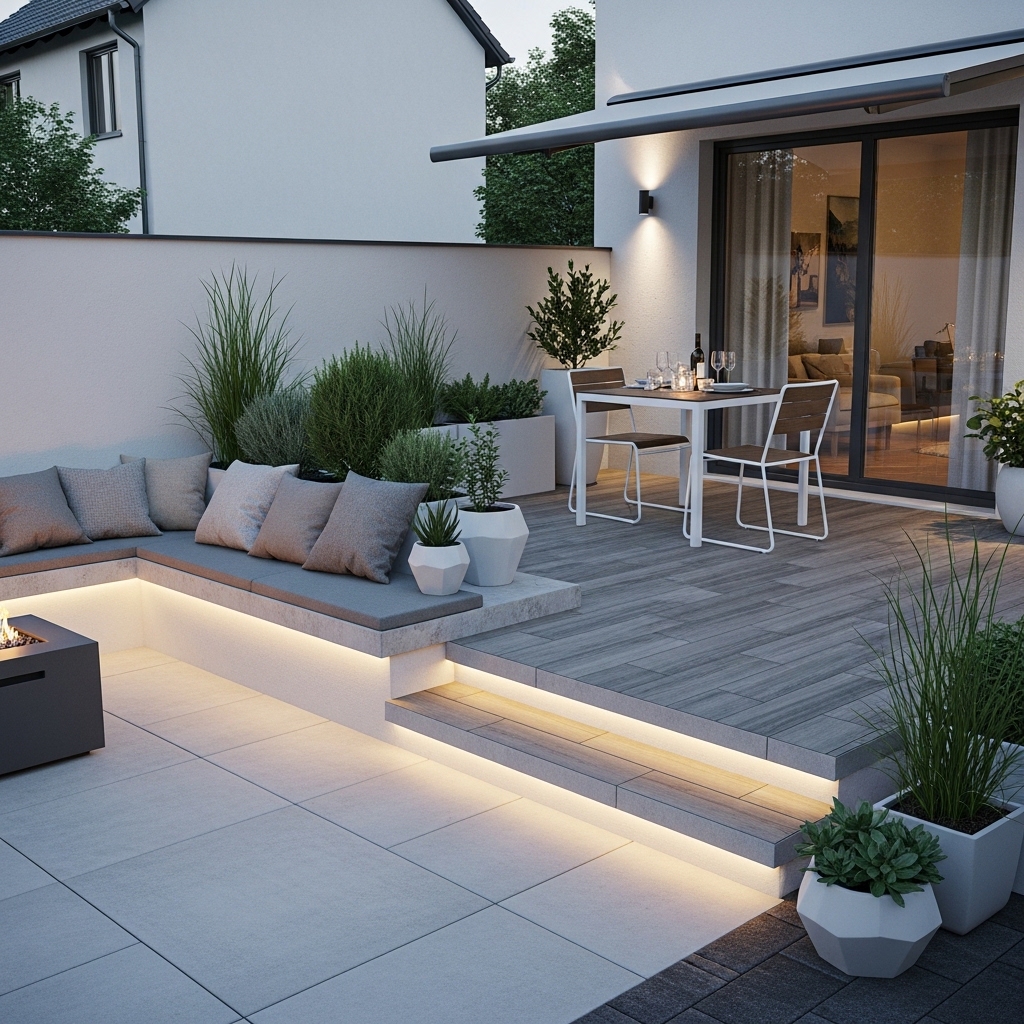
Great for: Patios needing separation without walls.
Use decking tiles or slight platform variations to create different zones. Keep transitions smooth and minimal.
This works because level changes naturally define areas while preserving openness.
Avoid dramatic height differences that disrupt flow.
Pro Tip: Use the same material in different patterns for consistency.
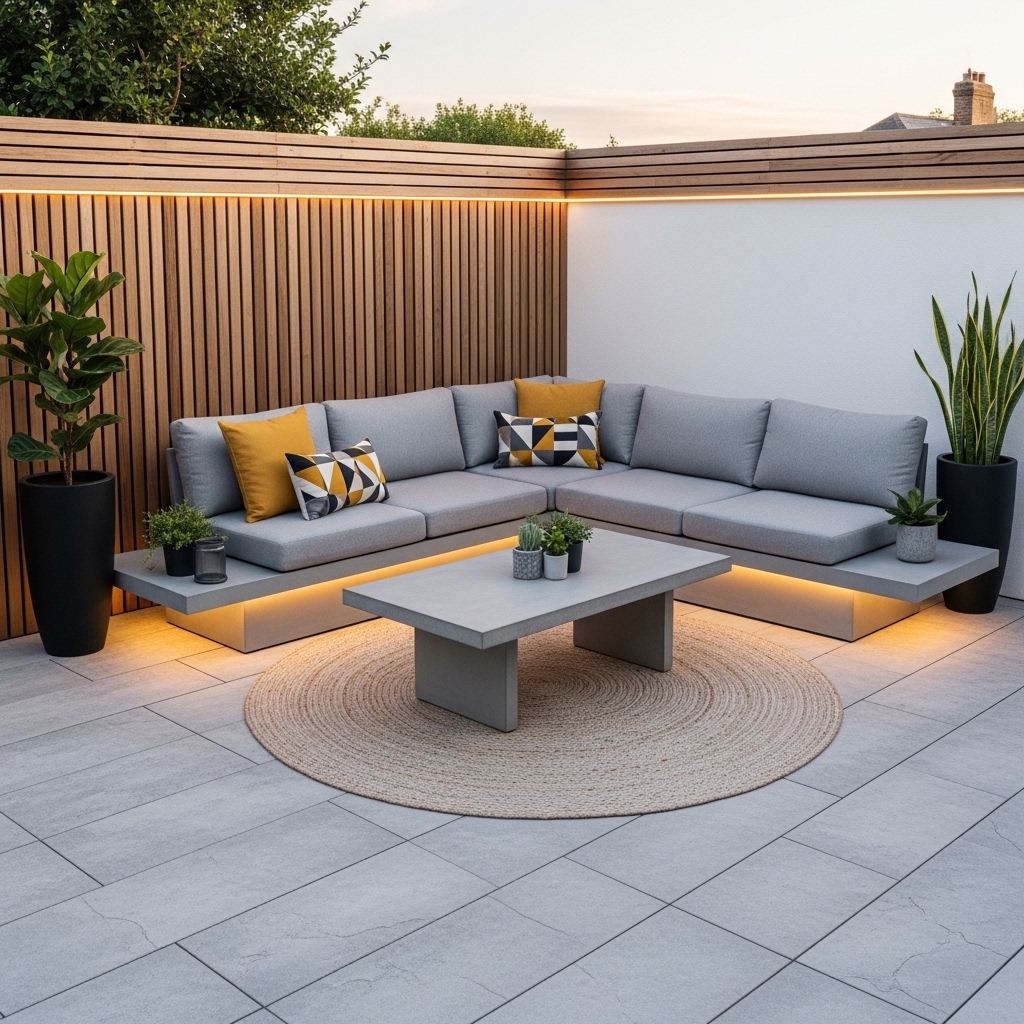
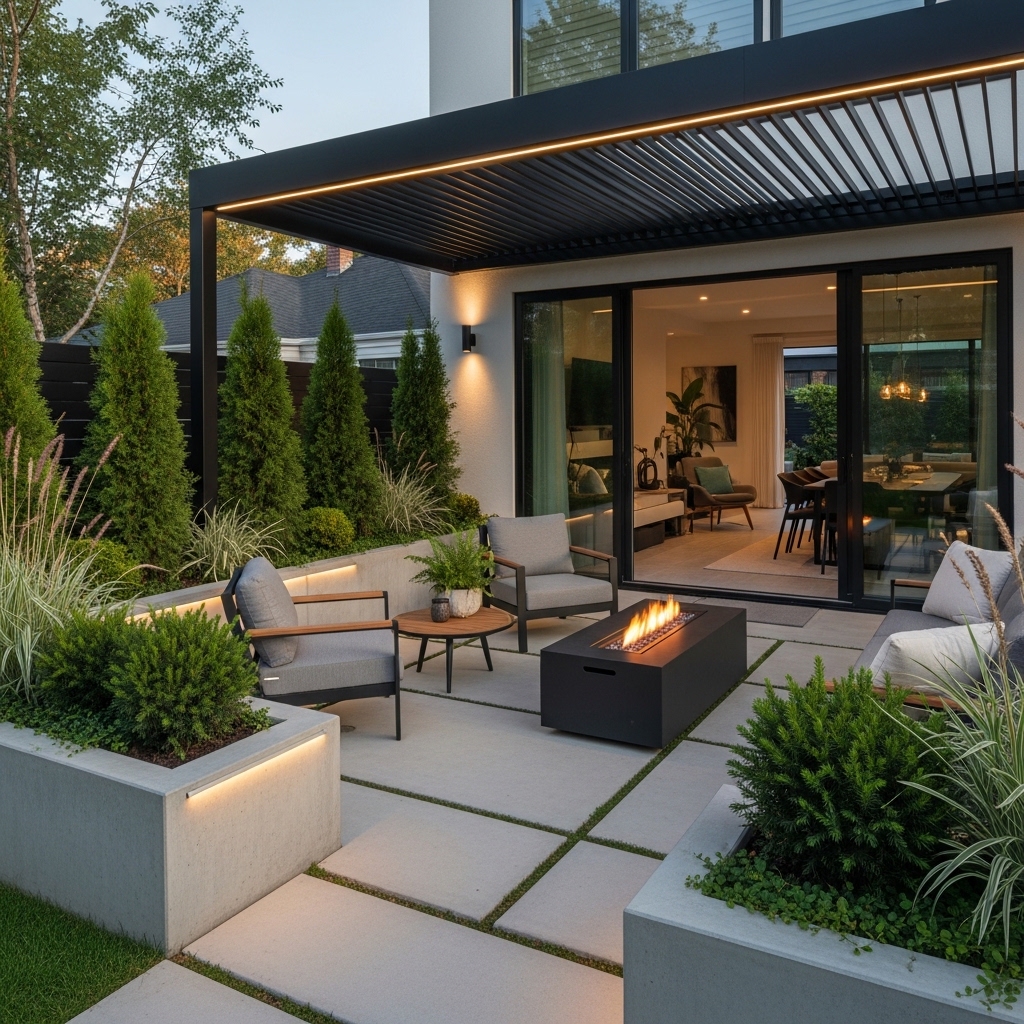
7. Use Integrated Lighting Instead of Visible Fixtures

Ideal for: Modern patios focused on clean design.
Install recessed or hidden lighting under benches, steps, or edges. Keep fixtures out of direct view.
Integrated lighting creates a sleek look while improving usability at night. It also adds depth.
Avoid bulky or decorative lights that break the modern aesthetic.
Pro Tip: Use warm tones to balance the minimal design.
Part 2: Vertical & Wall Storage Solutions (Ideas 8-14)
8. Keep Decor Minimal but Intentional
Best for: Small patios where clutter builds easily.
Select a few meaningful decor pieces instead of filling the space. Place them where they enhance the layout.
Minimal decor supports a clean, modern feel while keeping the space functional.
Avoid over-accessorizing, which reduces usability.
Pro Tip: Rotate decor seasonally instead of adding more.
9. Use Glass or Open Materials to Maintain Transparency
Great for: Patios that feel visually tight.
Incorporate glass tables or open-frame furniture to maintain visibility through the space.
This works because transparency reduces visual weight and keeps the patio feeling open.
Avoid solid, bulky materials that block sightlines.
Pro Tip: Combine glass with metal for a modern look.
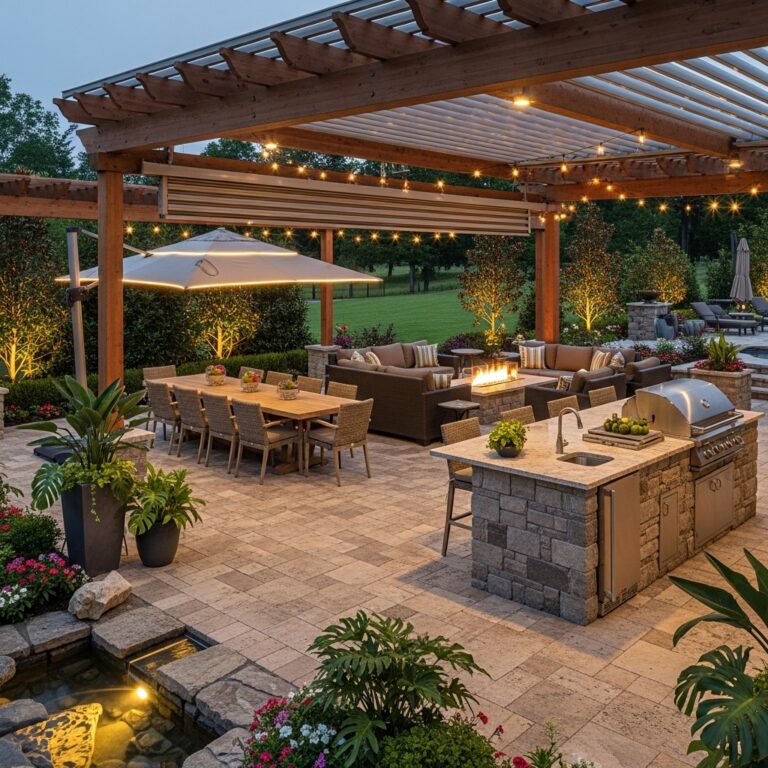
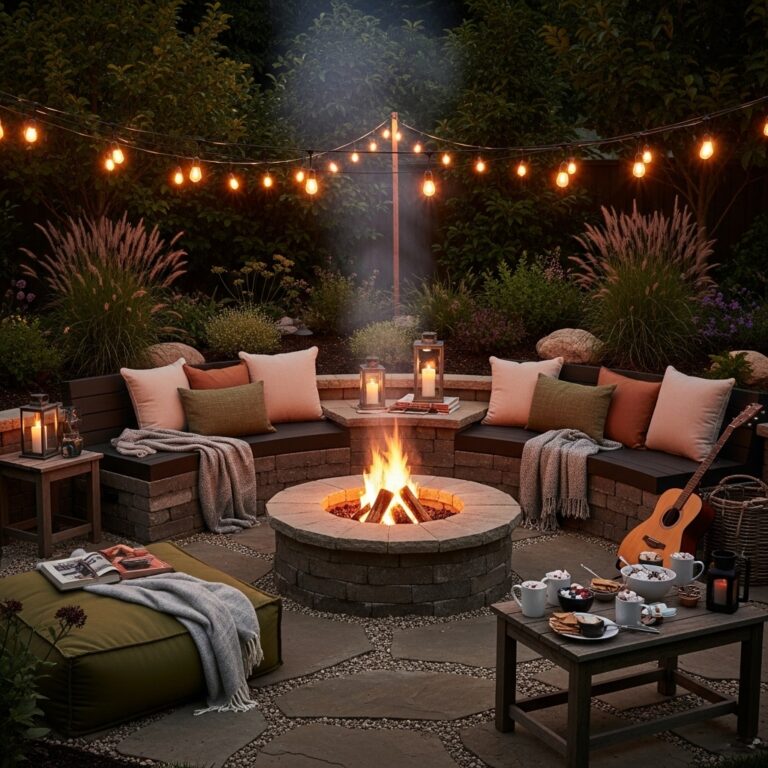
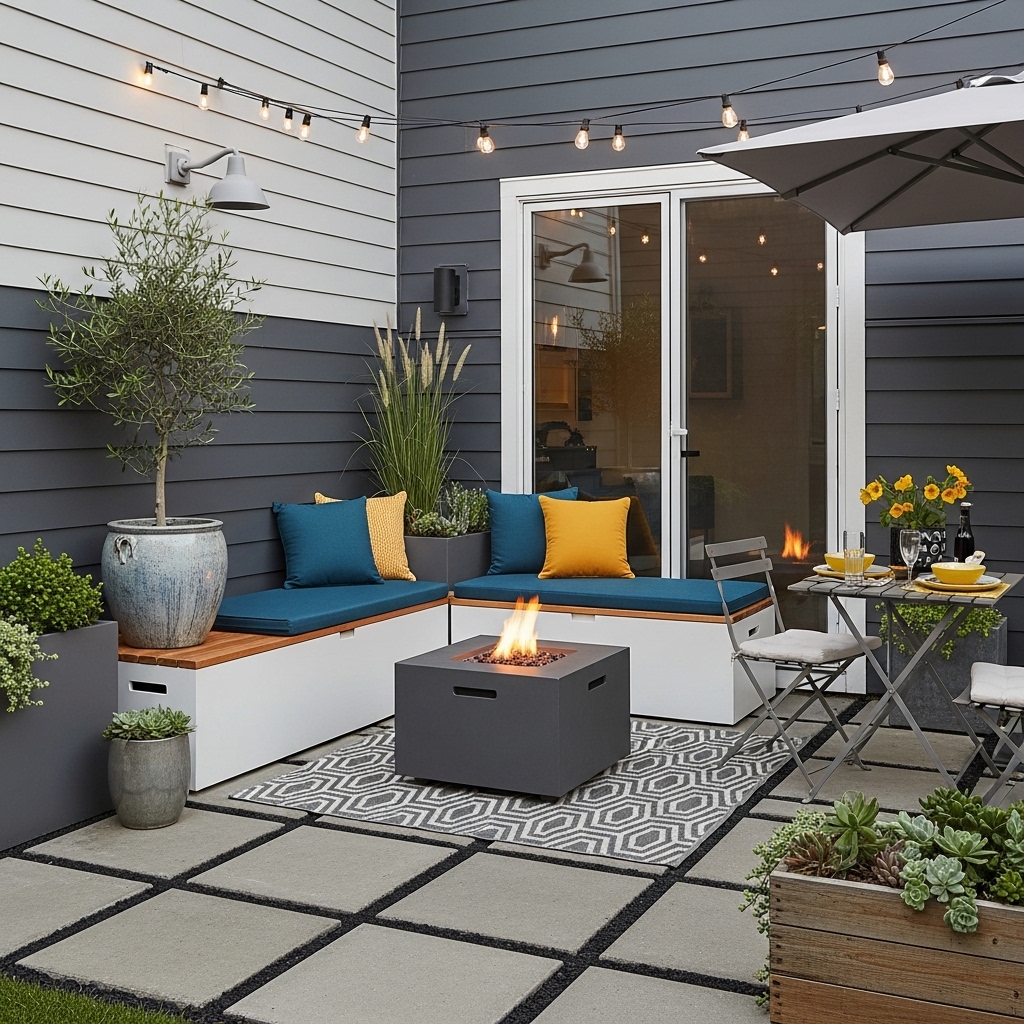
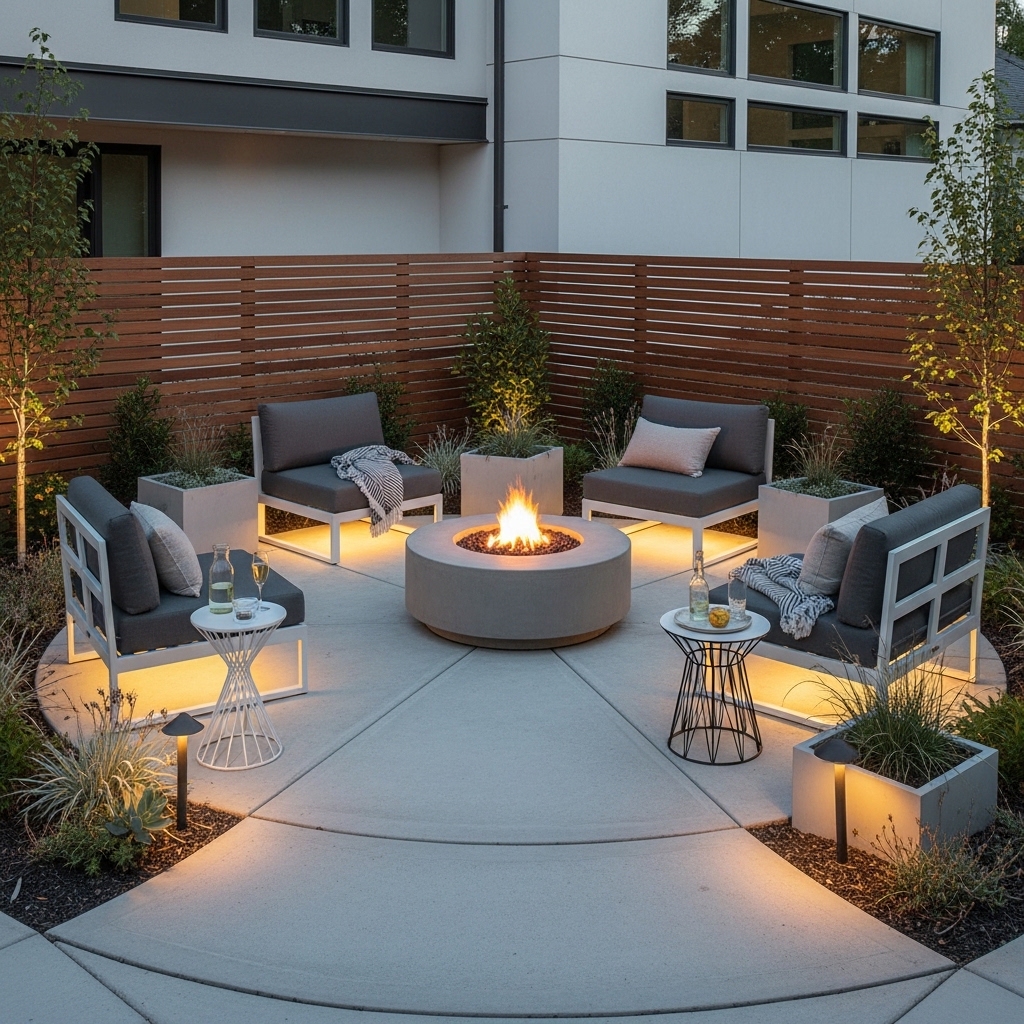
10. Add a Compact Fire Feature as a Focal Point
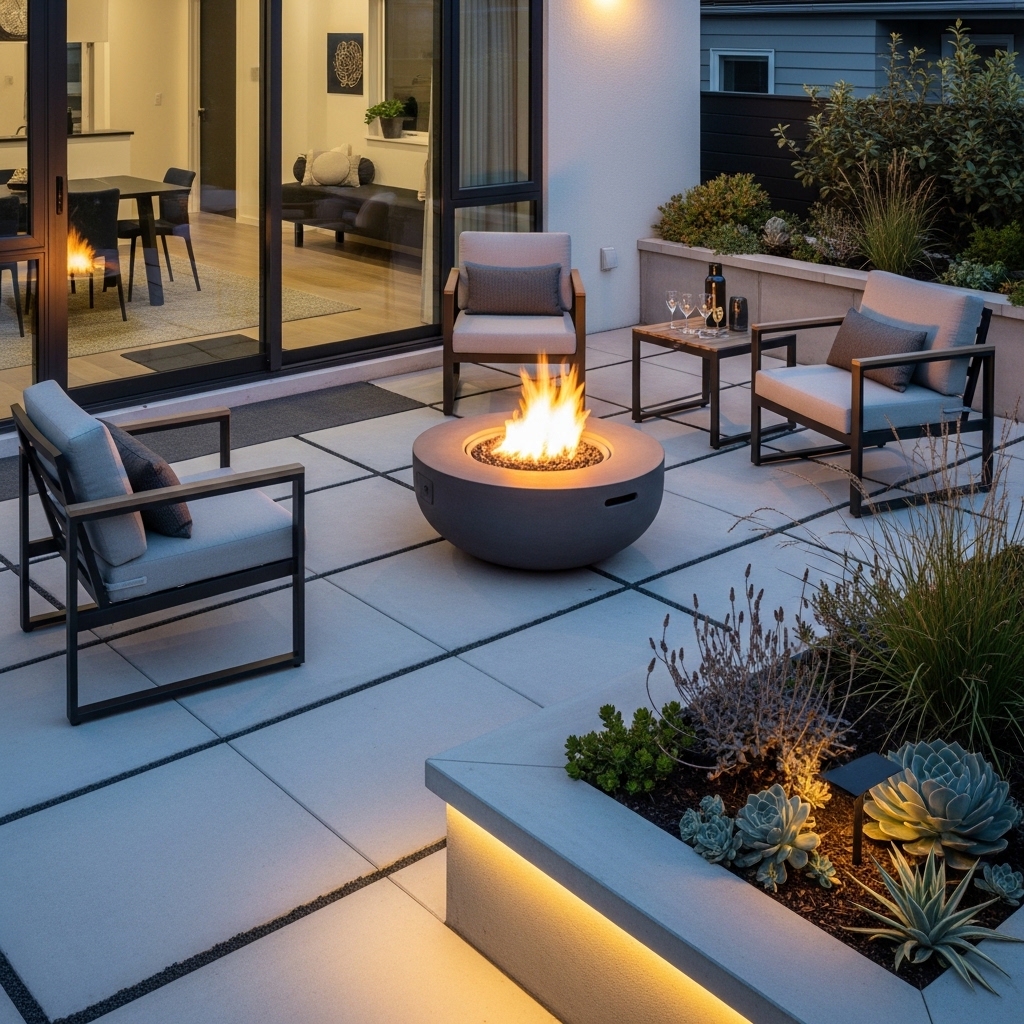
Ideal for: Small patio ideas used for relaxation or evenings.
Use a small fire pit or tabletop feature as a central element. Arrange seating around it.
This creates a strong focal point and enhances comfort without taking up much space.
Avoid oversized fire features that dominate the patio.
Pro Tip: Keep clearance around the fire feature for safety.
11. Use Modular Furniture for Flexible Layouts
Best for: Patios that need adaptability.
Choose modular seating that can be rearranged based on use. Keep pieces lightweight and easy to move.
This works because flexibility allows you to adjust the layout for different activities.
Avoid fixed furniture that limits layout options.
Pro Tip: Use modular pieces with hidden connectors for stability.
12. Maintain Open Edges to Expand Visual Space
Great for: Patios that feel boxed in.
Keep the edges of the patio free from heavy furniture. Allow space around the perimeter.
Open edges create a sense of expansion and prevent the space from feeling confined.
Avoid placing large items directly against all boundaries.
Pro Tip: Use low planters instead of tall barriers.
13. Use Repetition to Create a Cohesive Modern Look
Ideal for: Patios that feel visually inconsistent.
Repeat materials, shapes, or finishes across furniture and decor. Keep the design language consistent.
Repetition simplifies the visual experience and strengthens the modern aesthetic.
Avoid mixing too many styles or finishes.
Pro Tip: Choose one dominant material and repeat it.
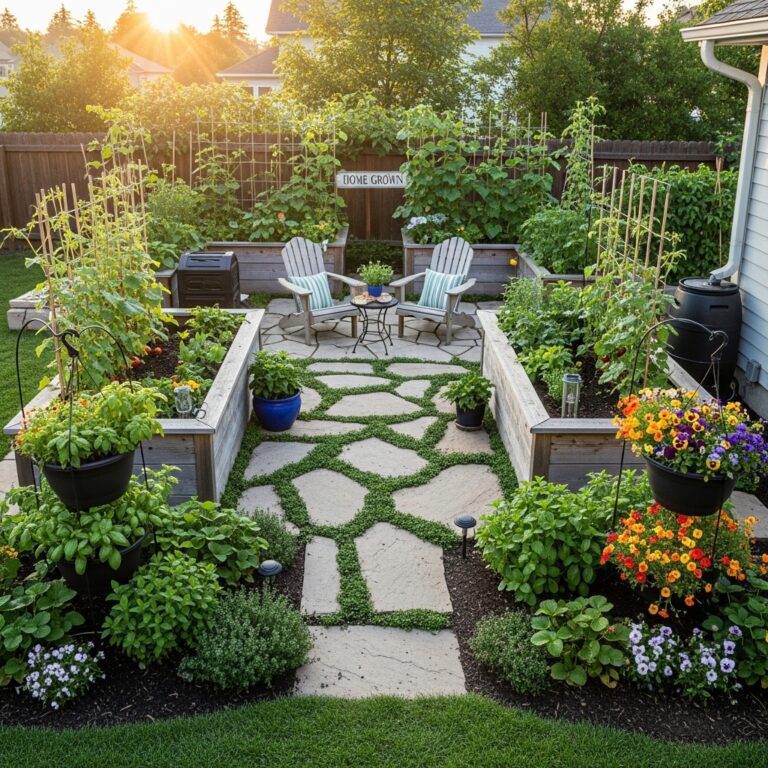
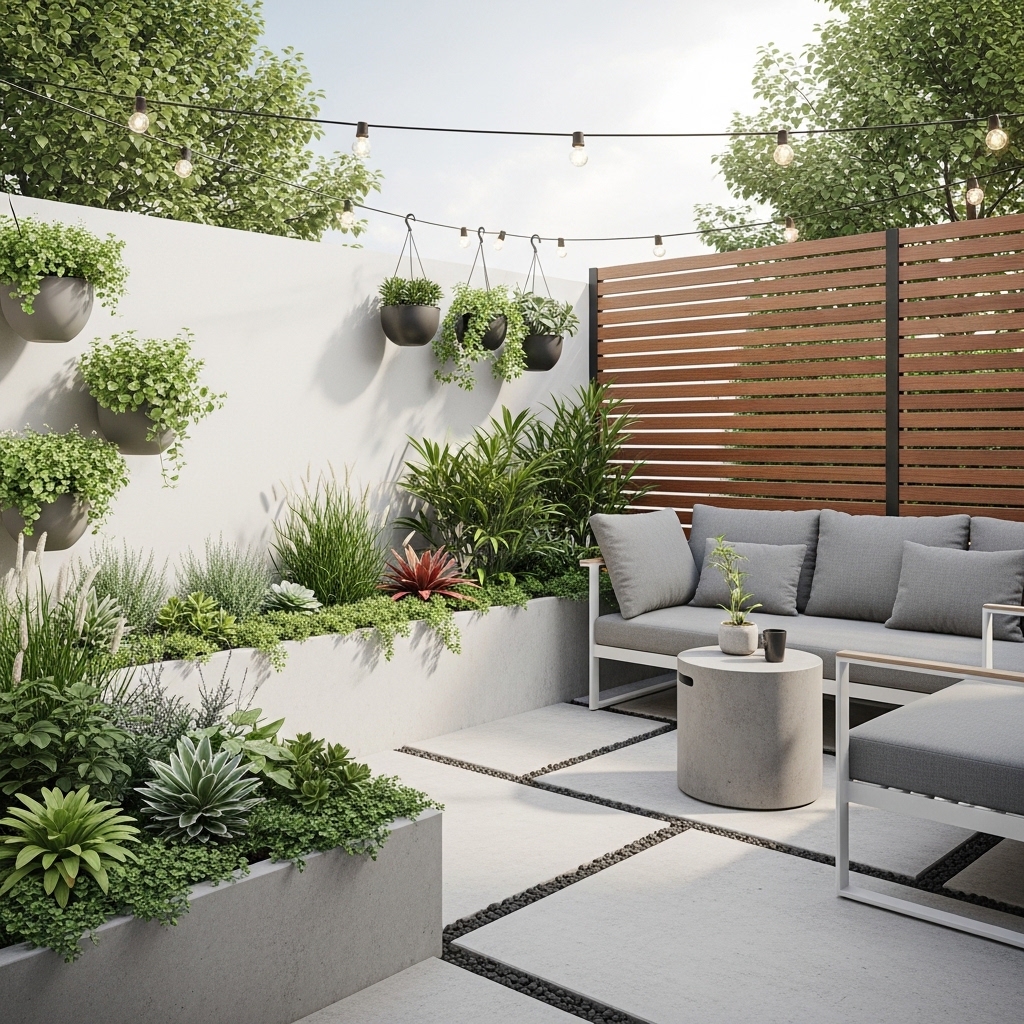
14. Integrate Greenery Without Overcrowding
Best for: Small patio ideas needing a natural touch.
Use a few well-placed plants instead of many scattered ones. Keep placement intentional.
This adds freshness without overwhelming the layout. It also complements modern design.
Avoid cluttering the space with too many planters.
Pro Tip: Use matching pots for a clean look.
15. Adjust the Layout Based on Daily Use Patterns
Great for: Patios that look good but feel impractical.
Observe how you use the space and rearrange furniture accordingly. Focus on comfort and accessibility.
This ensures the patio remains functional and aligned with your lifestyle.
Avoid sticking to a layout that doesn’t work in practice.
Pro Tip: Make small changes regularly instead of full redesigns.
16. Use an Outdoor Rug to Define the Seating Area
An outdoor rug anchors your seating area. It visually separates the patio from the rest of the yard. The soft surface is also more comfortable underfoot.
Choose a rug in a dark color or busy pattern. Dirt and spills are less visible. Make sure the rug is UV-resistant and mold-resistant.
Pro Tip: Use rug tape on all four corners. The tape prevents curling and tripping hazards.
Mistake to Avoid: Do not use an indoor rug outdoors. It will mildew within weeks.
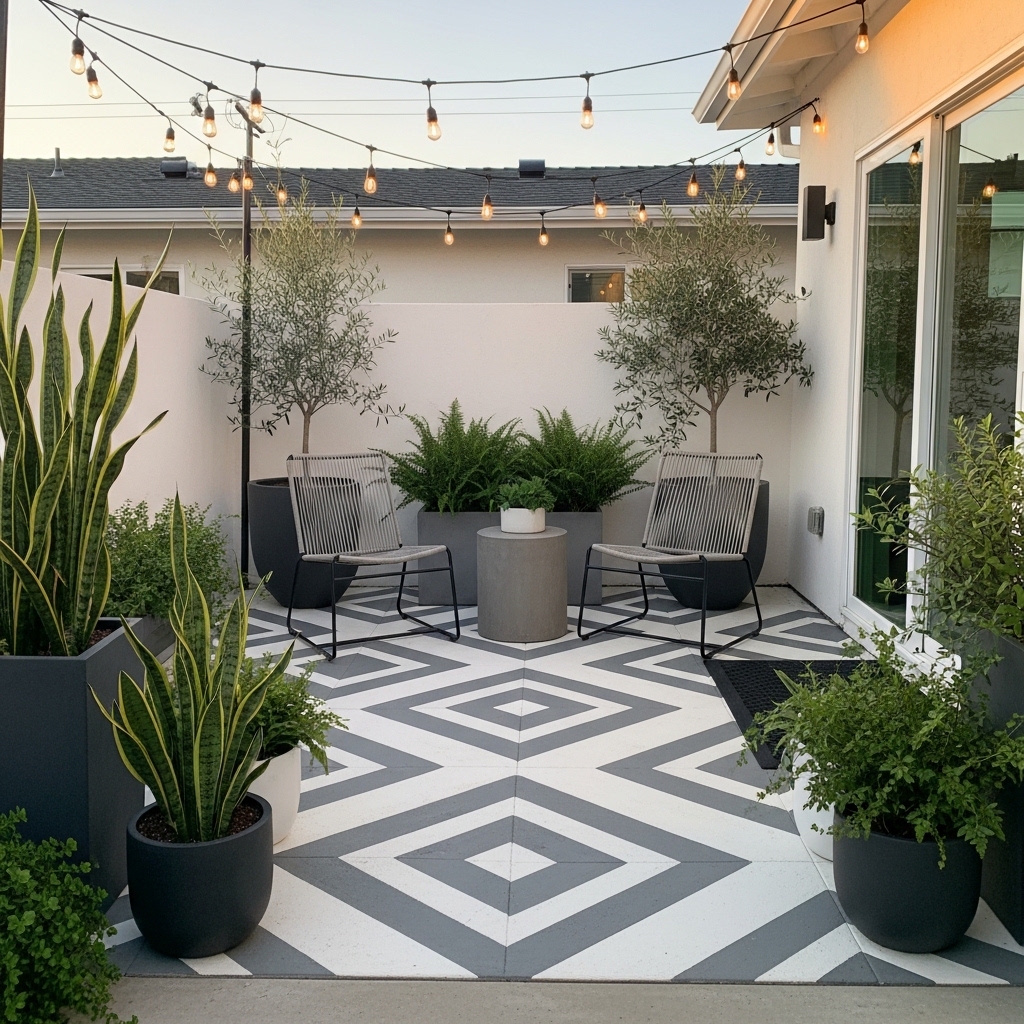
17. Paint Concrete Patio Floor with Patterned Stencils
Paint is the cheapest way to transform a concrete patio. Stencils add pattern and sophistication. The project costs under $100 and takes a weekend.
Clean and etch the concrete. Apply exterior concrete primer. Use a stencil and roller to apply a second color. Seal with concrete sealer.
Pro Tip: Use a tile pattern stencil for a classic look. Diamond or octagon patterns are very forgiving of minor mistakes.
Mistake to Avoid: Do not skip the etching step. Paint will peel within months if the concrete is not properly prepared.
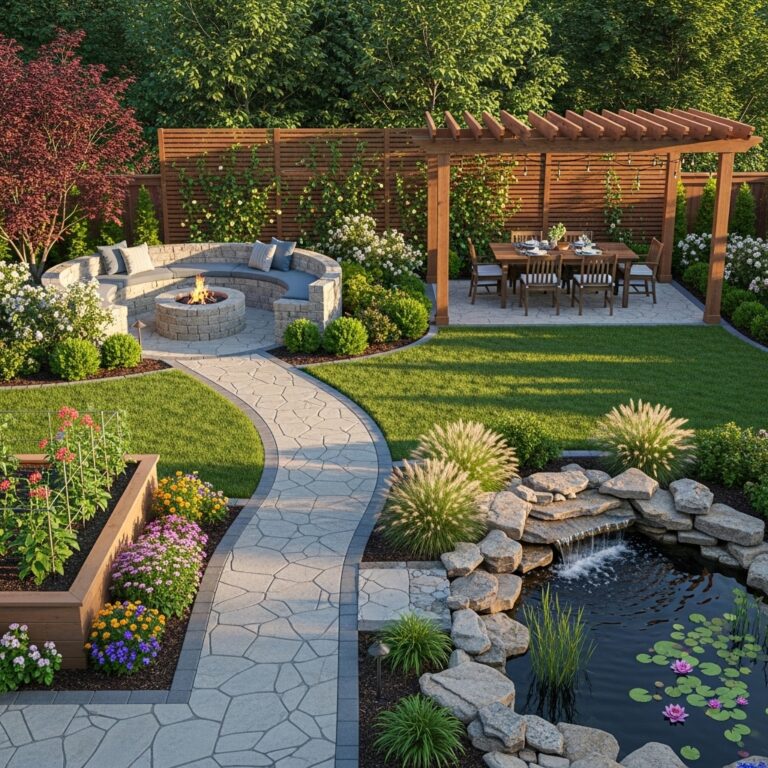
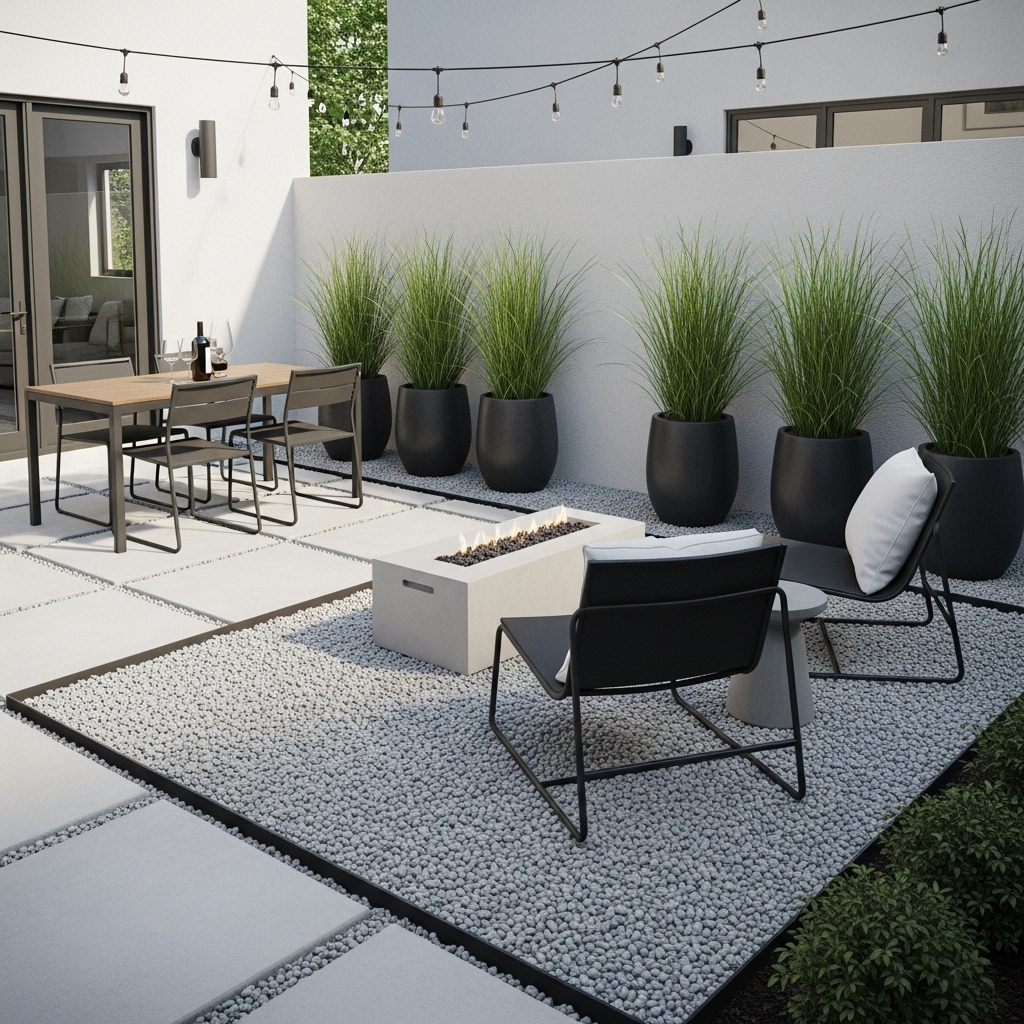
18. Create a Gravel Section for a Defined Zone

Gravel is inexpensive and drains perfectly. Use it to define a specific zone on your patio—a fire pit area, a dining area, or a path.
Excavate 3-4 inches of soil. Lay landscape fabric to block weeds. Fill with pea gravel or crushed granite. Install edging to keep the gravel contained.
Pro Tip: Use stabilizer grids under the gravel. The grids prevent the stones from shifting underfoot.
Mistake to Avoid: Do not use gravel in a windy area without edging. It will scatter across the entire patio.
19. Lay Down a Poured Concrete Pad for a Fire Pit
A poured concrete pad gives a fire pit a stable, fire-safe base. It also defines the fire pit zone as distinct from the rest of the patio.
Excavate a 4-foot square. Build a wooden form. Pour bagged concrete mix. Trowel it smooth. The pad will cost under $50 in materials.
Pro Tip: Add color hardener to the concrete mix for a tinted finish. Terra cotta or charcoal complements fire pits well.
Mistake to Avoid: Do not pour concrete directly against your house foundation. Leave a 2-inch expansion gap.
Part 4: Lighting & Ambiance for Small Patios (Ideas 20-25)
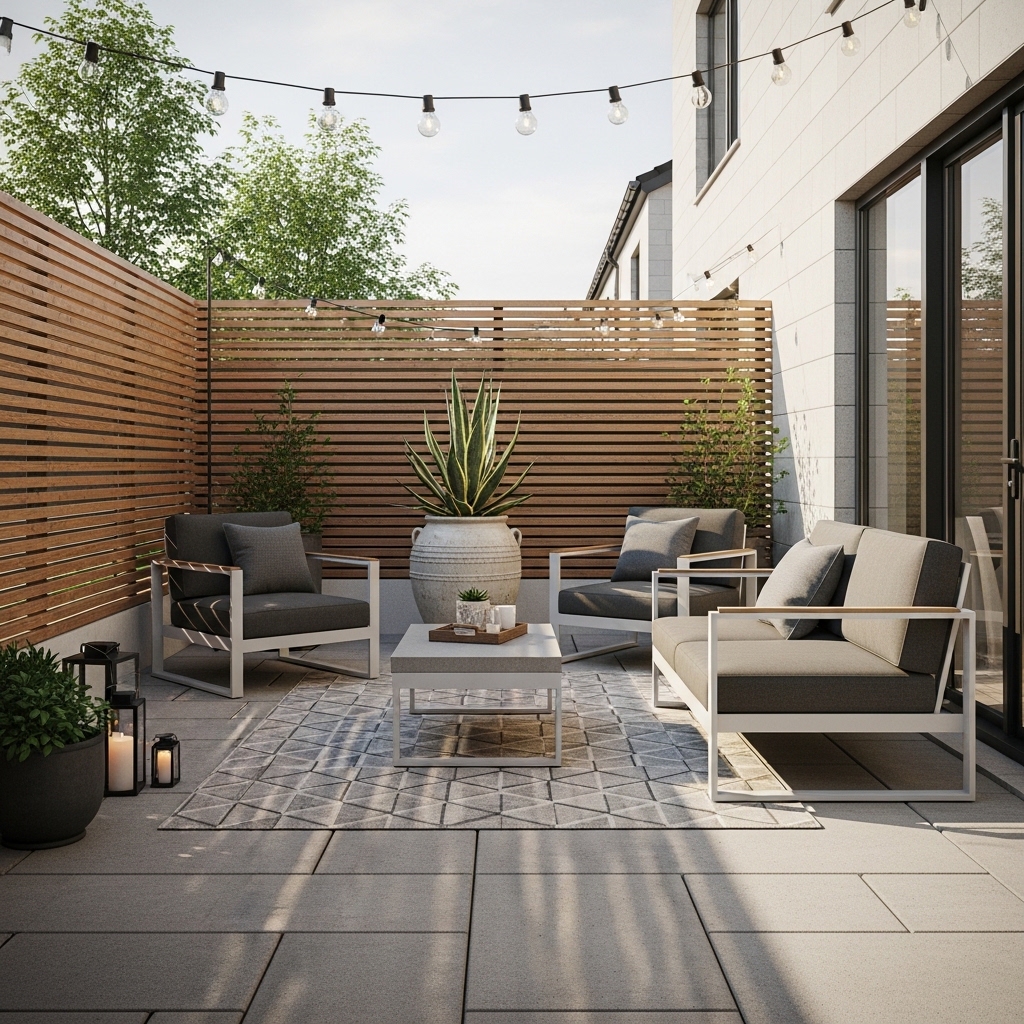
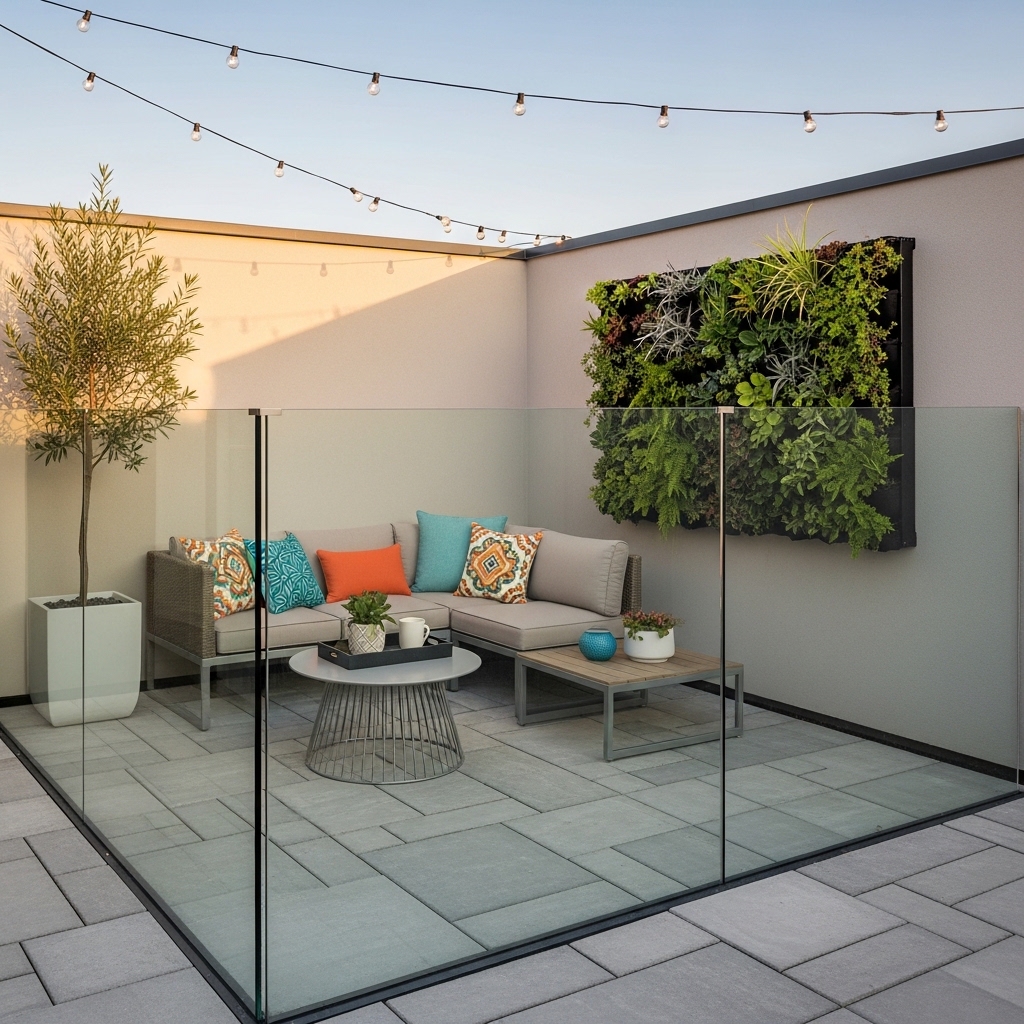
20. String Lights in a Zigzag Pattern
One straight line of string lights is predictable. A zigzag pattern creates visual interest and more light coverage. The irregular lines draw the eye upward.
Attach hooks to your house, fence, or posts. String the lights back and forth in a W or zigzag pattern. The overlapping strands create a canopy effect.
Pro Tip: Use warm white LED lights. Cool white lights feel harsh and clinical outdoors.
Mistake to Avoid: Do not use indoor string lights outdoors. They are not weather-sealed and pose a fire risk.
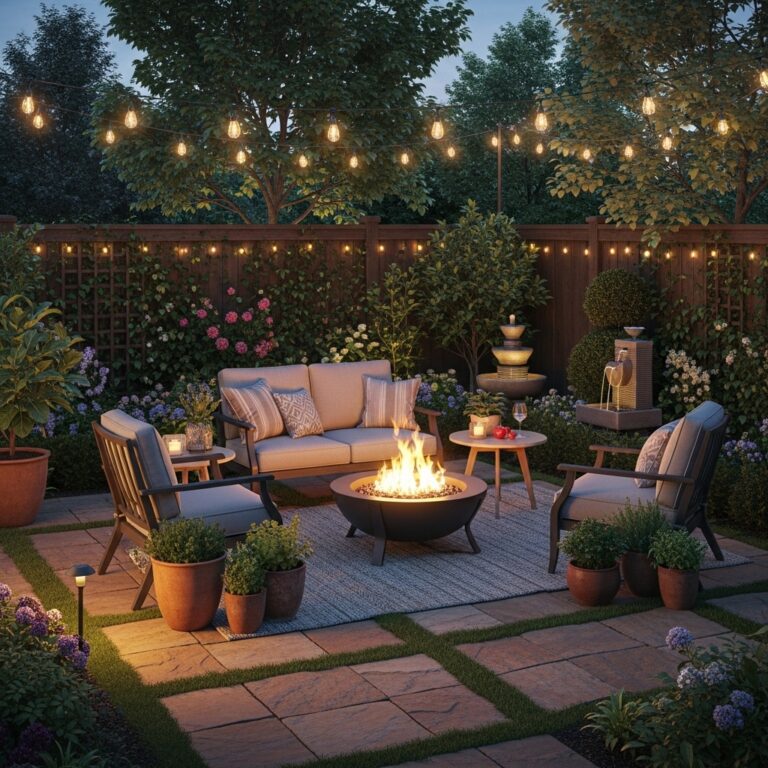
21. Add a Small Propane Fire Table
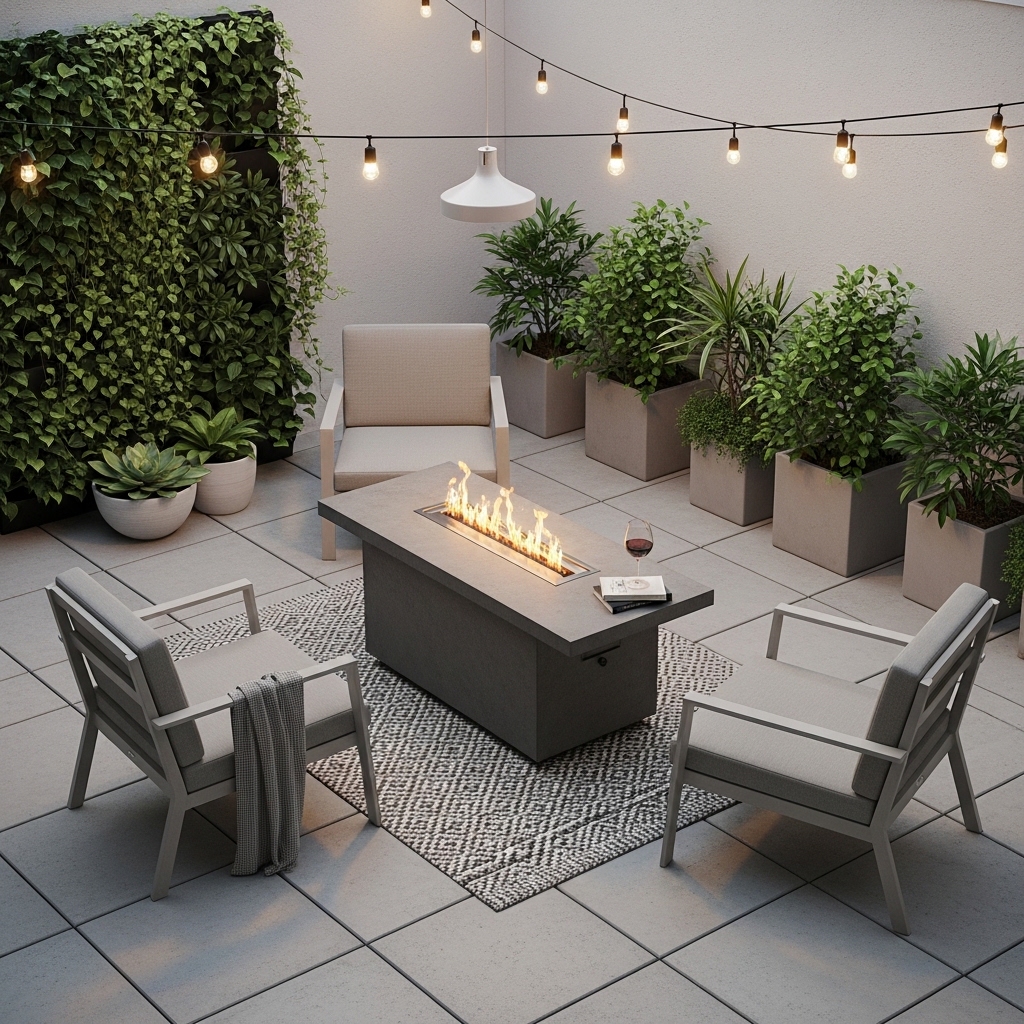
A wood-burning fire pit requires clearance and produces smoke. A propane fire table is clean-burning and fits in smaller spaces. It serves as both heat source and table.
Choose a table with a lid. The lid converts the fire feature into a dining table when not in use. The propane tank hides inside the base.
Pro Tip: Use decorative fire glass instead of lava rocks. The glass reflects light and looks more modern.
Mistake to Avoid: Do not use a fire table on a wooden deck without a heat shield underneath.
22. Use Solar Path Lights Along the Perimeter
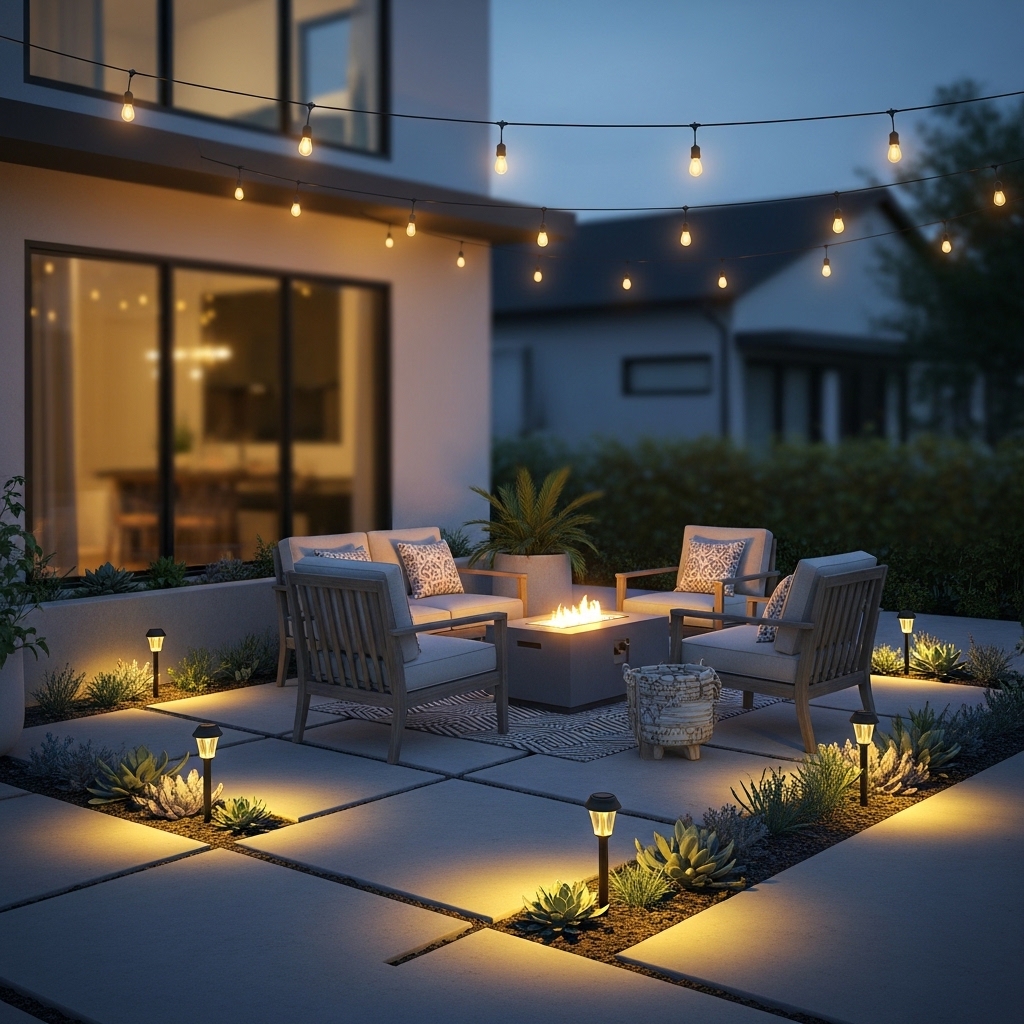
Solar path lights are inexpensive and require no wiring. Line them along the edge of your patio or path. The soft glow defines the boundary without harsh overhead light.
Buy lights at the end of summer when they are heavily discounted. Charge them in direct sun for 48 hours before first use.
Pro Tip: Place lights only on one side of the path. Staggered placement looks more natural than symmetrical lines.
Mistake to Avoid: Do not place solar lights in shaded areas. They will not charge properly and will dim quickly.
23. Hang a Pendant Light Over a Small Bistro Table
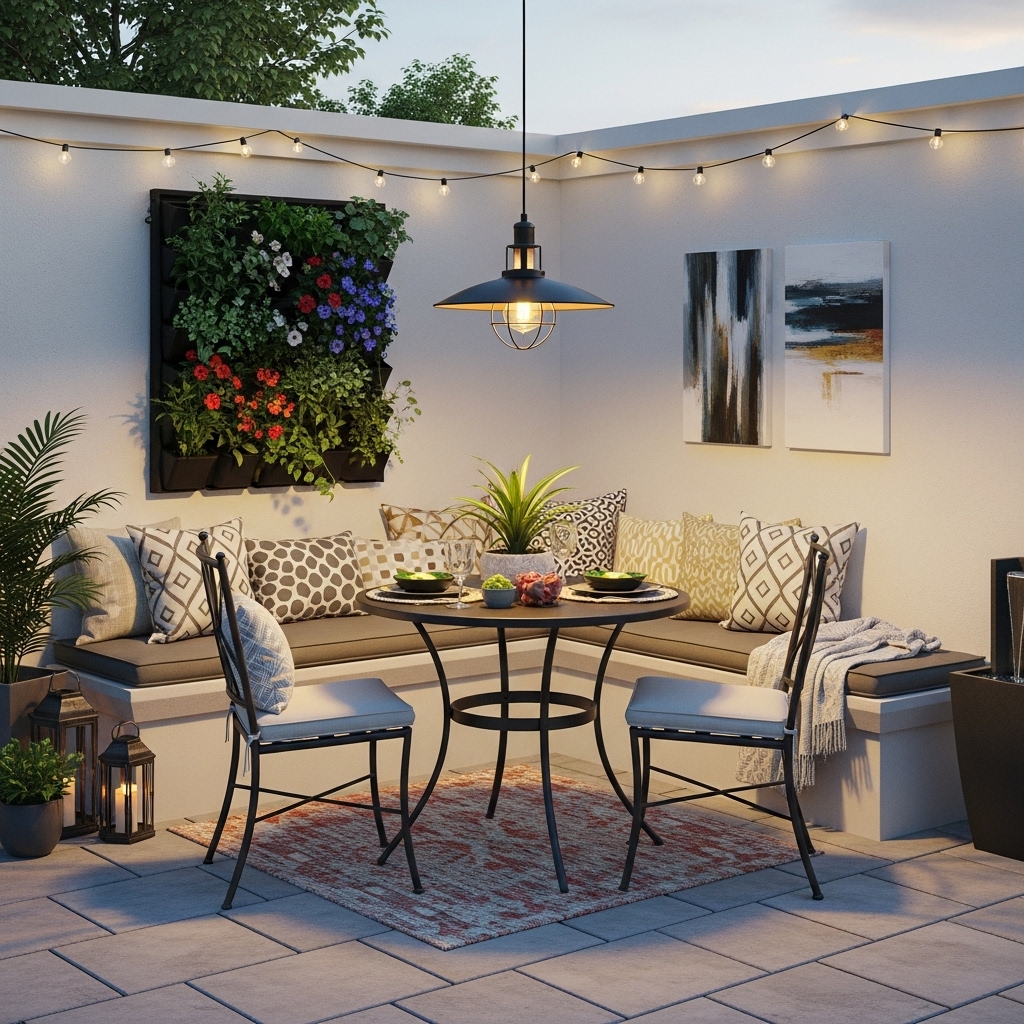
A pendant light over a dining table creates intimacy. It also frees up table surface space that a table lamp would occupy.
Hang the light from a ceiling hook or a small pergola. Use a plug-in pendant light with a cord cover for easy installation. The light should hang 30-36 inches above the table.
Pro Tip: Choose a pendant with a dimmer switch. Dim the light for evening dinners and brighten it for game nights.
Mistake to Avoid: Do not hang the pendant too low. People should not hit their heads when standing up.
24. Add Battery-Operated LED Candles to the Table
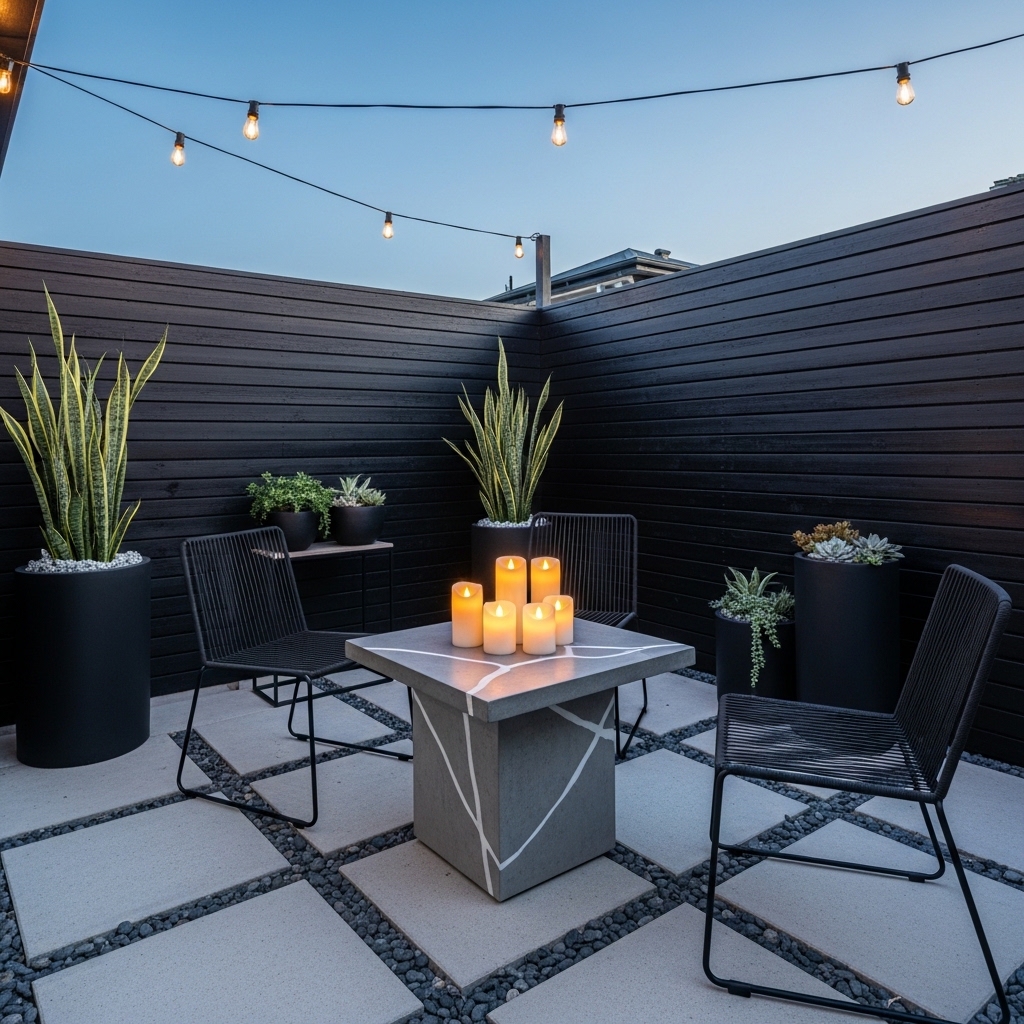
Real candles blow out in wind. Battery-operated LED candles flicker realistically and stay lit. Scatter them on your table or along a railing.
Choose candles with timers. They will turn on and off automatically at the same time each day. Use warm white or amber bulbs for a natural glow.
Pro Tip: Group candles in odd numbers. Three or five candles together look more natural than two or four.
Mistake to Avoid: Do not use cheap plastic candles. The fake flame motion is distracting. Spend a little more for quality.
25. Wrap Railing Posts with Rope Lights
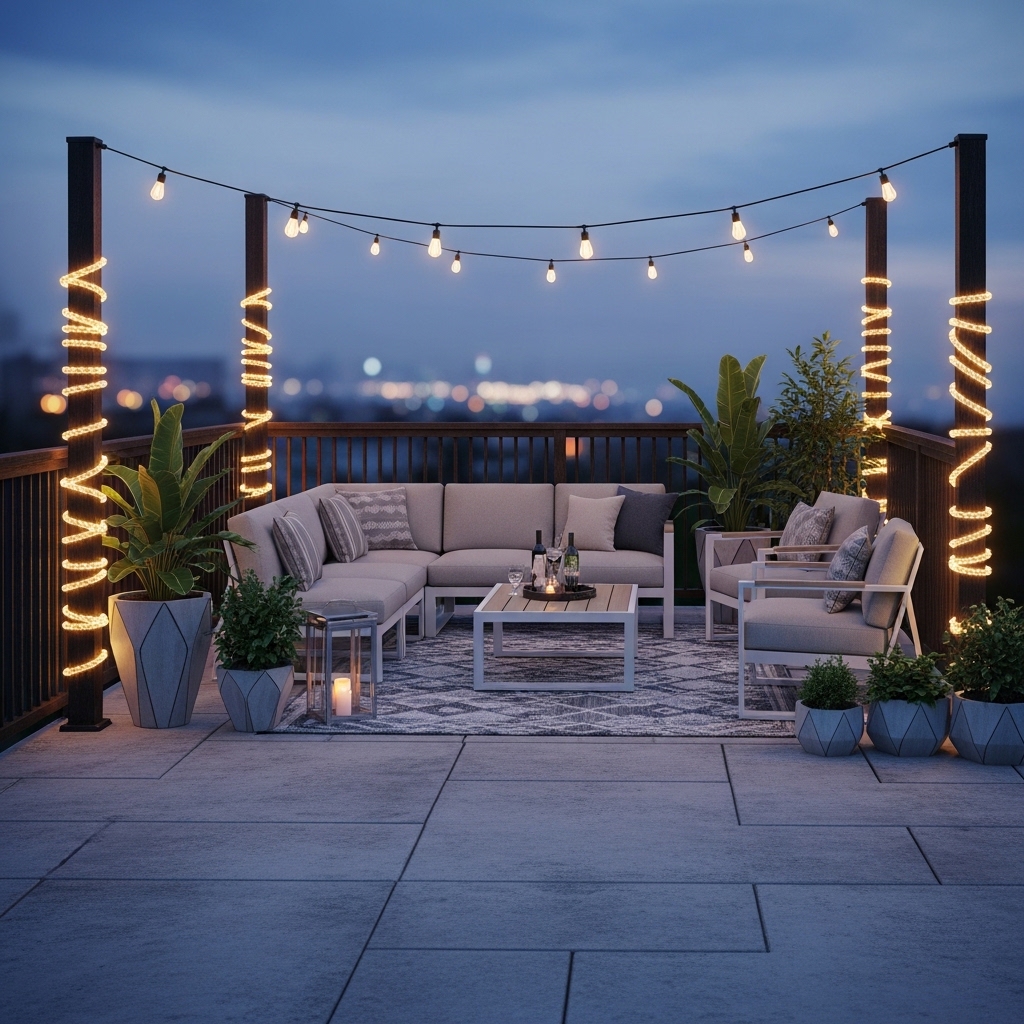
Rope lights are flexible and weatherproof. Wrap them around your railing posts for a soft, indirect glow. The light illuminates the railing without shining in your eyes.
Use outdoor-rated LED rope lights. Secure them with zip ties or clear clips. The wrapped effect creates a whimsical, nautical feel.
Pro Tip: Use a remote control for the rope lights. Turn them on and off without reaching behind furniture.
Mistake to Avoid: Do not wrap rope lights too tightly. They need some slack to prevent overheating.
Part 5: Plants & Greenery That Add Life (Ideas 26-31)
26. Use a Tall Planter to Draw the Eye Up
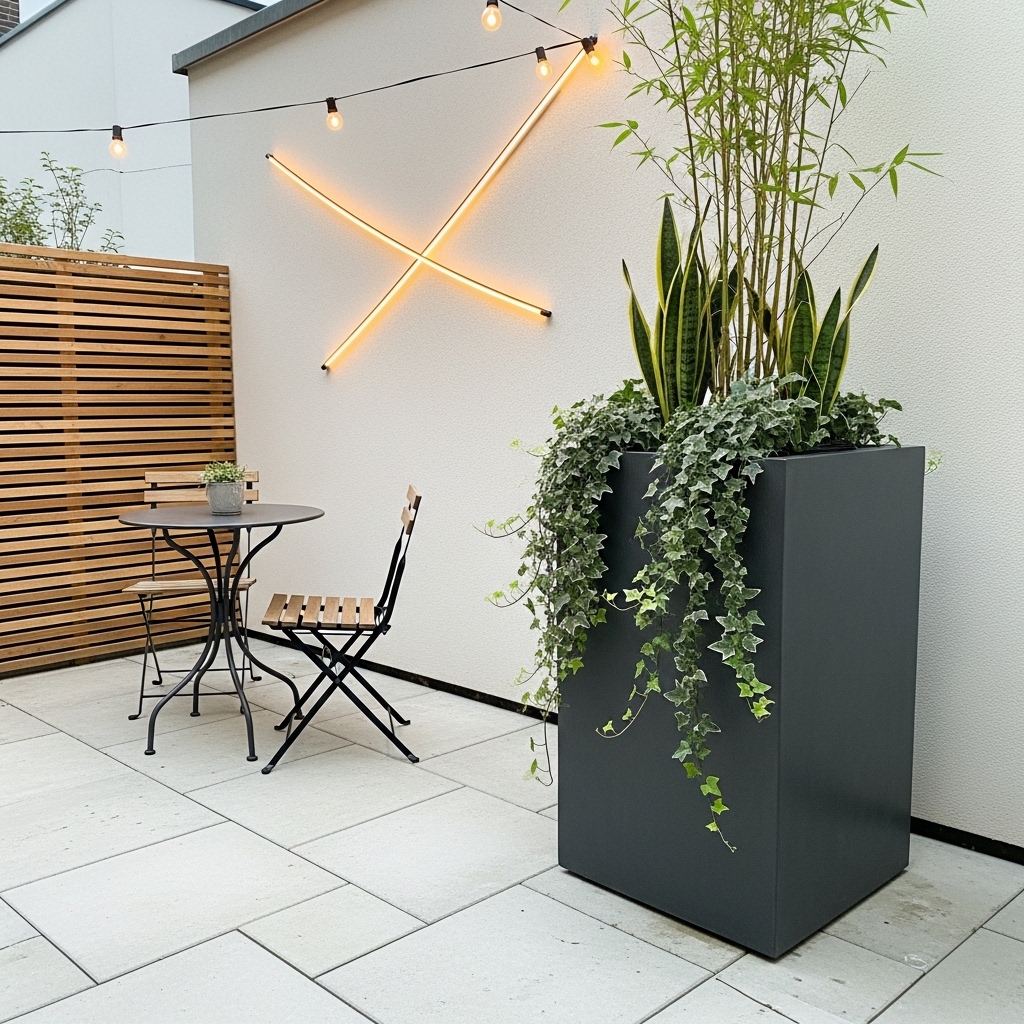
Low planters keep the eye at ground level. Tall planters draw the eye upward, making the space feel larger. They also provide more privacy from neighbors.
Choose planters at least 24 inches tall. Place them in corners or next to seating. Use them for tall plants like boxwood, ornamental grasses, or small trees.
Pro Tip: Use lightweight fiberglass planters on upper levels. They are easier to move and less likely to tip in wind.
Mistake to Avoid: Do not use tall planters with narrow bases on windy patios. They tip over easily.
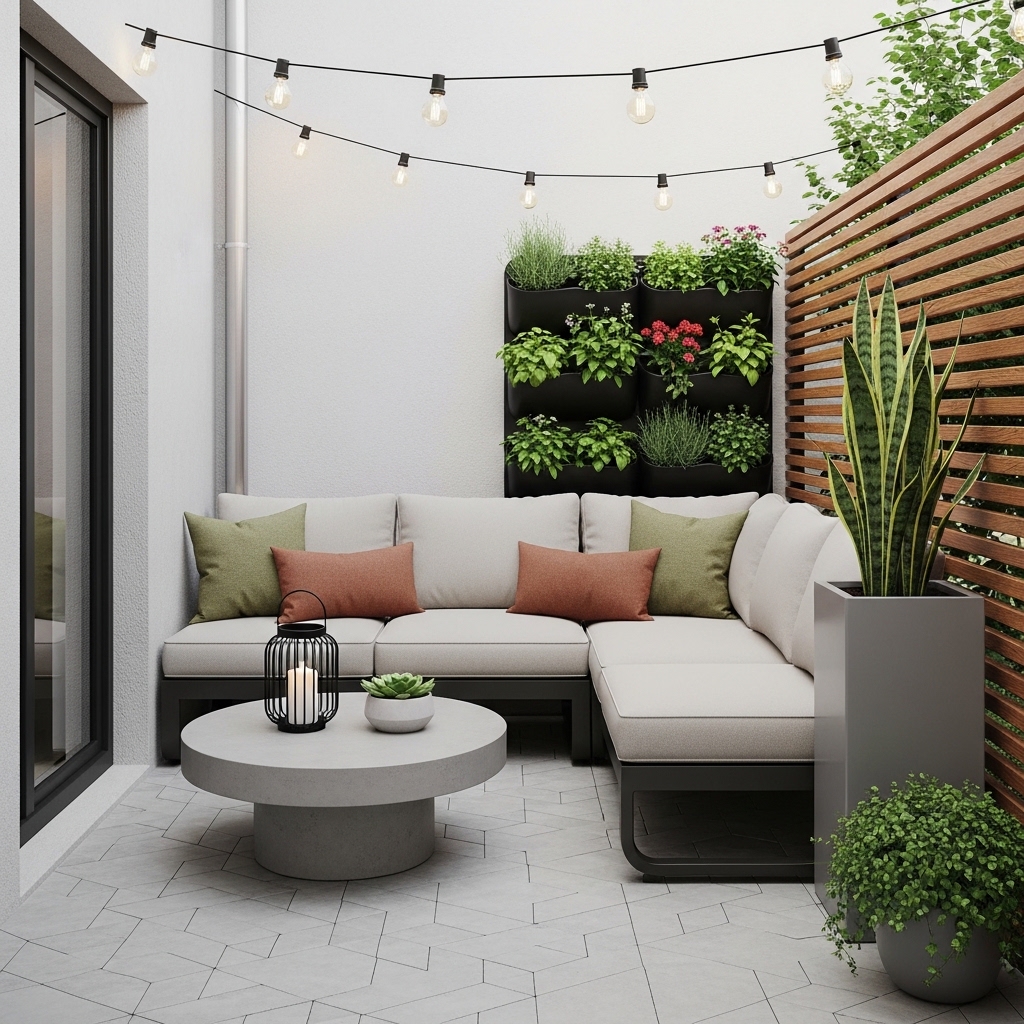
27. Install a Living Wall on a Fence
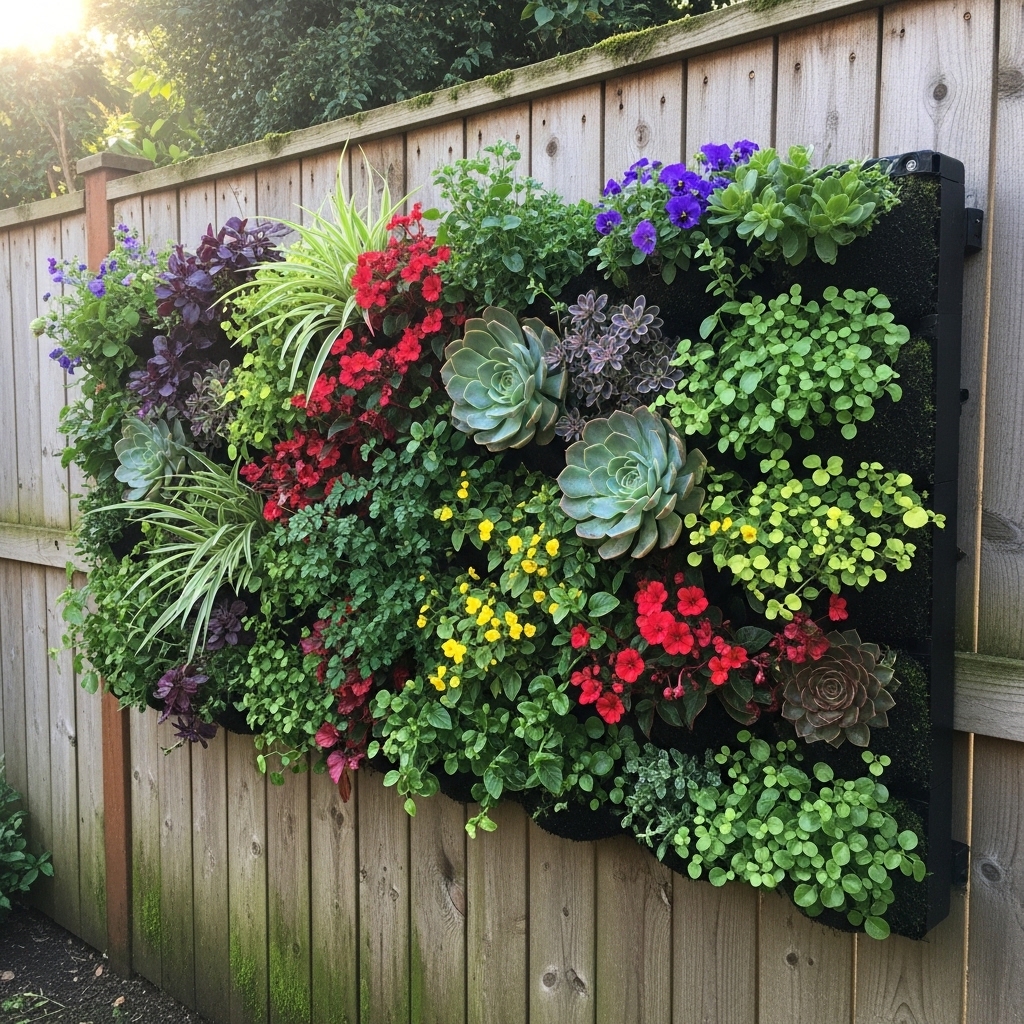
A living wall is a vertical garden. It adds greenery without taking floor space. The plants soften the hard surface of a fence or wall.
Use a pocket planter system or attach small pots to a wooden frame. Plant ferns, succulents, or trailing vines. Water regularly, as vertical planters dry out faster.
Pro Tip: Install a drip irrigation system on a timer. Vertical planters need consistent moisture, and hand-watering is tedious.
Mistake to Avoid: Do not use heavy pots on a living wall. Lightweight plastic or fabric planters are safer.
28. Group Plants in Odd Numbers for Visual Impact
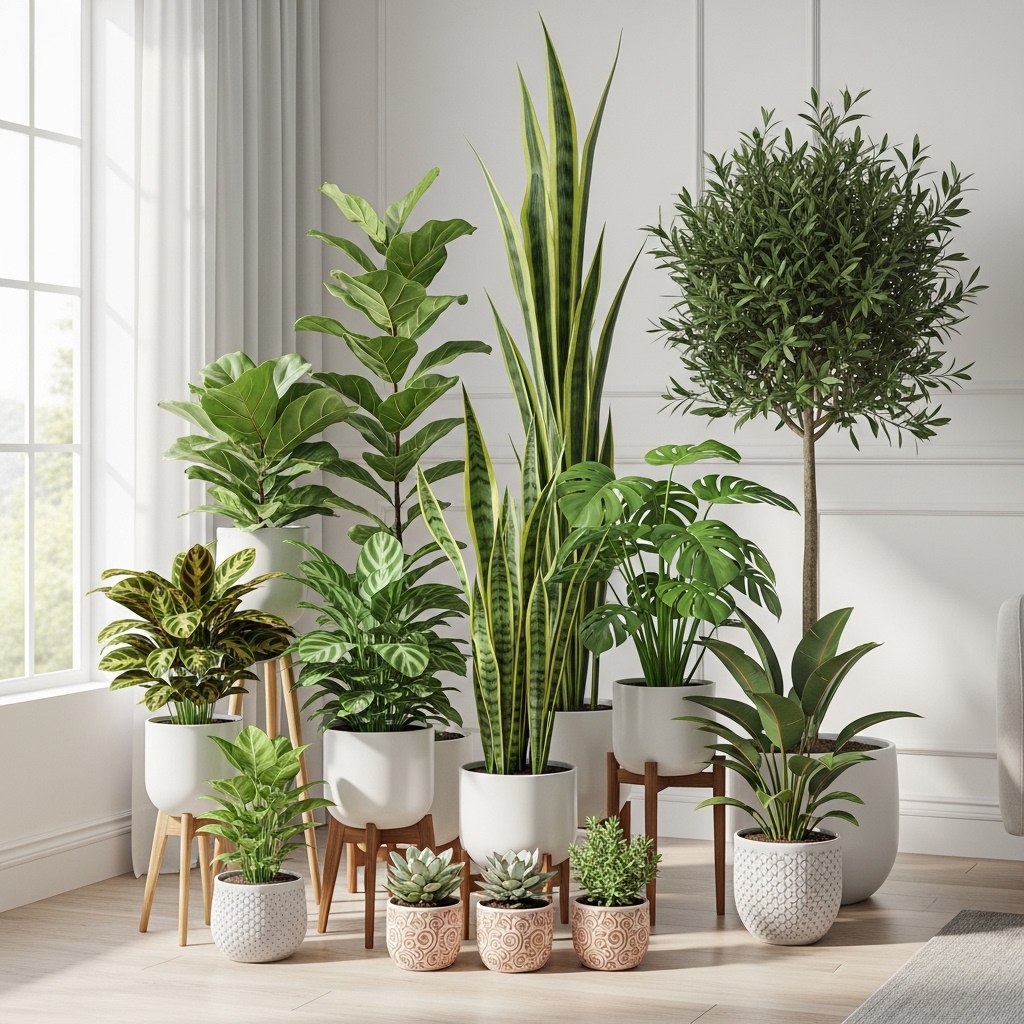
One plant is fine. Three plants together are better. Five plants create a lush, intentional look. The odd number grouping is more pleasing to the eye.
Use pots of varying heights and sizes. Place the tallest at the back and shortest in front. The layered effect adds depth.
Pro Tip: Use the same color pots throughout the grouping. Matching containers create cohesion among different plants.
Mistake to Avoid: Do not line plants up in a straight row. A clustered, asymmetrical arrangement looks more natural.
29. Use a Hanging Planter from a Shepherds Hook
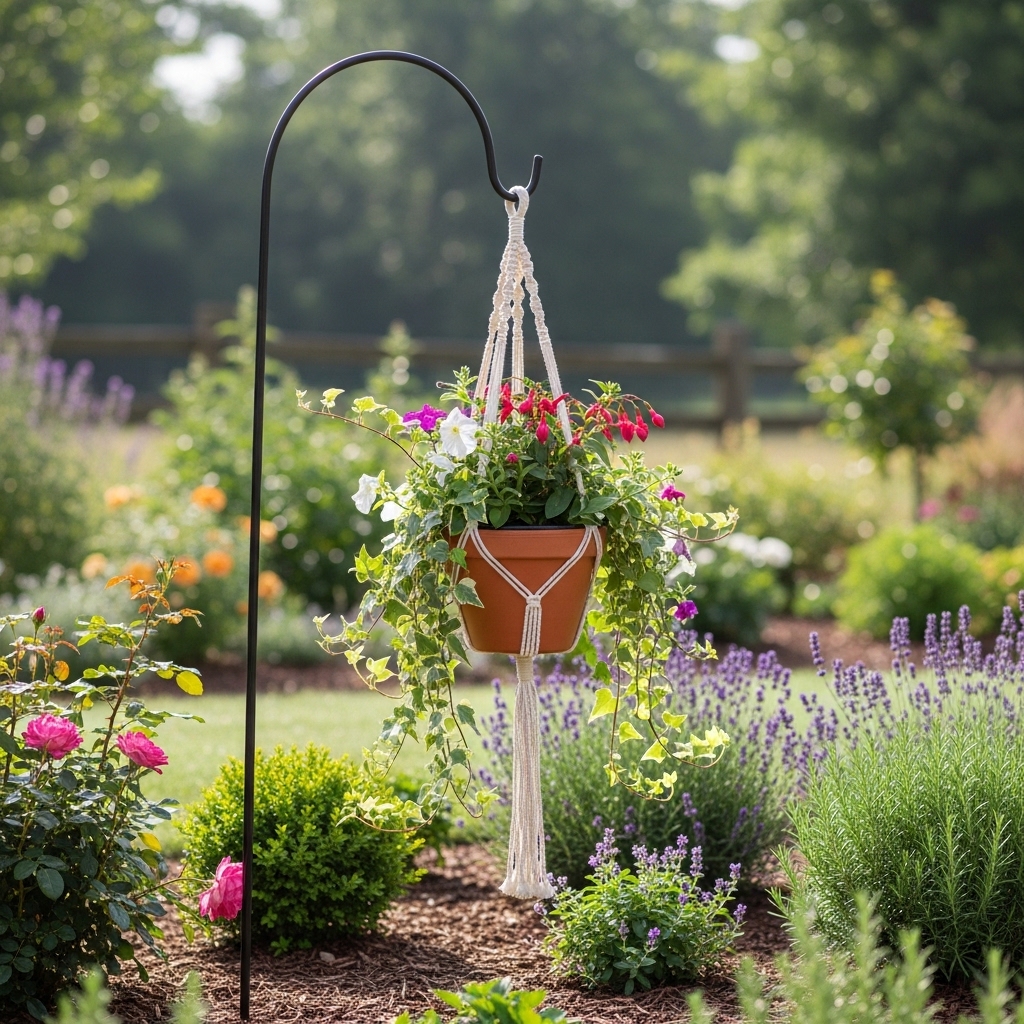
A shepherds hook is a metal stake with a curved top. Hang a planter from the hook to add greenery at eye level. The setup takes almost no floor space.
Choose a hook that is at least 5 feet tall. Use a coco-lined wire basket for the planter. Plant trailing annuals like petunias or verbena.
Pro Tip: Use a self-watering hanging planter. The reservoir reduces how often you need to water.
Mistake to Avoid: Do not hang heavy planters on shepherds hooks in windy areas. The hook may bend or tip.
30. Grow Bamboo in Large Pots for Privacy
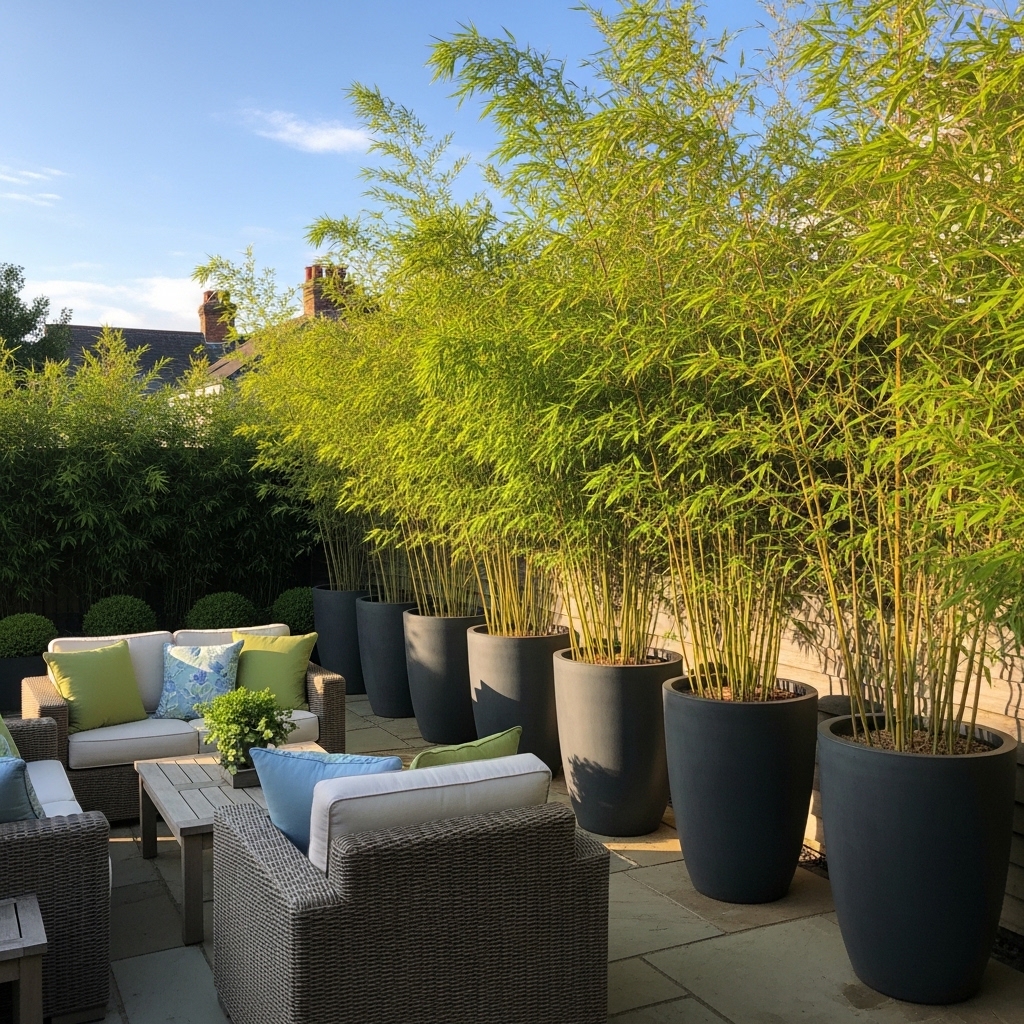
Bamboo grows tall and dense. It is the fastest way to create privacy on a small patio. Plant it in large containers to prevent spreading.
Choose clumping bamboo varieties like Fargesia. They do not spread aggressively like running bamboo. Place the pots along the edge of your patio.
Pro Tip: Use heavy ceramic or concrete pots. They are less likely to tip over in wind than lightweight plastic pots.
Mistake to Avoid: Do not plant running bamboo in the ground. It will spread to your neighbor’s yard and is nearly impossible to remove.
31. Use a Tiered Plant Stand for Multiple Pots
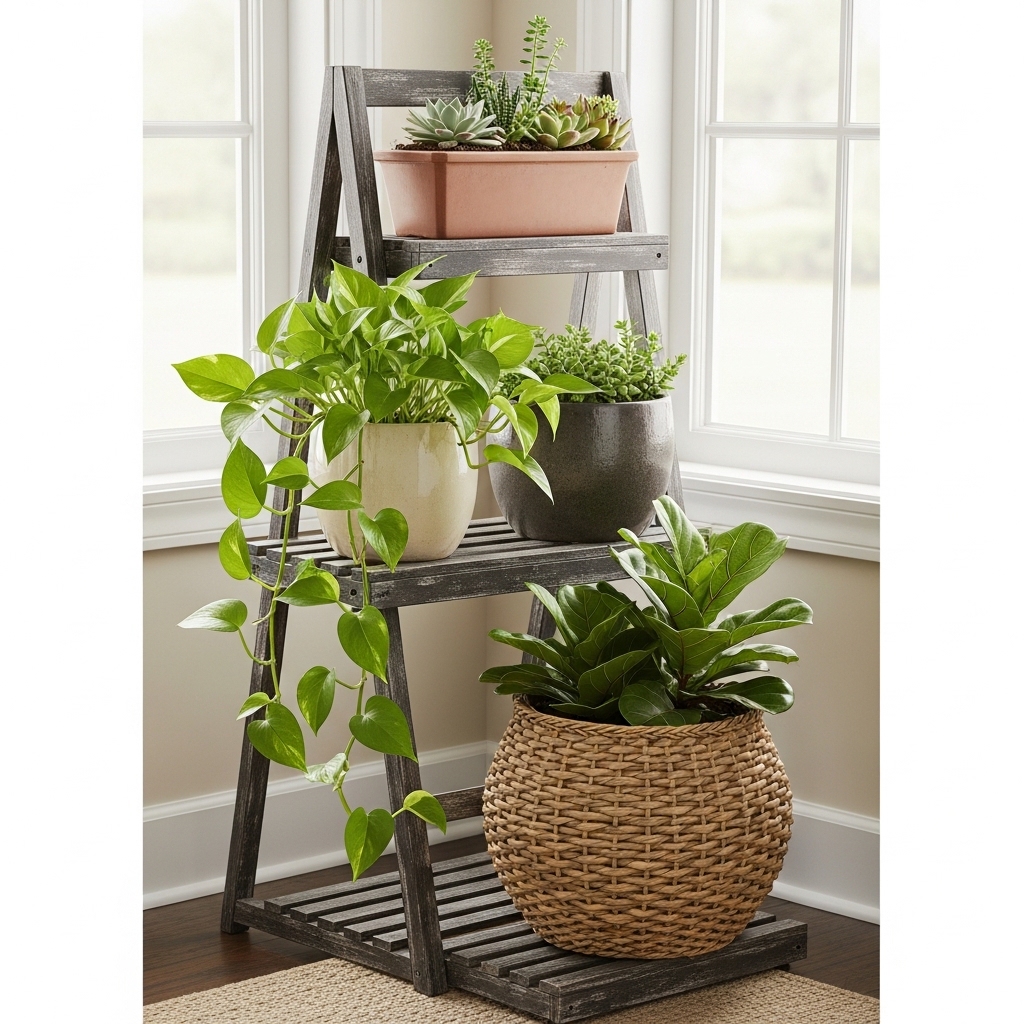
A tiered plant stand holds multiple pots in the footprint of one. The vertical design maximizes planting space on a small patio.
Choose a stand in metal or wood with 3-5 tiers. Place the tallest plants on the bottom and trailing plants on the top. The cascading effect is beautiful.
Pro Tip: Rotate the stand every two weeks. All sides will get equal sunlight, and plants will grow evenly.
Mistake to Avoid: Do not overload the stand with heavy ceramic pots. Lightweight plastic pots are safer for upper tiers.
Part 6: Privacy & Shade Solutions (Ideas 32-35)
32. Hang Outdoor Curtains from a Tension Rod
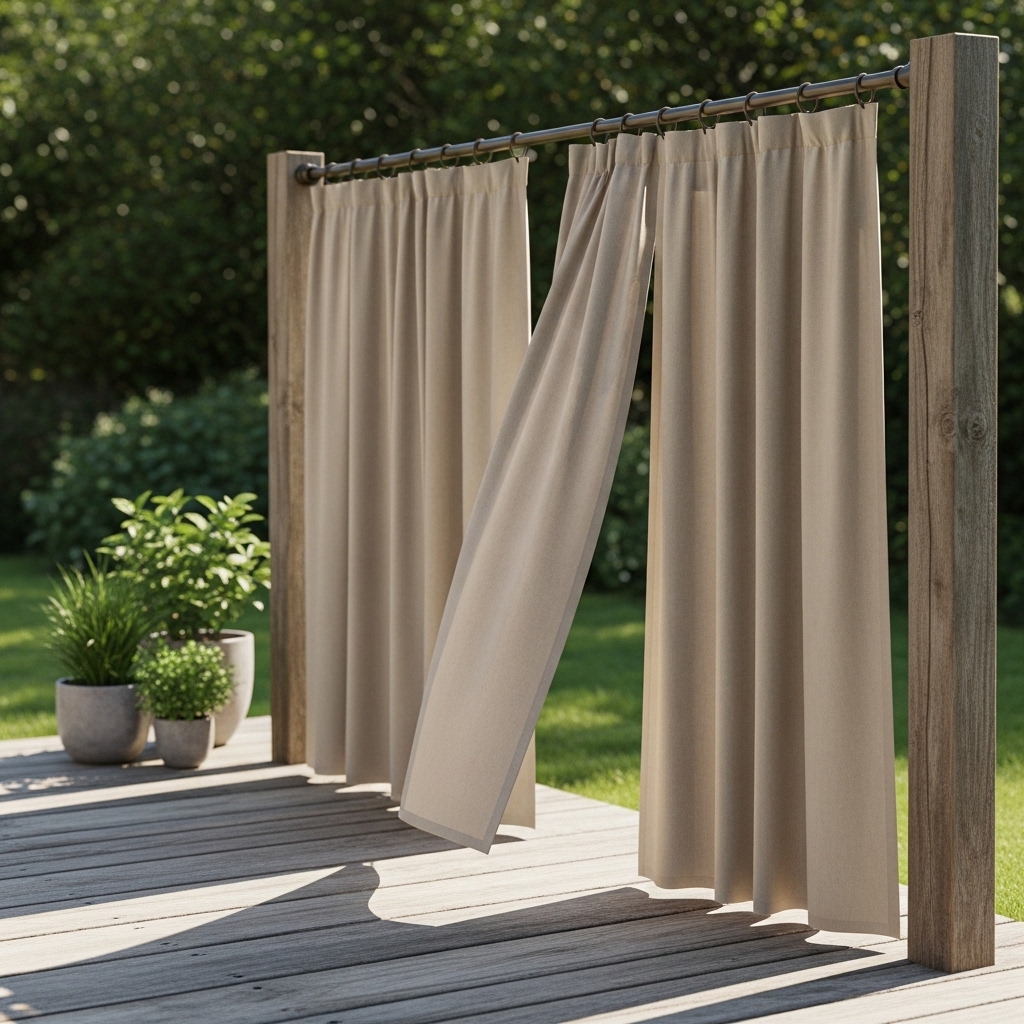
Curtains add softness and privacy. A tension rod requires no drilling. The fabric blocks the view from neighbors while creating a cozy, enclosed feel.
Use a heavy-duty tension rod rated for outdoor use. Choose curtains in an outdoor fabric like Sunbrella. The curtains should kiss the floor.
Pro Tip: Use two curtain panels per section. The extra fullness looks more luxurious.
Mistake to Avoid: Do not use indoor curtains outdoors. They will fade and mildew within weeks.
33. Install a Retractable Awning

A retractable awning provides shade when you need it and disappears when you do not. It mounts to your house wall above the patio. The manual or motorized operation is simple.
Measure the width of your patio door or window before buying. Choose a fabric color that complements your house. The awning can reduce indoor temperatures as well.
Pro Tip: Choose an awning with a wind sensor. It will automatically retract in high winds, preventing damage.
Mistake to Avoid: Do not install an awning without checking your HOA rules. Many neighborhoods restrict awning colors and styles.
34. Use a Cantilever Umbrella to Maximize Floor Space
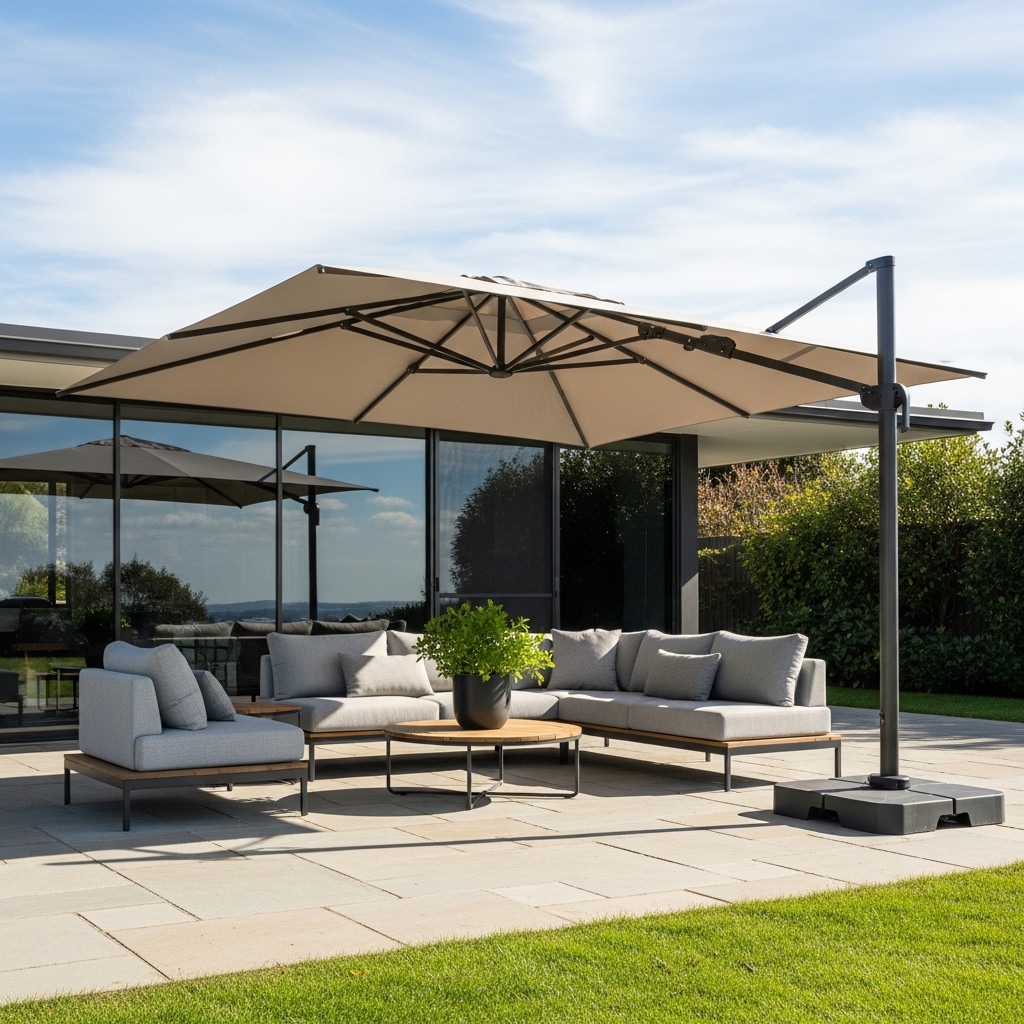
A standard umbrella has a pole in the center of the table. A cantilever umbrella has the pole off to the side. The offset design leaves the floor space completely open.
Anchor the base with heavy weights or sandbags. The umbrella can be rotated to track the sun. The shade coverage is excellent for small dining sets.
Pro Tip: Use a cantilever umbrella with a crank and tilt mechanism. Easy adjustment makes it more likely you will use it.
Mistake to Avoid: Do not use a cantilever umbrella in windy conditions without lowering it. The side pole design catches wind easily.
35. Build a Simple Wood Privacy Screen
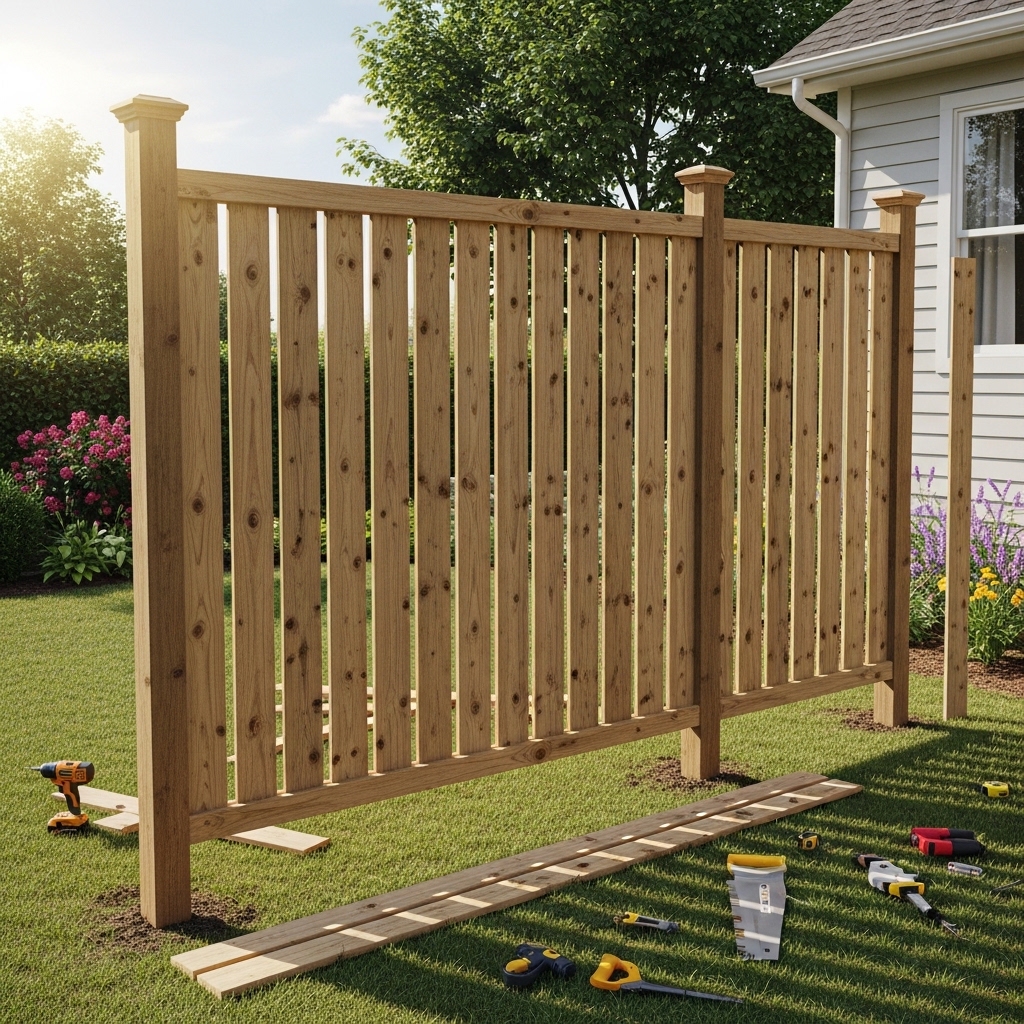
A privacy screen blocks the view from neighbors. It also adds architectural interest. A simple wood screen is a weekend DIY project.
Use cedar or pressure-treated pine. Build a frame and attach vertical slats. Leave small gaps between slats for airflow. The screen can be freestanding or attached to an existing railing.
Pro Tip: Add planter boxes to the base of the screen. The plants will soften the wood and add greenery.
Mistake to Avoid: Do not build the screen taller than your local fence height ordinance. Check regulations before building.
Conclusion
A small patio is not a limitation. It is an invitation to design smarter. Choose a bistro set instead of a bulky dining table. Install wall-mounted tables that fold flat. Use storage benches for hidden organization. Stack nesting stools for flexible seating. Hang hammock chairs from overhead beams.
Use vertical space for herb gardens, pegboards, and floating shelves. Hang ladder shelves and trellises. Install rail-mounted planters for greenery without floor space. Lay down interlocking deck tiles or outdoor rugs to define zones. Paint concrete floors with stenciled patterns for under $100.
Add string lights in zigzag patterns. Use small propane fire tables and solar path lights. Hang pendant lights over bistro tables. Wrap railings with rope lights for a soft glow.
Use tall planters and living walls to draw the eye upward. Group plants in odd numbers for visual impact. Hang planters from shepherds hooks. Grow bamboo in pots for privacy. Use tiered plant stands to maximize planting space.
Hang outdoor curtains from tension rods for instant privacy. Install retractable awnings or cantilever umbrellas for shade. Build simple wood privacy screens to block neighbor views.
Start with one small change today. Add a bistro set. Hang string lights. Plant a container garden. The space will feel larger, more inviting, and more functional than you ever imagined.