My Small Room Transformation What Actually Worked & Space-Saving Layout Tips to Work With Budget-Friendly Decor
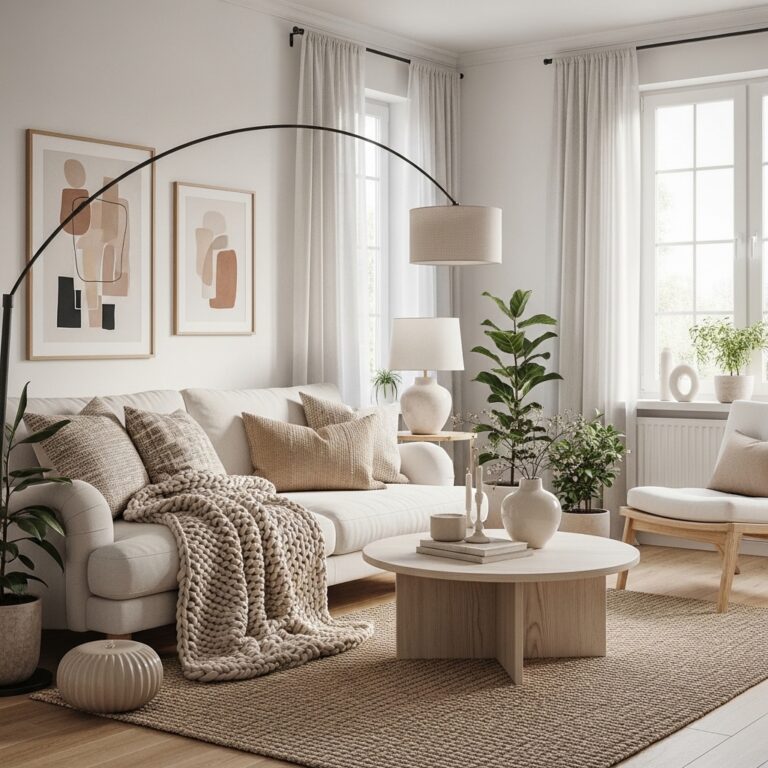
Small rooms are not limitations. They are opportunities to design smarter with less money.
After years of living in cramped apartments with awkward layouts, one thing became clear. Standard decorating advice does not work when square footage is tight. The usual tricks—more furniture, more layers, more stuff—only make small spaces feel smaller and more chaotic.
This guide shares the exact strategies that transformed a cramped, cluttered bedroom into a functional, beautiful space. No demolition. No expensive contractors. No debt. Just smart choices that actually worked and cost very little money.
Why Standard Decorating Advice Fails Small Rooms
Most decorating advice comes from people with large living rooms and spare bedrooms. They suggest layering rugs, adding multiple seating areas, and spreading decor across wide surfaces. None of that works in a ten by ten foot room.
Small rooms need different rules. Less furniture. Smarter placement. Vertical thinking. The goal is not to decorate. The goal is to create space where none seems to exist while keeping every purchase affordable.
The Three Mistakes That Make Small Rooms Feel Smaller
Mistake one: Pushing all furniture against the wall
Conventional wisdom says push furniture to the perimeter to open up the center. This does the opposite. A ring of furniture around the walls creates a empty no man’s land in the middle that feels awkward and unusable.
The fix is pulling pieces slightly inward. Float a chair or a small table away from the wall. The gap behind the furniture tricks the eye into seeing more depth.
Mistake two: Buying too many small pieces
A tiny room filled with tiny furniture looks like a dollhouse. Lots of small pieces create visual clutter and make the space feel busy and cramped.
The fix is choosing fewer, larger pieces. One substantial dresser takes up less visual space than three small shelves. A single large piece anchors the room. Many small pieces fragment it.
Mistake three: Ignoring vertical space
Every small room has empty walls above waist height. That is storage and decor space waiting to be used.
The fix is thinking upward. Tall bookshelves. Wall-mounted lights. Art hung higher than eye level. Vertical space costs nothing to use but adds massive value to small rooms.
The Before and After: What a Small Room Transformation Looks Like
| Element | Before | After | Savings |
|---|---|---|---|
| Bed placement | Centered, blocking window | Corner anchored, angled slightly | Zero cost |
| Storage | Three small plastic bins | One tall bookshelf with baskets | $40 |
| Lighting | One overhead fixture | Wall sconces + floor lamp | $35 thrifted |
| Wall decor | Nothing | Three framed prints, high placement | $12 thrift frames |
| Floor space | 40% usable | 75% usable | Free |
| Total spent | $0 (cluttered) | $87 | Under $100 |
The transformation did not require new furniture. It required rearranging what was already owned and adding a few key pieces from thrift stores and discount retailers.
Bed Placement Strategies That Changed Everything
Bed placement is the single most important decision in a small bedroom. Get this wrong and the whole room feels off. Get this right and everything else falls into place.
Comparison Table: Bed Placement Options for Small Rooms
| Placement | Best For | Drawbacks | Space Efficiency |
|---|---|---|---|
| Corner anchored | Very small rooms (under 100 sq ft) | Only one nightstand possible | Excellent |
| Centered on longest wall | Rectangular rooms | Requires adequate width | Good |
| Angled in corner | Awkward layouts, rooms with doors/windows | Difficult to make bed | Moderate |
| Lofted or raised | Extremely small rooms, high ceilings | Requires DIY skills | Excellent |
| Murphy or fold-down | Multi-purpose rooms | Installation cost | Excellent |
How Bed Placement Changed the Room
The original bed sat centered on the longest wall. The headboard blocked half the window. The foot of the bed left barely enough room to walk to the closet.
Moving the bed into the corner changed everything. The window became fully accessible. The walking path widened. The room felt larger without adding a single inch of space.
Pro Tip: Angle the bed slightly in the corner instead of pushing it flat against both walls. The angle creates a small triangle of usable space behind the bed for a tall plant or floor lamp.
Mistake to Avoid: Do not block heating vents or electrical outlets with the bed. Check the room layout before moving heavy furniture.
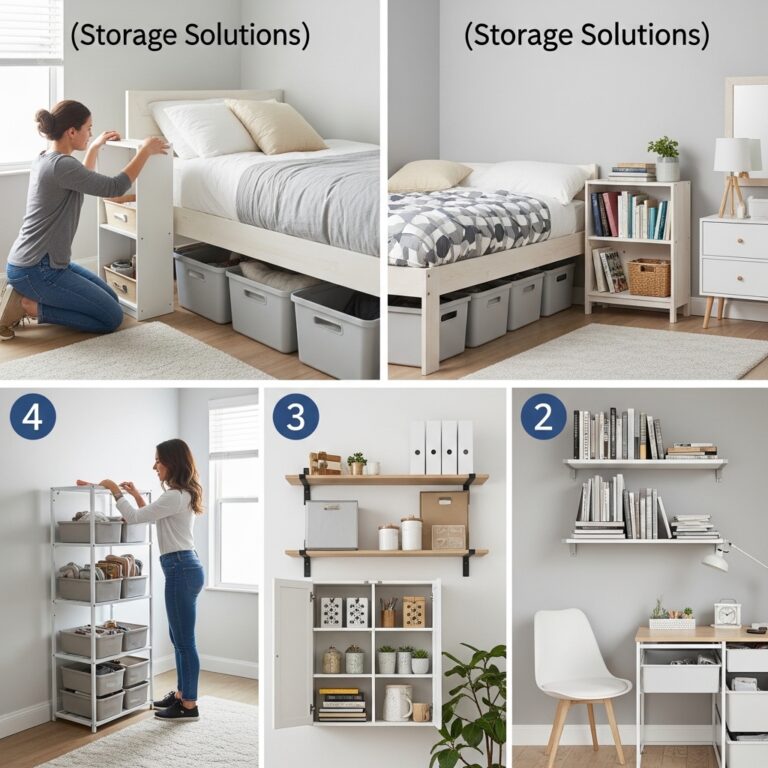
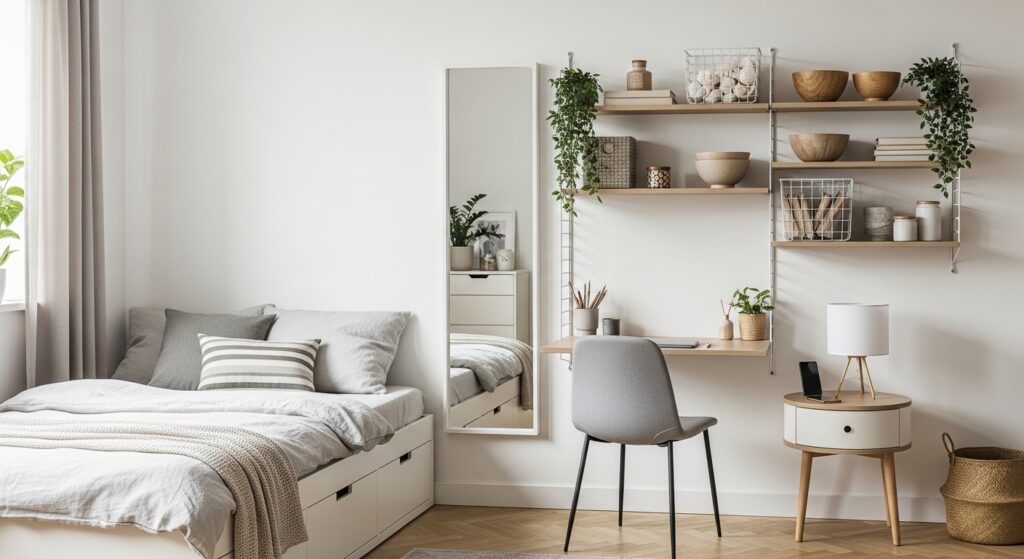
Vertical Storage Solutions That Saved the Floor
Floor space is the most valuable real estate in a small room. Vertical storage preserves floor space while adding storage capacity.
Storage Comparison: Floor vs. Vertical
| Storage Type | Floor Space Used | Storage Capacity | Cost | Best For |
|---|---|---|---|---|
| Plastic bins on floor | High | Low | $ | Temporary storage |
| Low dresser | Medium | Medium | $$ | Daily use items |
| Tall bookshelf | Low | High | $$ | Books, baskets, decor |
| Wall-mounted shelves | None | Medium | $ | Display, light storage |
| Over-door organizer | None | Low | $ | Shoes, accessories |
| Under-bed drawers | None (uses dead space) | Medium | $$ | Off-season items |
The Tall Bookshelf That Changed Everything
The single most impactful purchase was a tall, narrow bookshelf from a thrift store. Cost fifteen dollars. Held twice as much as the three plastic bins it replaced.
The bookshelf sat in a corner that previously held nothing. It added storage without consuming floor space. The top held a lamp and a plant. The middle shelves held baskets for hidden storage. The bottom shelf held books and small decor.
What went on the tall bookshelf:
- Top shelf: Lamp, small plant, framed photo
- Second shelf: Woven basket with charging cables and electronics
- Third shelf: Stack of books and a small vase
- Fourth shelf: Folded sweaters and blankets
- Bottom shelf: Baskets with shoes and off-season items
Wall-Mounted Shelves for Dead Corners
Corners are the most underutilized space in any small room. Wall-mounted corner shelves turn dead corners into functional storage.
Two corner shelves were installed at different heights. The lower shelf held a small plant and a candle. The higher shelf held a stack of books and a small framed print.
The shelves cost eight dollars each at a discount home store. Installation took fifteen minutes. The visual impact was immediate.
Pro Tip: Install corner shelves at staggered heights. Matching heights look predictable. Staggered heights create visual interest.
Mistake to Avoid: Do not overload wall-mounted shelves. Each shelf has a weight limit. Exceeding it damages walls and shelves.
Lighting Tricks That Made the Room Feel Twice as Large
Bad lighting makes small rooms feel like caves. Good lighting expands visual space, reduces shadows, and improves mood.
Layered Lighting Strategy for Small Rooms
Single light sources create harsh shadows and dark corners. Layered lighting eliminates shadows and spreads light evenly across the room.
| Light Layer | Purpose | Budget Option | Investment |
|---|---|---|---|
| Ambient (overhead) | General illumination | LED flush mount | $$ |
| Task (reading, working) | Focused light for activities | Thrifted desk lamp | $ |
| Accent (art, plants) | Highlight specific areas | Clip-on spotlights | $ |
| Natural | Daylight, room expansion | Sheer curtains | $ |
How Lighting Transformed the Small Room
The original room had one overhead fixture with a dim, warm bulb. Corners were dark. The bed area felt closed off. The room felt smaller than its actual dimensions.
Three changes made a dramatic difference:
First change: Replaced the dim bulb with a daylight LED (5000K) in the overhead fixture. Cost eight dollars. The room felt instantly brighter and more awake.
Second change: Added a floor lamp in the darkest corner. Cost twelve dollars at a thrift store. The corner that previously disappeared now held visual weight.
Third change: Installed battery-operated puck lights under the tall bookshelf shelves. Cost fifteen dollars for a pack of six. The undershelf lighting created depth and made the bookshelf feel built-in.
Pro Tip: Use daylight bulbs (5000K) in rooms where you need energy and focus. Use warm bulbs (2700K) in rooms where you relax before sleep.
Mistake to Avoid: Do not rely on one overhead light. Single light sources create harsh shadows that make small rooms feel smaller.
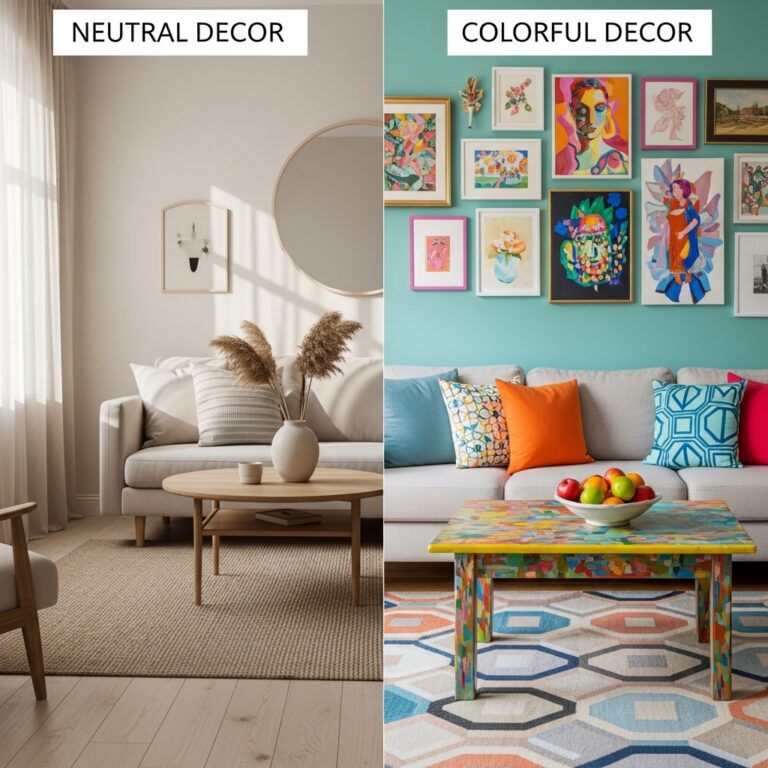
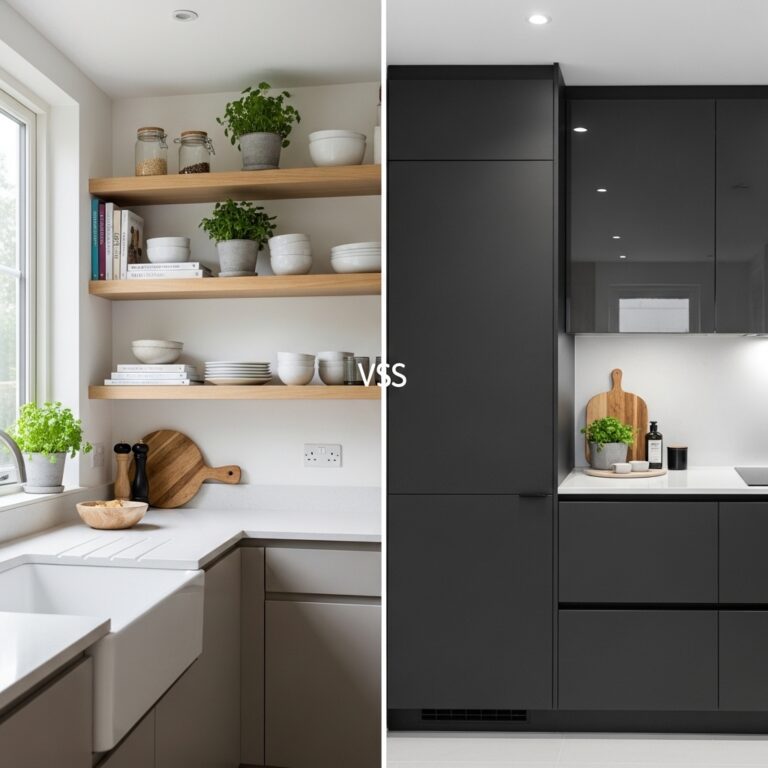
Color Choices That Expanded the Walls
Paint is the cheapest transformation tool available. The right color makes walls recede. The wrong color makes walls close in.
Paint Color Comparison for Small Rooms
| Color Family | Effect on Small Room | Best Lighting | Risk |
|---|---|---|---|
| White (pure) | Expands, clean | Any | Can feel cold, clinical |
| White (warm) | Expands, cozy | North-facing rooms | None |
| Light gray | Expands, modern | South-facing rooms | Can feel flat |
| Light blue | Expands, calm | Any | Can feel cold |
| Light green | Expands, natural | Any | Can feel institutional |
| Dark colors | Contracts, cozy | Bright, abundant light | Can feel like a cave |
The Paint Choice That Worked
The original walls were a dingy beige that absorbed light and made the room feel tired. Repainting was not in the budget, but one wall was affordable.
One accent wall was painted warm white. The other three walls remained beige. The contrast made the warm white wall recede visually. The room felt larger because one wall seemed farther away than it actually was.
The paint cost twenty dollars for a sample size. The roller and tray cost eight dollars. The entire project took two hours.
What the accent wall accomplished:
- Created visual depth without dark colors
- Reflected more light into the room
- Provided a neutral backdrop for art and decor
- Cost less than a dinner out
Pro Tip: Paint only the wall facing the window. The light from the window reflects off the light-colored wall and bounces back into the room.
Mistake to Avoid: Do not paint small rooms dark colors. Dark walls absorb light and make spaces feel smaller. Save dark colors for large rooms or accent walls only.
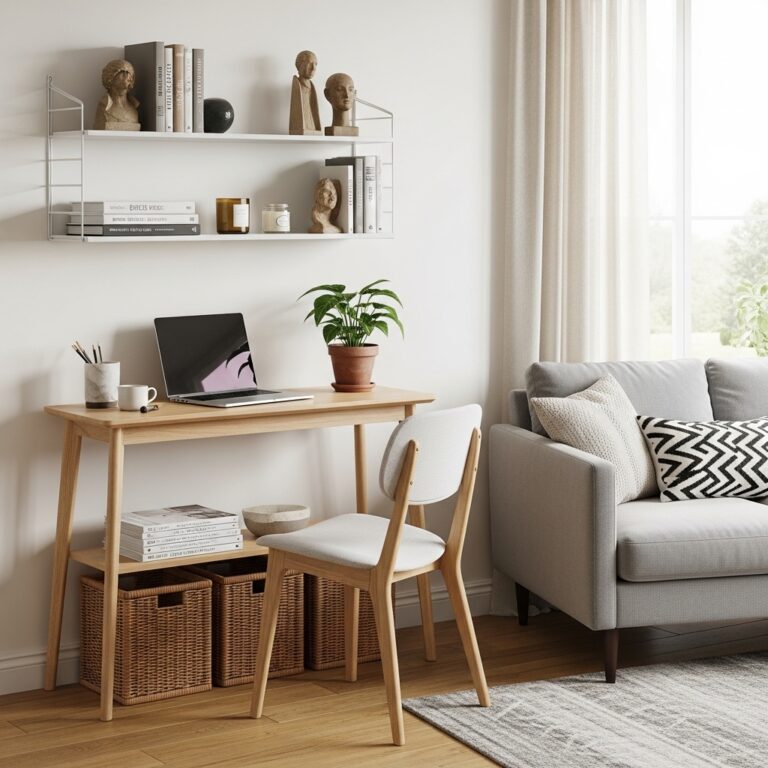
Multi-Functional Furniture That Earned Its Keep
Every piece in a small room must serve at least two purposes. Single-purpose furniture wastes precious square footage.
Furniture Functionality Scorecard
| Furniture Piece | Primary Function | Secondary Function | Space Efficiency |
|---|---|---|---|
| Storage ottoman | Seating | Hidden storage | Excellent |
| Folding desk | Work surface | Disappears when not used | Excellent |
| Bed with drawers | Sleeping | Clothing storage | Excellent |
| Nesting tables | Side tables | Compact storage | Good |
| Traditional nightstand | Surface for lamp | Minimal storage | Poor |
The Storage Ottoman That Replaced a Coffee Table
A coffee table takes up floor space and serves only one purpose. A storage ottoman takes the same floor space but adds hidden storage.
The storage ottoman was placed at the foot of the bed. During the day, it held a tray with books and a candle. Inside, it held extra blankets and pillows. When guests visited, it became extra seating.
The ottoman cost thirty dollars at a discount home store. A coffee table of similar size would have cost twice as much and offered zero storage.
The Folding Desk That Appeared Only When Needed
A permanent desk in a small bedroom consumes valuable floor space. A folding desk on the wall appears only when needed.
The folding desk was mounted on the wall near the window. When folded up, it was three inches deep and nearly invisible. When folded down, it provided a full work surface for a laptop and notebook.
The desk cost twenty dollars from a hardware store. The installation took twenty minutes. The floor space it saved was worth ten times the cost.
Pro Tip: Mount a pegboard above the folding desk. Hang a small lamp, pens, and a notebook within reach. The pegboard keeps desk essentials organized without cluttering the work surface.
Mistake to Avoid: Do not buy multi-functional furniture that is expensive and complicated. Simple pieces like storage ottomans and folding desks work better and cost less.
Mirror Placement That Doubled the Visual Space
Mirrors are magic for small rooms. The right mirror in the right spot makes a room feel twice as large.
Mirror Placement Comparison
| Placement | Effect | Best For |
|---|---|---|
| Opposite window | Reflects outdoor light and view | Dark rooms |
| Perpendicular to window | Bounces light deeper into room | Long, narrow rooms |
| Behind lighting | Doubles light sources | Rooms with sconces or floor lamps |
| On closet door | Adds depth without wall space | Cluttered rooms |
| Gallery wall of small mirrors | Creates light reflections | Rooms with limited wall space |
The Mirror That Changed Everything
A large, thrifted mirror was placed on the wall perpendicular to the window. The window faced east. The mirror faced south.
The mirror reflected light from the window deeper into the room. The corner that was always dark became bright. The room felt larger because the mirror created the illusion of another room beyond the wall.
The mirror cost eight dollars at a thrift store. The frame was gold and ornate, which felt wrong for the room. A five dollar can of spray paint turned the frame matte black. The mirror now looked intentional and modern.
Pro Tip: Lean a large mirror against the wall instead of hanging it. A leaning mirror feels more casual and creates a different reflection angle than wall-mounted mirrors.
Mistake to Avoid: Do not place a mirror directly facing the bed. Seeing your own reflection while trying to sleep is unsettling for many people.
Budget Breakdown: What Everything Cost
| Item | Source | Cost |
|---|---|---|
| Tall bookshelf | Thrift store | $15 |
| Wall-mounted corner shelves (2) | Discount home store | $16 |
| Daylight LED bulb | Hardware store | $8 |
| Thrifted floor lamp | Thrift store | $12 |
| Battery-operated puck lights (6 pack) | Online | $15 |
| Warm white sample paint | Hardware store | $20 |
| Paint roller and tray | Hardware store | $8 |
| Storage ottoman | Discount home store | $30 |
| Folding desk | Hardware store | $20 |
| Large mirror | Thrift store | $8 |
| Spray paint for mirror frame | Hardware store | $5 |
| Three thrifted frames with prints | Thrift store | $12 |
| Small plant and pot | Grocery store | $10 |
Total spent: $179
Items already owned that were rearranged:
- Bed and bedding
- One nightstand
- Lampshade for thrifted floor lamp
- Baskets for bookshelf
- Small decor items
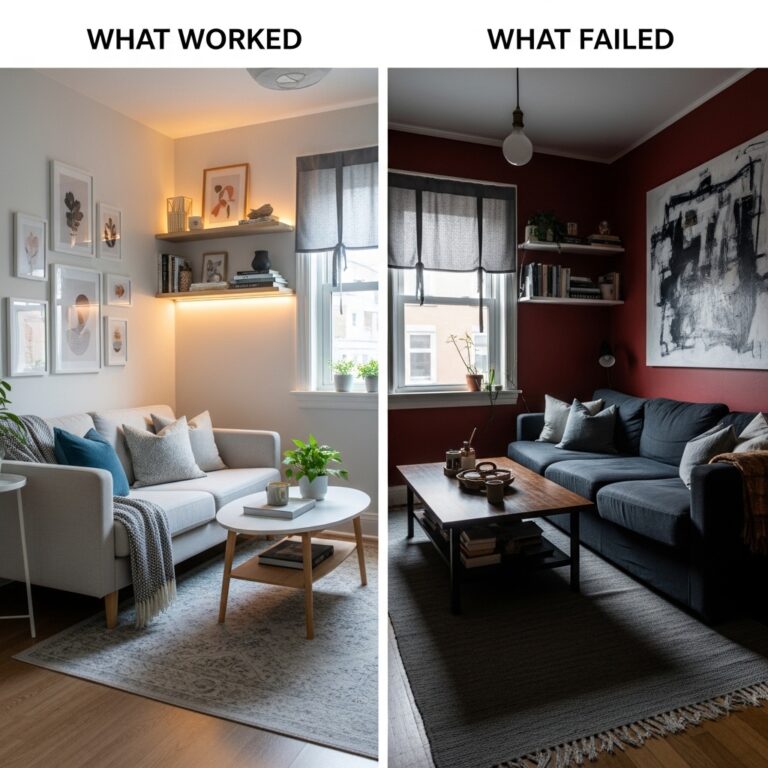
What Did Not Work: Lessons Learned
Not every budget decorating attempt succeeds. These failures taught valuable lessons.
The Rug That Made the Room Feel Smaller
A small rug was placed in the center of the room. Instead of anchoring the space, the rug made the room feel chopped up. The floor visible around all four edges of the rug created a frame that highlighted how small the room actually was.
The solution was removing the rug entirely. The bare floor felt more open. The room felt larger without the visual interruption.
Lesson learned: In very small rooms, bare floors often work better than rugs. If a rug is desired, choose one large enough that only a few inches of floor show around the edges.
The Wall Art Hung Too Low
Art was hung at standing eye level. In a small room with low ceilings, this meant the art felt heavy and grounding. The room felt shorter.
The solution was moving the art up by eight inches. The higher placement drew the eye upward and made the ceiling feel higher.
Lesson learned: Hang art slightly higher than recommended in small rooms with low ceilings. The upward gaze creates the illusion of height.
The Extra Chair That Never Got Used
A second chair was added for guests who never came. The chair sat empty for months, collecting clutter and taking up floor space.
The solution was removing the chair entirely. The room felt more open. The imaginary guests were not offended.
Lesson learned: Do not decorate for guests who do not visit regularly. Small rooms should serve daily life, not occasional visitors.
The 30-Day Small Room Transformation Checklist
Week one: Assessment and editing
- Remove everything from the room
- Sort items into keep, donate, trash piles
- Measure the room and all furniture
- Sketch three layout options on paper
Week two: Shopping and gathering
- Visit thrift stores for bookshelves, lamps, mirrors
- Check Facebook Marketplace for larger pieces
- Buy paint and supplies from hardware store
- Gather baskets and storage containers
Week three: Painting and installing
- Paint accent wall (or full room if budget allows)
- Install wall-mounted shelves
- Mount folding desk and pegboard
- Assemble tall bookshelf or storage units
Week four: Arranging and styling
- Move furniture into new layout
- Fill bookshelves and storage with sorted items
- Place mirror and hang art at higher height
- Add lamp and layered lighting
- Style surfaces with minimal decor
Conclusion
A small room transformation does not require a large budget. It requires intention, patience, and smart choices.
The room in this guide went from cramped and cluttered to open and functional. The total spent was under two hundred dollars. The time invested was a few weekends. The result was a room that felt twice as large.
Start with one change. Move the bed. Add a mirror. Paint one wall. Small changes compound into dramatic transformations.
The best time to start is now. The smallest budget can work. The smallest room can feel spacious.
Take back your small room starting today. Smart design is waiting for you.