My Favorite Home Setup That Changed My Space Completely & Simple Adjustments That Made Everyday Life Easier
Some home changes cost nothing but change everything. A shift in perspective. A new arrangement. A small addition that solves a daily frustration.
After years of living with setups that never quite worked, one combination of changes finally clicked. The room felt different. The daily routine felt smoother. The space finally matched how it was actually used.
This guide shares the favorite home setup that changed the space completely. No renovation. No expensive furniture. Just smart adjustments that made everyday life noticeably easier.
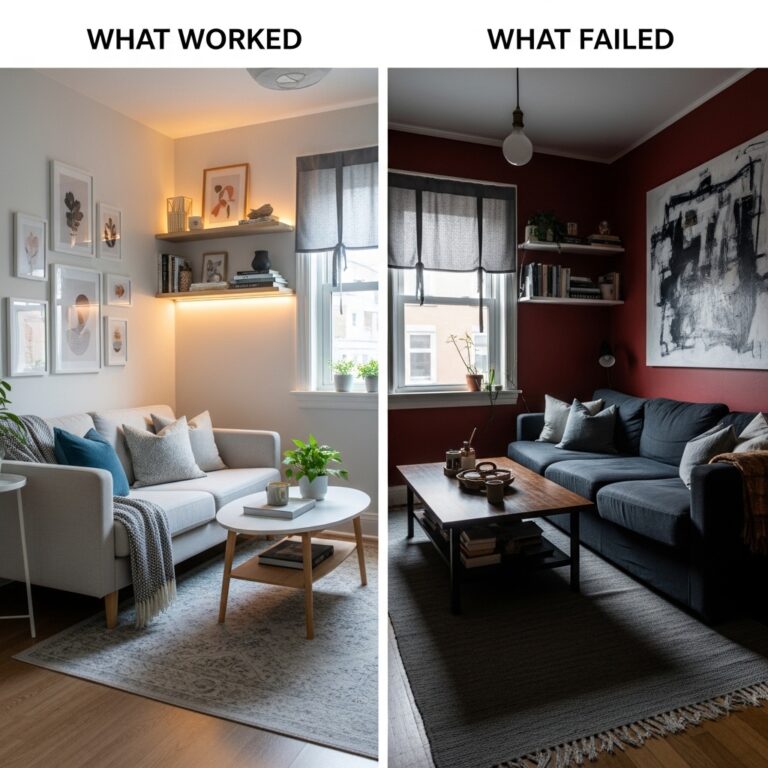
Why Most Home Setups Fail Within Weeks
A new setup works beautifully for the first few days. Everything is in its place. The system feels perfect.
Then real life happens. Mail piles up. Cords tangle. Items drift from their designated homes. Within a month, the setup looks nothing like the Pinterest inspiration.
The problem is not lack of effort. The problem is designing for an idealized version of daily life instead of how life actually happens.
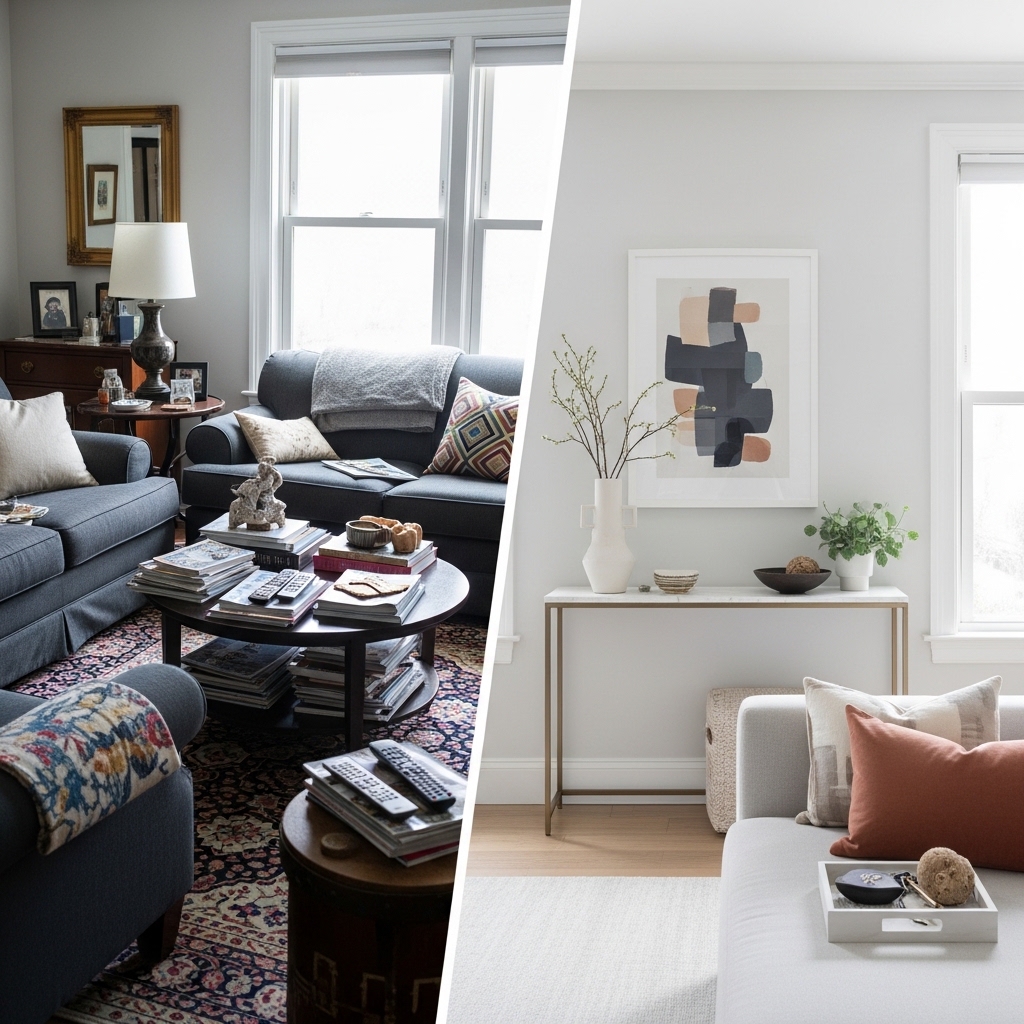
The Gap Between Design and Reality
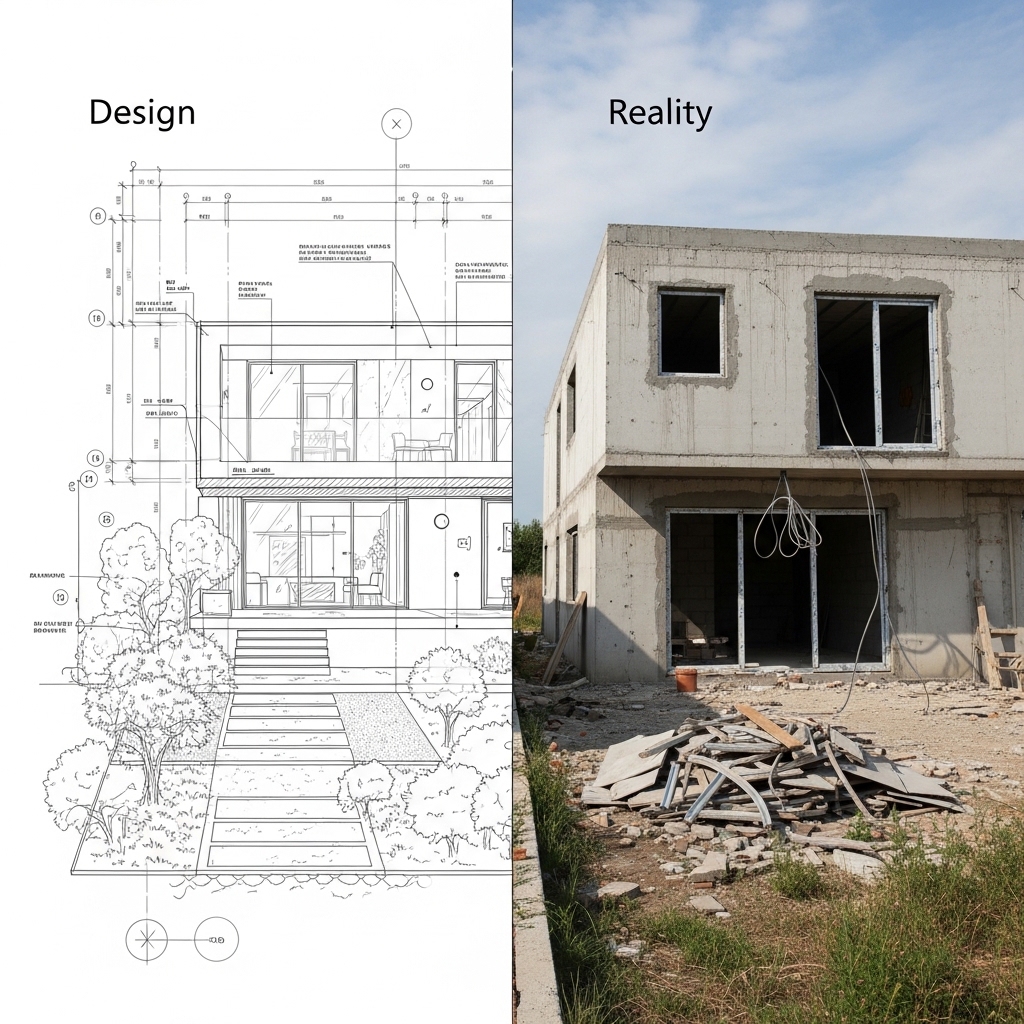
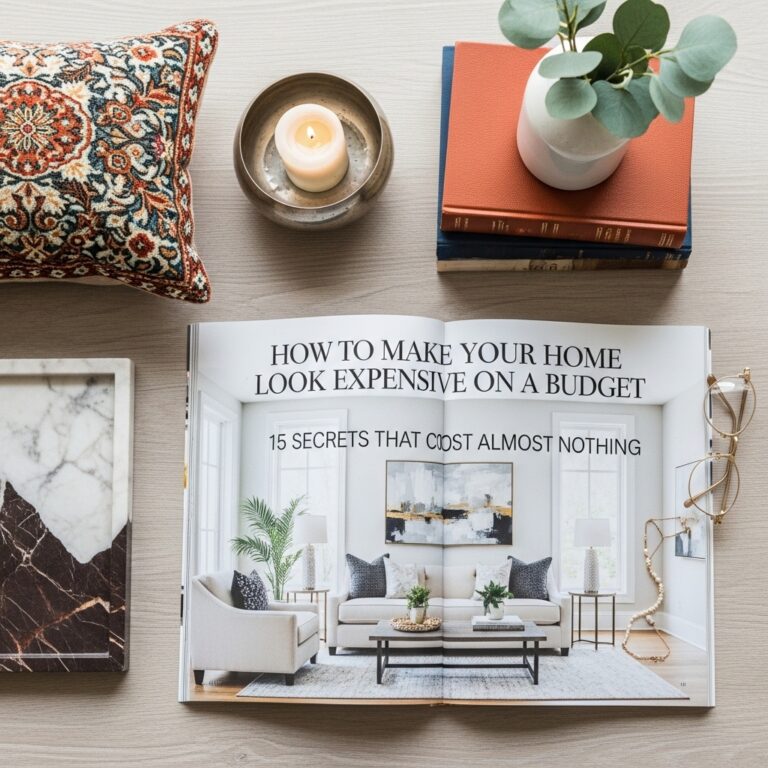
Design blogs show perfectly styled rooms with empty surfaces and precisely placed objects. Real homes have mail, keys, phones, and random items that need homes.
The favorite setup closed this gap. It accepted that clutter happens and designed for it instead of pretending it would not exist.
The Mistake of Perfectionism

Waiting for the perfect solution leads to no solution at all. The perfect shelf. The perfect basket. The perfect lighting.
The favorite setup used good enough solutions that were implemented immediately. Perfect is the enemy of done. Done is better than perfect.
The One Change That Made the Biggest Difference
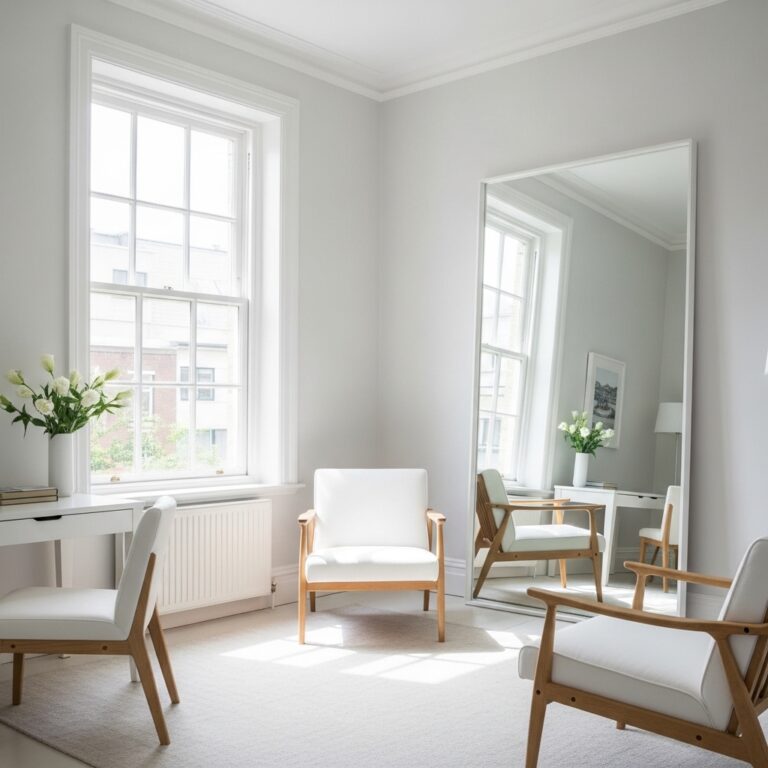
Lighting is the most undervalued element in home design. Bad lighting makes expensive furniture look cheap. Good lighting makes cheap furniture look expensive.
The Original Lighting Problem
The room had one overhead light with a cool white bulb. The light was harsh. The shadows were deep. The room felt like an office or a hospital room.
Evenings were particularly bad. The cool light signaled daytime to the brain. Winding down felt impossible. Sleep quality suffered.
The Lighting Change That Changed Everything
| Before | After | Impact |
|---|---|---|
| One overhead light | Three light sources | Room feels layered and warm |
| Cool white bulb (5000K) | Warm white bulbs (2700K) | Evening relaxation improved |
| No dimmer | Dimmer switch | Light level matches time of day |
| Dark corners | Floor lamp in corner | Room feels larger |
| No task lighting | Reading lamp by chair | Functionality increased |
The Three-Light Rule
Every room needs at least three sources of light at different heights. Overhead for general illumination. Mid-height for task lighting. Low for accent and mood.
The favorite setup added a floor lamp in the darkest corner and a small reading lamp on the desk. The room felt balanced for the first time.
Pro Tip: Use the same color temperature for all bulbs in a room. Mixed temperatures look chaotic. Choose 2700K for living spaces and bedrooms.
Mistake to Avoid: Do not rely on overhead lights alone. Overhead lights create shadows and make rooms feel smaller. Layer your lighting.
The Second Change: Creating Landing Zones
Items without homes end up on the nearest flat surface. Keys on the kitchen counter. Mail on the dining table. Phones on the sofa.
The favorite setup created designated landing zones for every category of daily items.
The Entry Landing Zone
The area near the front door was chaos. Keys, sunglasses, dog leash, mail, and random items all competed for space.
The fix was a small table with two trays. One tray for keys and wallet. One tray for mail that needed action. A small hook on the wall for the dog leash.
| Item | Before Location | After Location | Time Saved Per Day |
|---|---|---|---|
| Keys | Any flat surface | Key tray | 3 minutes |
| Wallet | Any flat surface | Key tray | 2 minutes |
| Kitchen counter | Mail tray | 5 minutes | |
| Dog leash | Floor near door | Wall hook | 2 minutes |
| Sunglasses | Random surfaces | Small dish | 2 minutes |
The Bedside Landing Zone
The nightstand was covered in books, phone, charger, glasses, water bottle, and random items. Finding anything required digging.
The fix was a small valet tray on the nightstand. Phone and glasses in the tray. Everything else found other homes.
Bullet Point: Bedside tray contents
- Phone (face down to reduce notifications)
- Glasses
- Small hand lotion
- Lip balm
- Nothing else
Pro Tip: Use a valet tray with compartments. Compartments keep small items from sliding into each other.
Mistake to Avoid: Do not use your nightstand as permanent storage for books you are not actively reading. One book at a time. The rest go on a shelf.
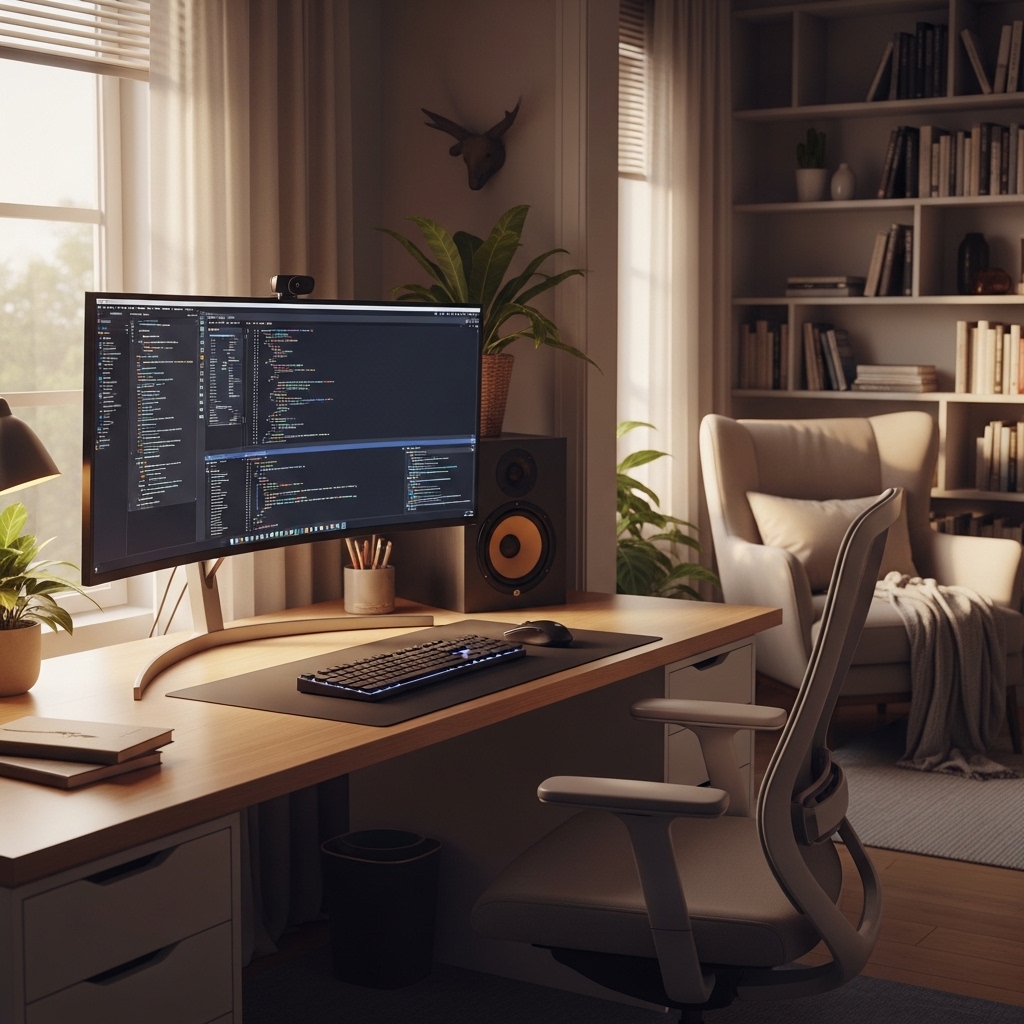
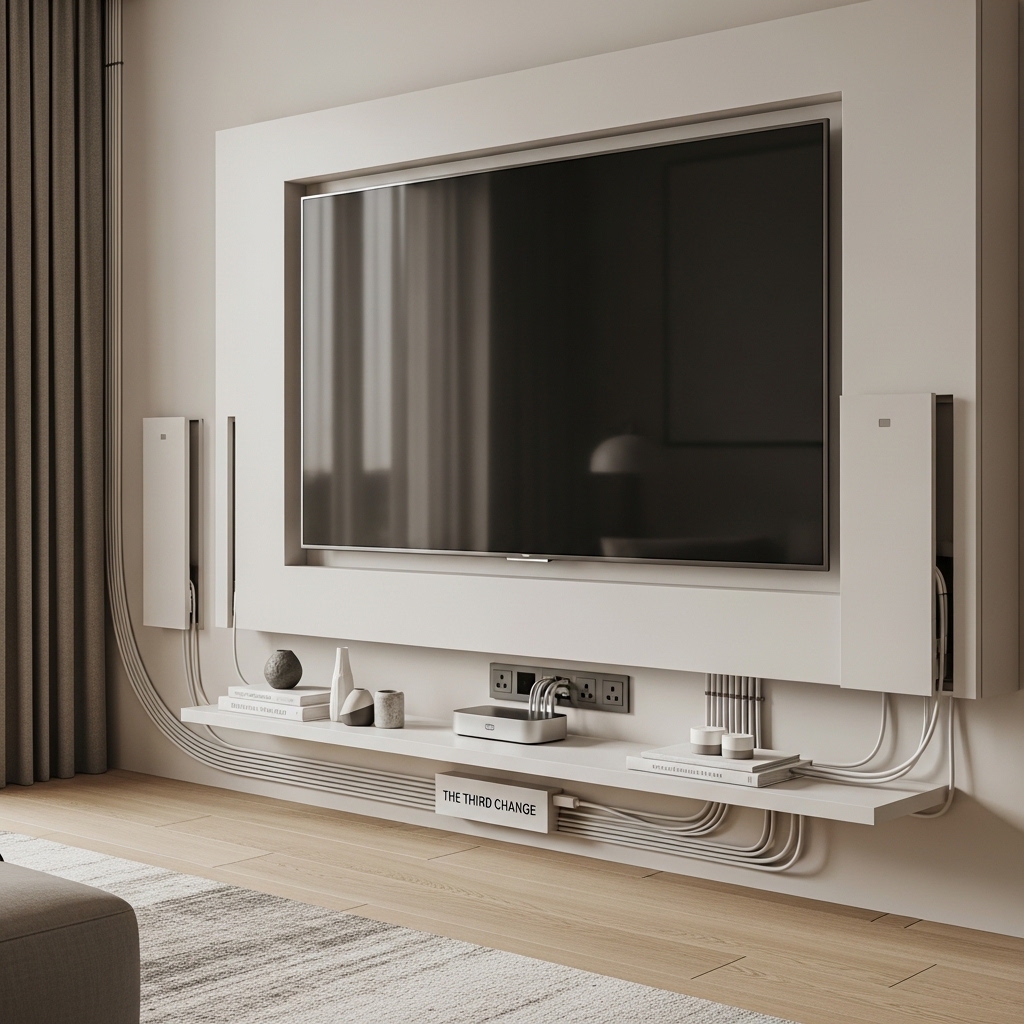
The Third Change: Cord Management That Actually Worked
Cords are everywhere. Phone chargers. Laptop chargers. Lamp cords. Device cords. The tangle under the desk was embarrassing.
Previous attempts at cord management failed because they were too complicated. Cord boxes. Velcro ties. Under-desk baskets. All abandoned within weeks.
The Simple Cord Solution That Stuck
The favorite setup used the simplest possible cord management system. One power strip mounted to the underside of the desk. One cord per device. No bundling. No hiding.
| Cord Management Method | Tried | Abandoned | Why It Failed |
|---|---|---|---|
| Cord box | Yes | Yes | Too hard to access when needing to unplug |
| Velcro ties | Yes | Yes | Too much effort to re-tie after each use |
| Under-desk basket | Yes | Yes | Items fell out, basket collected dust |
| Simple mounted strip | Yes | No | Easy access, visible, no extra steps |
The Phone Charging Station
Phones used to charge wherever there was an available outlet. Kitchen counter. Bedroom floor. Living room sofa.
The favorite setup created one dedicated phone charging station. A small shelf near the entry with a multi-port charger.
Phones charged in one place. No searching for a lost phone before leaving the house. No phones on the dining table during meals.
Pro Tip: Use a multi-port charger with enough ports for every family member’s phone. One charger, one outlet, one location.
Mistake to Avoid: Do not charge phones on the nightstand. The blue light from phone screens disrupts sleep. Charge phones outside the bedroom.
The Fourth Change: The 80/20 Storage Rule
Twenty percent of belongings are used eighty percent of the time. Eighty percent of belongings are used twenty percent of the time.
The favorite setup stored the twenty percent of frequently used items in prime locations. The eighty percent of rarely used items went to less accessible spots.
Before and After: Storage Priority
| Item | Before Location | After Location | Frequency of Use |
|---|---|---|---|
| Daily dishes | High cabinet | Low cabinet | Daily |
| Special occasion dishes | Low cabinet | High cabinet | Twice per year |
| Everyday shoes | Closet floor | Shoe rack by door | Daily |
| Hiking boots | Closet floor | High shelf | Monthly |
| Phone charger | Random drawer | Charging station | Daily |
| Old cables | Desk drawer | Storage bin in closet | Never (donated) |
How to Apply the 80/20 Rule
Walk through each room. Identify the items used daily. Move them to the most accessible locations.
Items used weekly go to slightly less accessible spots. Items used monthly go to higher shelves or deeper cabinets. Items used rarely go to storage or donation.
Pro Tip: Do the 80/20 audit every season. Usage patterns change. The winter coat is daily in January and never in July.
Mistake to Avoid: Do not store daily items in hard-to-reach places. The inconvenience will frustrate you every single day.
The Fifth Change: The Flexible Furniture Choice
Single-purpose furniture wastes space. Multi-purpose furniture earns its footprint.
The favorite setup replaced several single-purpose pieces with one flexible piece that served multiple functions.
Comparison Table: Single-Purpose vs. Multi-Purpose Furniture
| Single-Purpose | Multi-Purpose | Functions |
|---|---|---|
| Coffee table | Storage ottoman | Seating, storage, footrest, table |
| Desk | Folding wall desk | Workspace, shelf when folded |
| Nightstand | Small dresser | Surface, clothing storage |
| Bookshelf | Room divider | Storage, space definition |
| Bench | Storage bench | Seating, hidden storage |
The Storage Ottoman That Changed Everything
A coffee table was replaced with a large storage ottoman. The ottoman served as footrest, extra seating, coffee table (with a tray on top), and hidden storage for blankets and pillows.
One piece replaced three. The room felt larger. The functionality increased. The cost was less than a traditional coffee table.
Pro Tip: Place a large tray on top of a storage ottoman. The tray creates a flat, stable surface for drinks and books.
Mistake to Avoid: Do not buy multi-purpose furniture that is expensive and complicated. Simple pieces like storage ottomans work better and cost less.
The Sixth Change: The Weekly Reset Routine
No setup stays perfect without maintenance. The favorite setup included a maintenance routine that took fifteen minutes per week.
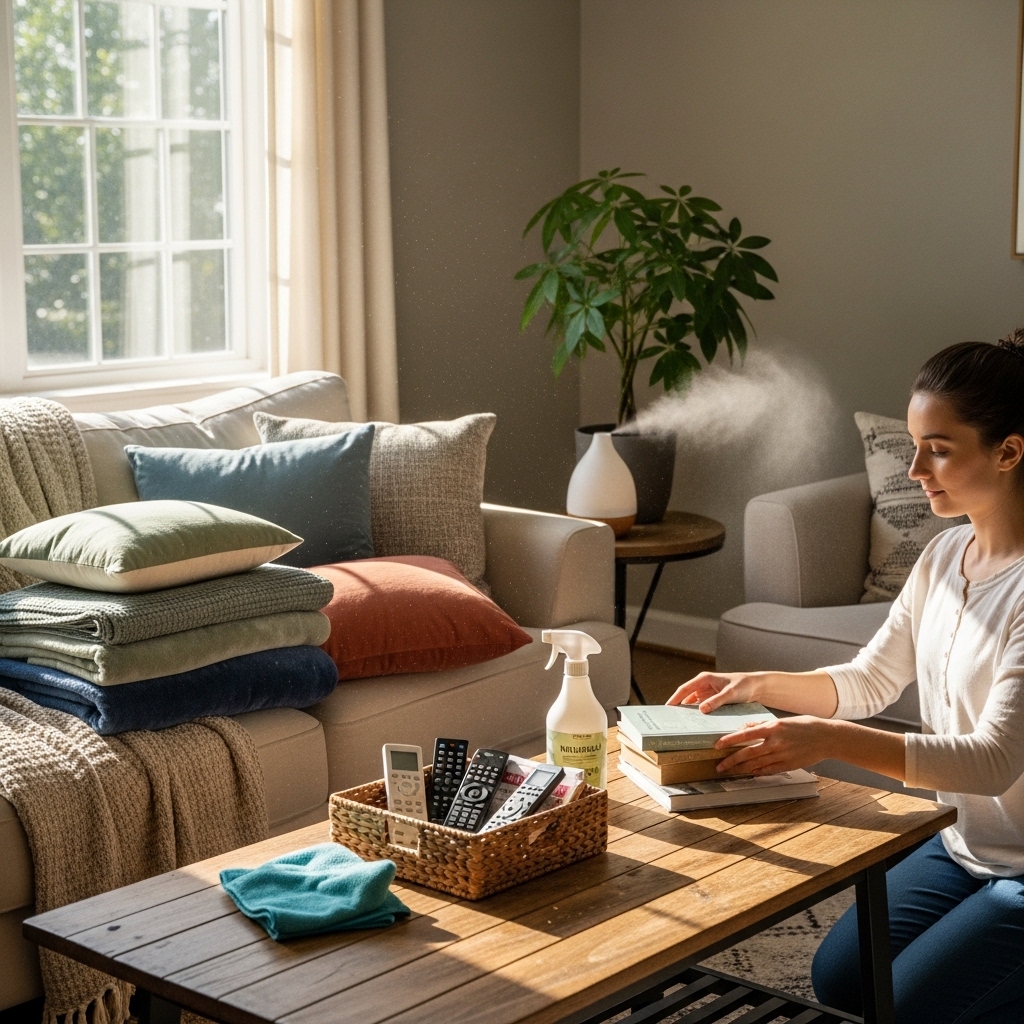
The Sunday Evening Reset
Every Sunday evening, fifteen minutes were spent resetting the space.
Bullet Point: Weekly reset checklist
- Return stray items to their landing zones
- Clear flat surfaces (counters, tables, desk)
- File or shred loose papers
- Wipe down surfaces
- Fluff pillows and fold blankets
- Empty trash and recycling
Why the Reset Worked When Other Systems Failed
Previous systems failed because they required daily effort. Daily effort is hard to sustain. Weekly effort is manageable.
Fifteen minutes on Sunday prevented the slow slide into chaos. Monday morning started with a clean, organized space.
Pro Tip: Set a recurring alarm on your phone for Sunday at 7 PM. The alarm triggers the reset routine.
Mistake to Avoid: Do not skip two weeks in a row. Two weeks of neglect becomes a month. A month becomes chaos again.
The Seventh Change: The Visual Connection Rule
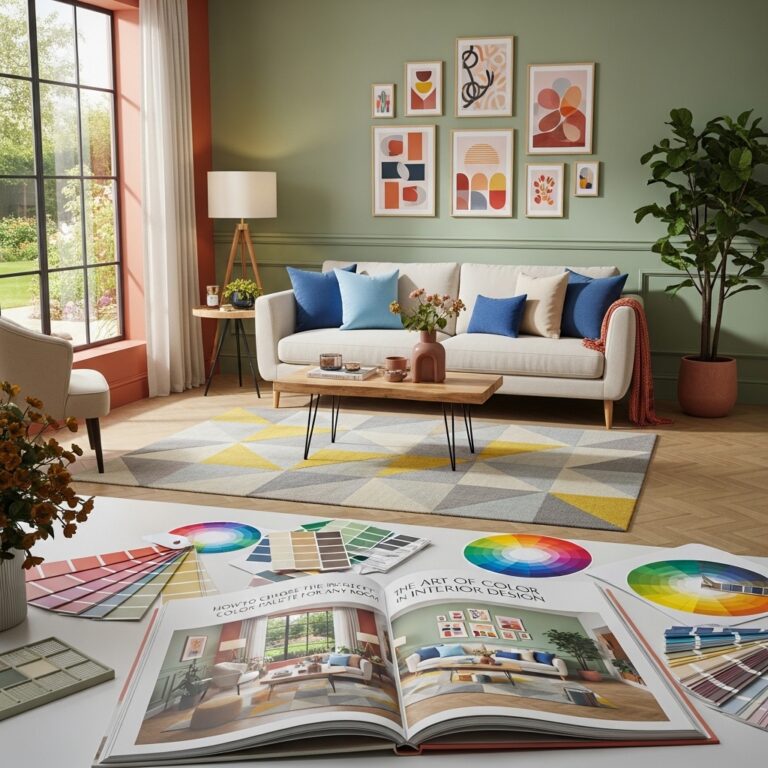
A room feels disjointed when elements do not relate to each other. The favorite setup used a simple rule to create visual cohesion.
The Rule of Three
Repeat a color, texture, or shape three times in a room. Three blue items. Three woven textures. Three round shapes.
The repetition creates cohesion without matching. The room feels designed without feeling forced.
| Element | First Appearance | Second Appearance | Third Appearance |
|---|---|---|---|
| Blue color | Throw pillow | Art print | Small vase |
| Wood texture | Coffee table | Picture frame | Lamp base |
| Round shape | Mirror | Clock | Tray on ottoman |
How to Apply the Rule of Three
Choose one accent color. Find three items in that color already in the room. If only two exist, add a third. A pillow. A book cover. A small vase.
Choose one texture. Wood, metal, glass, fabric, or woven. Find three items with that texture. If only two exist, add a third.
Pro Tip: Use the dominant color from a piece of art as your accent color. The art becomes the anchor for the whole room’s palette.
Mistake to Avoid: Do not use more than three accent colors. Three is cohesive. Four or more is chaotic.
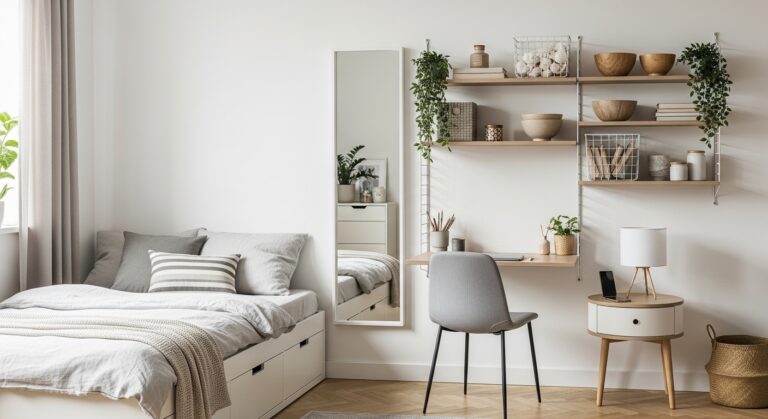
The Eighth Change: The Vertical Space Awakening
Horizontal surfaces are limited. Vertical surfaces are abundant.
The favorite setup used vertical space in every room. Tall bookshelves. Wall-mounted lighting. Art hung higher than eye level.
Vertical Space Comparison
| Before | After | Gain |
|---|---|---|
| Low dresser (2 feet tall) | Tall bookshelf (6 feet tall) | 4 feet of vertical storage |
| Table lamp on nightstand | Wall-mounted sconce | Nightstand surface freed |
| Art at 55 inches | Art at 65 inches | Ceiling feels higher |
| Empty wall above desk | Floating shelves | Storage without footprint |
The Tall Bookshelf That Saved the Room
A low dresser was replaced with a tall bookshelf. The floor footprint was the same. The storage capacity tripled.
The tall bookshelf also drew the eye upward. The ceiling felt higher. The room felt larger.
Pro Tip: Paint a tall bookshelf the same color as the wall. The bookshelf blends into the wall and makes the ceiling feel even higher.
Mistake to Avoid: Do not push tall furniture against a short wall. Tall furniture needs tall walls. Match furniture height to wall height.
The Ninth Change: The Comfort Priority
A beautiful room that is not comfortable is a failure. The favorite setup prioritized comfort over aesthetics.
The Cozy Layer Rule
Every seating area needs three layers of comfort. A firm base. A soft middle. A textured top.
On the sofa: Firm cushions, soft throw blanket, textured pillows.
On the bed: Firm mattress, soft sheets, textured quilt or duvet.
The Temperature Control Fix
The room was always too cold or too hot. The favorite setup added a small space heater for winter and a ceiling fan for summer.
Year-round comfort made the room usable in every season. The investment was minimal. The quality of life improvement was substantial.
Pro Tip: Use a smart plug for your space heater. Set a schedule so the room is warm before you wake up and cool while you sleep.
Mistake to Avoid: Do not use extension cords with space heaters. Plug heaters directly into wall outlets to prevent fire hazards.
The Tenth Change: The Visual Quiet Rule
Visual clutter is exhausting. Every item in view demands a tiny amount of attention. Enough items demand all of your attention.
The favorite setup reduced visual clutter by hiding anything not actively used.
The Hidden Storage Strategy
| Item | Before | After |
|---|---|---|
| Cords and chargers | Visible on desk | Hidden in drawer |
| Remote controls | Scattered on coffee table | Small basket on shelf |
| Magazines | Piled on floor | Magazine holder in cabinet |
| Office supplies | Desktop organizer | Drawer organizer |
| Pet supplies | Visible in corner | Cabinet or bin |
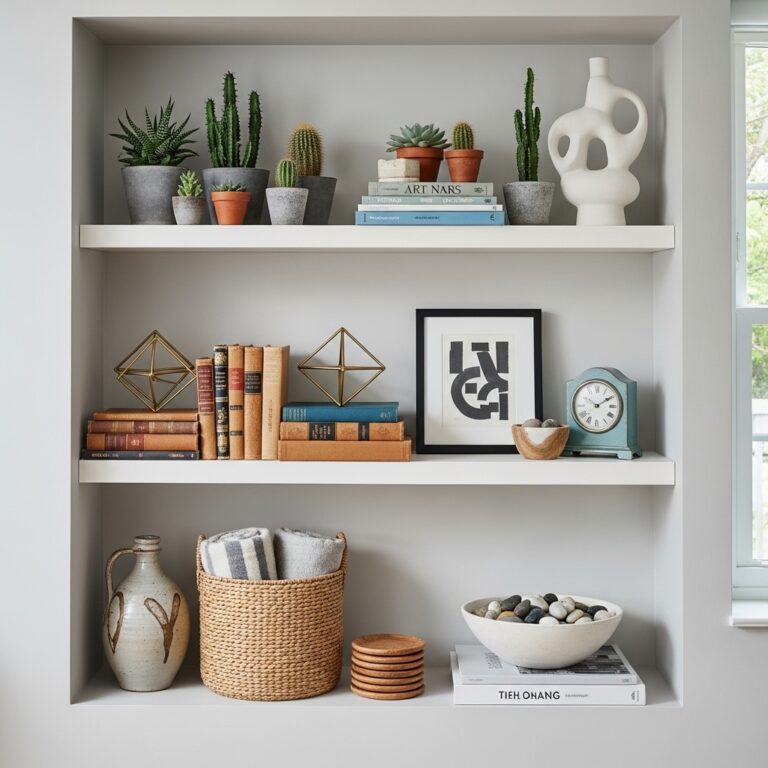
The Closed Storage Rule
Thirty percent of storage should be open (displays, books, decor). Seventy percent should be closed (cabinets, drawers, bins with lids).
Open storage shows off beautiful items. Closed storage hides messy items. The balance keeps the room feeling curated, not cluttered.
Pro Tip: Use baskets with lids on open shelves. The basket hides the contents. The lid keeps dust out. The basket itself adds texture.
Mistake to Avoid: Do not use clear bins on open shelves. Clear bins show the clutter inside. Use solid bins or baskets for open shelves.
The Cost Comparison: Before and After
| Change | Cost | Time Investment | Impact (1-10) |
|---|---|---|---|
| Lighting upgrade | $45 | 2 hours | 10 |
| Landing zones | $25 | 1 hour | 9 |
| Cord management | $12 | 1 hour | 8 |
| 80/20 storage audit | $0 | 3 hours | 9 |
| Flexible furniture | $30 (thrifted ottoman) | 0 hours | 8 |
| Weekly reset routine | $0 | 15 minutes/week | 10 |
| Rule of three | $0 (rearranged existing) | 1 hour | 7 |
| Vertical space | $20 (shelves) | 2 hours | 8 |
| Comfort priority | $60 (fan + heater) | 1 hour | 9 |
| Visual quiet | $10 (baskets) | 2 hours | 8 |
Total cost: $202
Total time: Approximately 13 hours (plus 15 minutes weekly)
Average impact score: 8.6/10
The 7-Day Setup Transformation Plan
Day one: Audit lighting. Add a floor lamp. Change bulbs to warm white. Add a dimmer.
Day two: Create landing zones. Key tray. Mail tray. Phone charging station.
Day three: Fix cords. Mount power strip. Create single charging location.
Day four: Apply 80/20 storage rule. Move daily items to prime locations.
Day five: Assess furniture. Replace one single-purpose piece with multi-purpose.
Day six: Use vertical space. Add a tall bookshelf or wall-mounted shelves.
Day seven: Reduce visual clutter. Hide thirty percent of visible items.
Conclusion
The favorite home setup did not require a renovation or a massive budget. It required smart adjustments that addressed real daily needs.
Better lighting. Landing zones for daily items. Simple cord management. The 80/20 storage rule. Flexible furniture. A weekly reset routine. Visual cohesion through the rule of three. Vertical space utilization. Comfort prioritization. Visual quiet through hidden storage.
Each change was small. Together, they transformed the space completely.
Start with one change today. Add a floor lamp. Create a landing zone. Mount a power strip.
Small changes compound into dramatic transformations. The favorite setup is waiting to be discovered in your own home.
Take back your space starting today. Better design and easier daily life are within reach.