Interior Design Mistakes I Made as a Beginner & How to Fix Them Without Spending More Money
Everyone starts somewhere. Most beginners start by making expensive mistakes that could have been easily avoided.
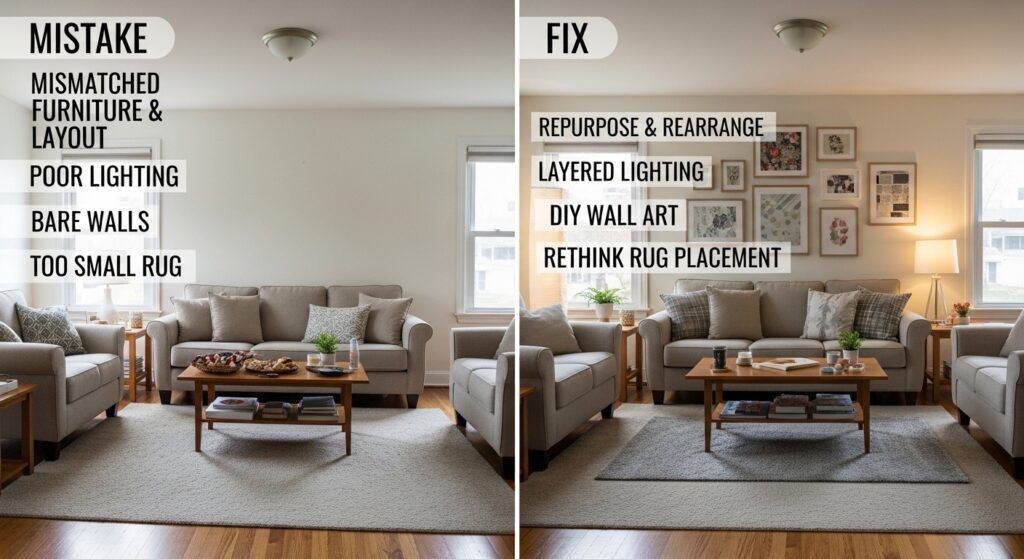
Looking back at early decorating attempts, the errors are obvious. Furniture that never fit. Colors that clashed. Layouts that made no sense. Money wasted on pieces that were donated within a year.
The good news is that every mistake taught a valuable lesson. The better news is that those lessons are now shared here so others can skip the expensive learning curve.
This guide reveals the interior design mistakes made as a beginner and exactly how to fix each one without spending more money.
Why Beginners Make the Same Mistakes Over and Over
There is a pattern to beginner mistakes. They come from good intentions and bad information.
New decorators see beautiful rooms online and try to copy them exactly. They buy pieces they love without measuring. They decorate all at once instead of slowly over time.
The result is a room that looks nothing like the inspiration photo and costs way too much money.
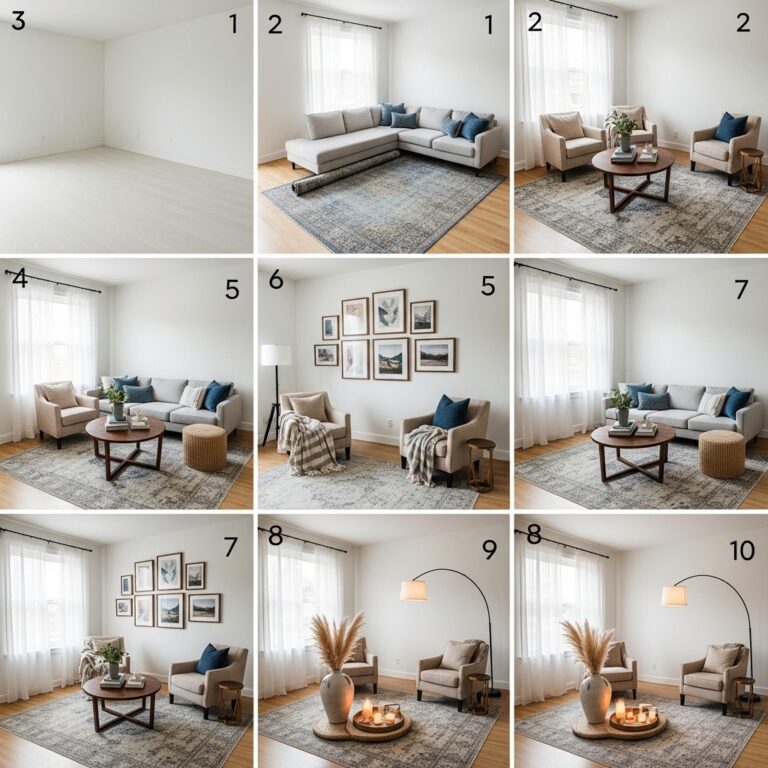
The Rush to Fill Empty Spaces
Empty rooms feel uncomfortable. The natural reaction is to fill them quickly with anything available.
This urgency leads to bad purchases. A chair that is the wrong scale. A rug that is too small. Art that does not fit the wall.
The fix is embracing empty space. Empty space is not wasted space. Empty space allows the eye to rest and makes the room feel intentional rather than cluttered.
The Fear of Making Mistakes
Paralysis is as dangerous as rushing. Some beginners buy nothing because they are afraid of choosing wrong.
The fix is starting small. Buy a pillow. Hang one piece of art. Paint one wall. Small stakes mean small regrets. Confidence builds with each small win.
Mistake 1: Buying Everything from One Store
A room where every piece comes from the same store looks like a showroom, not a home. There is no personality. No story. No soul.
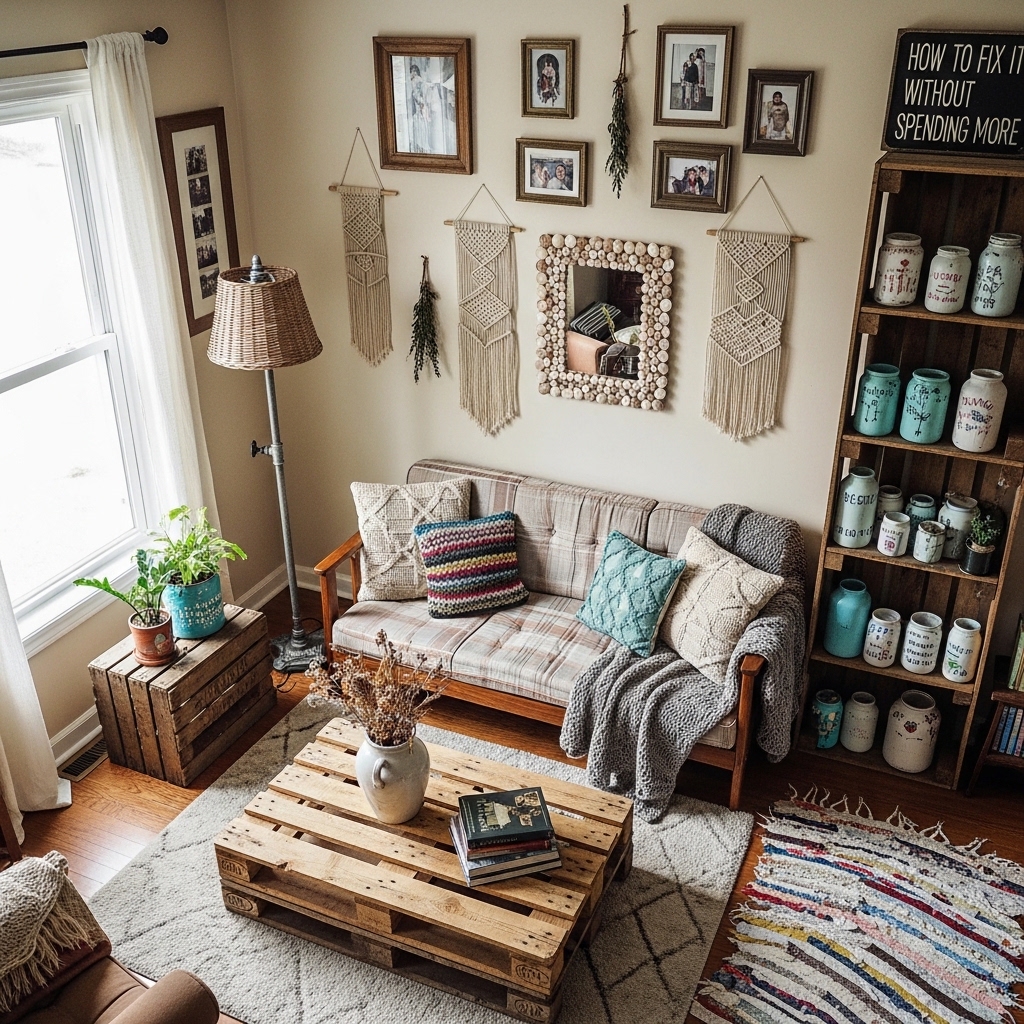
The problem is that catalog rooms look perfect but feel sterile. Real homes have collected pieces from different places and different times.
How to Fix It Without Spending More
Stop buying everything from one store immediately. Mix sources. Thrift stores, Facebook Marketplace, garage sales, and discount retailers all offer unique pieces.
The 3-Source Rule for every room:
- One piece from a thrift store or estate sale
- One piece from a discount retailer or big box store
- One piece that is handmade, vintage, or sentimental
| Source | Best For | Average Cost |
|---|---|---|
| Thrift store | Lamps, frames, mirrors, small decor | $5 – $25 |
| Facebook Marketplace | Large furniture, rugs, lighting | $50 – $200 |
| Garage sales | Random decor, outdoor items, books | $1 – $10 |
| Discount home store | Basics, bedding, pillows, curtains | $10 – $50 |
| Handmade or vintage | Statement pieces, art, textiles | Varies |
What to Do with Existing Matching Pieces
Already own a matching set? Do not panic. The fix does not require throwing everything away.
Break up the set. Move one piece to another room. Replace it with something different. A matching dresser and nightstand become less obvious when separated by a different lamp or art piece.
Add contrasting textures. A matching sofa and loveseat feel less matchy when different throw pillows and blankets are added to each piece.
Mistake 2: Hanging Art at the Wrong Height
This is the most common beginner mistake. Art hung too high looks disconnected from the furniture below it. Art hung too low gets bumped and feels cramped.
The standard rule is that the center of the art should hang at eye level, approximately 57 to 60 inches from the floor. This rule works in galleries. It also works in homes.
How to Fix It Without Spending More
Measure from the floor to the center of each piece of art. If the center is above 60 inches, lower it. If below 57 inches, raise it.
Bullet Point: Art hanging checklist
- Center of art at 57-60 inches from floor
- Bottom of art 6-12 inches above sofa or console
- Space between multiple pieces 2-4 inches
- Frames level (use a level, not your eyes)
The Sofa Rule for Art Placement
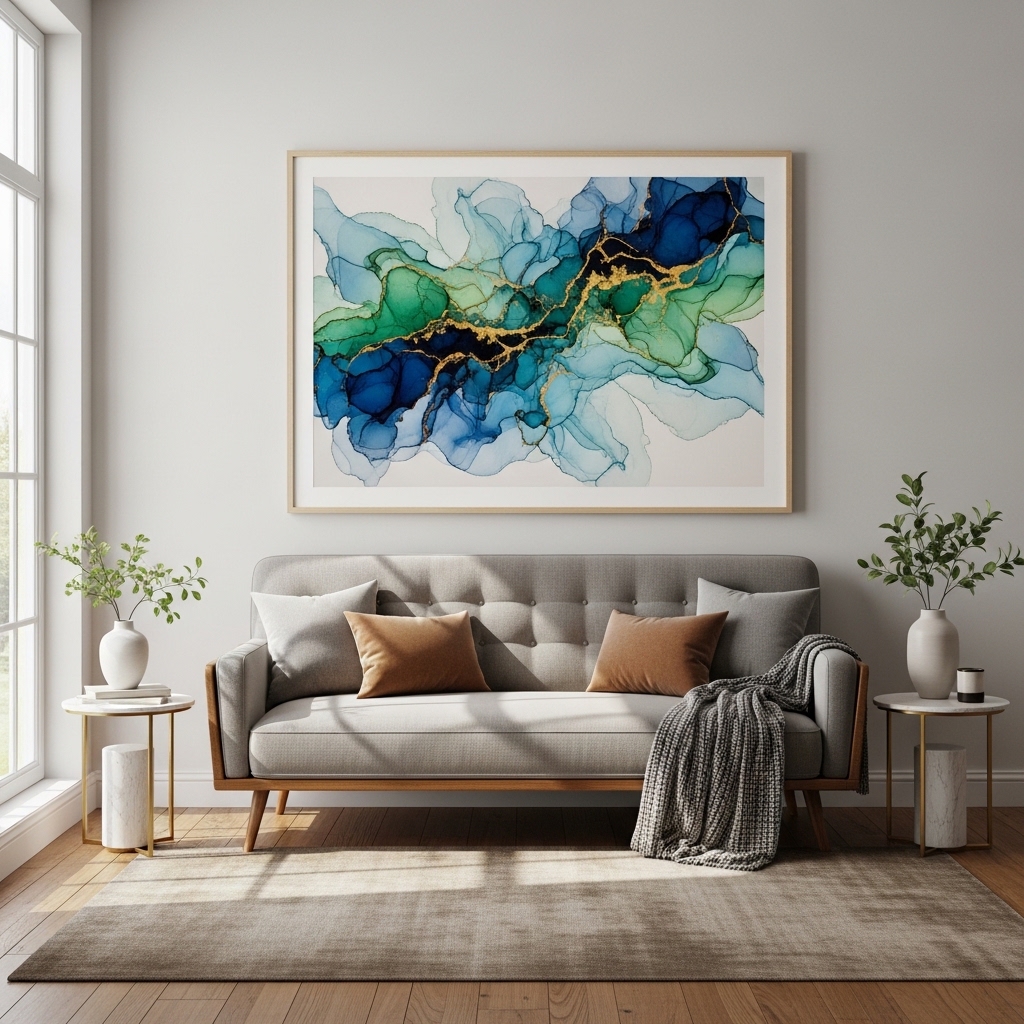
Art hung above a sofa follows a different rule. The bottom of the frame should be 6 to 12 inches above the back of the sofa.
This rule connects the art to the furniture below it. Art that floats too high above the sofa feels disconnected. Art that sits too low crowds the sofa.
Pro Tip: Use painter’s tape to mark art placement before hammering nails. Live with the tape for a day. Adjust if the placement feels wrong.
Mistake to Avoid: Do not hang art based on standing eye level in an empty room. Art should relate to the furniture below it, not the height of a standing person.
Mistake 3: Choosing Paint Color from a Tiny Swatch
Paint swatches are misleading. The small square on a card looks different when spread across an entire wall.
The problem is that lighting changes everything. A color that looks perfect in the store can look completely different on a wall with different light exposure.
How to Fix It Without Spending More
Buy sample pots of paint. Paint large swatches directly on the wall. Live with them for several days.
The Sample Swatch Method that works:
- Buy three sample pots of colors you are considering
- Paint a 2-foot by 2-foot square of each color on different walls
- Observe the colors at morning, noon, evening, and night
- Eliminate colors that look wrong in any light
- Choose from remaining colors
Comparison Table: How Light Changes Paint Colors
| Light Source | Effect on Paint | Best Paint Choices |
|---|---|---|
| North-facing light | Cool, blue undertones amplified | Warm whites, creamy beiges, warm grays |
| South-facing light | Warm, yellow undertones amplified | Cool whites, true grays, blues |
| East-facing light | Bright morning, cool afternoon | Most colors work well |
| West-facing light | Warm afternoon, dramatic evening | Most colors work well |
| Artificial warm light | Yellow cast on walls | Cool whites, true neutrals |
| Artificial cool light | Blue cast on walls | Warm whites, creamy neutrals |
Pro Tip: Paint sample squares on multiple walls. The same color looks different on a north wall versus a south wall.
Mistake to Avoid: Do not choose paint color from the swatch alone. Swatches are printed ink, not actual paint. Always test on walls.
Mistake 4: Buying a Rug That Is Too Small
A small rug floating in the middle of a room makes the space feel smaller. The visible floor around all four edges creates a frame that highlights the room’s limitations.
The problem is that beginners often buy the cheapest rug available without considering scale. A 5×7 rug in a 12×12 room looks like a postage stamp.
How to Fix It Without Spending More
The front legs of all major furniture should sit on the rug. In a living room, the sofa and chairs should have their front legs on the rug. In a bedroom, the rug should extend at least 18 inches beyond all sides of the bed.
Rug Size Guide by Room:
| Room Size | Minimum Rug Size | Ideal Rug Size |
|---|---|---|
| Small bedroom (10×10) | 5×8 | 8×10 |
| Large bedroom (12×12) | 8×10 | 9×12 |
| Small living room (12×12) | 5×8 | 8×10 |
| Large living room (15×15) | 8×10 | 9×12 |
| Dining room | 2 feet beyond table on all sides | 3 feet beyond table |
The Cheap Fix for a Too-Small Rug
Already own a rug that is too small? Do not throw it away. Layer it.
Place the small rug on top of a larger, neutral rug. The larger rug provides the correct scale. The smaller rug adds pattern and color.
A jute or sisal rug underneath costs less than buying a completely new large rug. The layered look is also intentional and stylish.
Pro Tip: Use rug tape to keep layered rugs from shifting. Rug tape is inexpensive and prevents tripping hazards.
Mistake to Avoid: Do not push a too-small rug against the wall. Floating rugs look worse than no rugs at all.
Mistake 5: Pushing All Furniture Against the Walls
Conventional wisdom says push furniture to the perimeter to open up the center. This does the opposite.
A ring of furniture around the walls creates an empty no man’s land in the middle that feels awkward and unusable. The room feels like a waiting room, not a home.
How to Fix It Without Spending More
Pull furniture away from the walls. Even a few inches makes a difference. The gap behind the furniture tricks the eye into seeing more depth.
Furniture Floating Guide:
| Furniture Piece | Distance from Wall | Benefit |
|---|---|---|
| Sofa | 6-12 inches | Creates depth, allows curtains to hang |
| Chairs | 4-6 inches | Prevents cramped feeling |
| Bed | Centered on wall | Creates two equal walking paths |
| Desk | Facing into room | Makes room feel larger, not smaller |
The Sofa Float That Changed Everything
The sofa was originally pushed flat against the longest wall. The room felt like a tunnel. The only walking path was directly in front of the sofa.
Pulling the sofa six inches away from the wall changed everything. The gap behind the sofa created visual depth. Curtains hung properly behind the sofa. The room felt larger without adding any space.
Pro Tip: Float a chair at an angle in a corner. Angled furniture breaks up straight lines and makes the layout feel more dynamic.
Mistake to Avoid: Do not float furniture so far from walls that walking paths become blocked. Leave at least 30 inches for main walking paths.
Mistake 6: Buying a Sofa That Is Too Large
A sofa that is too large for a room dominates everything. There is no space for a coffee table. Walking paths are cramped. The room feels like a furniture showroom.
The problem is that beginners measure the wall but not the walking paths. A sofa that fits the wall length may still be too deep for the room.
How to Fix It Without Spending More
Measure the room before buying any large furniture. Measure wall length, room depth, doorway width, and walking paths.
Sofa Sizing Checklist:
- Measure doorway width (sofa must fit through it)
- Measure room depth (sofa depth + coffee table depth + walking path)
- Measure wall length (sofa should not exceed wall length)
- Leave 30 inches of walking path between sofa and coffee table
What to Do with an Oversized Sofa
Already own a sofa that is too large? Do not replace it immediately. Work around it.
Remove other large pieces. A large sofa needs less competition. Replace a bulky coffee table with a small ottoman or nesting tables.
Push the sofa into a corner. Corner placement opens up the center of the room. The sofa takes up less visual space when anchored in a corner.
Pro Tip: Use a slim console table behind a floating sofa. The table adds surface space without adding depth.
Mistake to Avoid: Do not add more furniture to a room with an oversized sofa. Edit other pieces instead of adding to the problem.
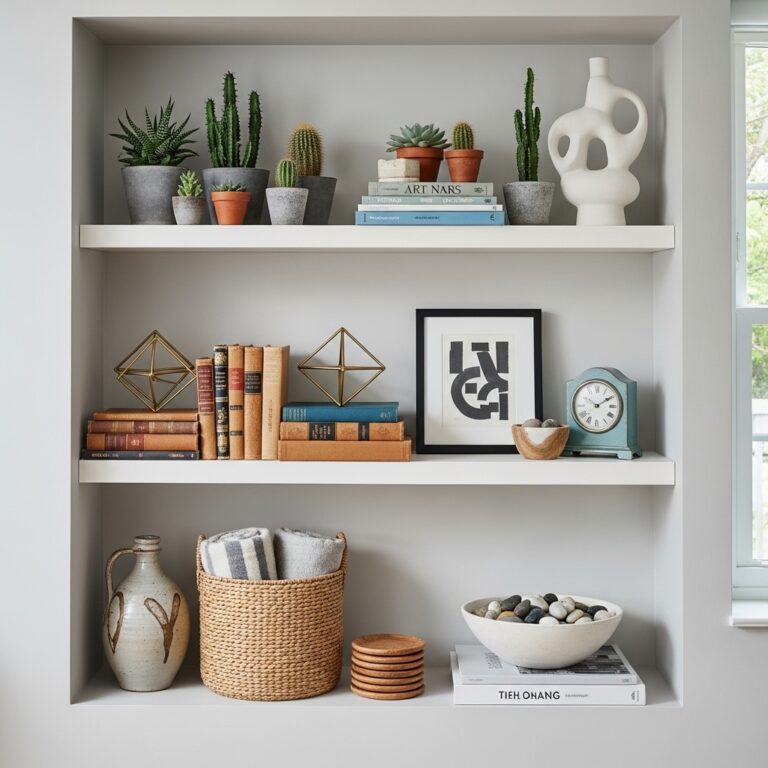
Mistake 7: Ignoring Vertical Space
Every beginner focuses on the floor. The walls above eye level are completely ignored.
Vertical space is free real estate. Tall bookshelves, high art, and wall-mounted lighting all draw the eye upward and make ceilings feel higher.
How to Fix It Without Spending More
Look at the walls above waist height. What is there? Nothing? That is the problem.
Vertical Space Solutions:
| Problem | Solution | Cost |
|---|---|---|
| Empty wall above sofa | Hang art at 57-60 inches center | $0 (rehang existing art) |
| Empty corner | Tall bookshelf or floor lamp | $15-$50 (thrifted) |
| Empty space above door | Small shelf for decor | $10 (DIY) |
| Low ceiling feeling | Vertical stripes or tall art | $0 (rearrange) |
| No storage | Tall bookshelf instead of low dresser | $20-$50 (thrifted) |
The Tall Bookshelf That Saved the Room
A low dresser was replaced with a tall bookshelf. The floor space used was exactly the same. The storage capacity doubled.
The tall bookshelf also drew the eye upward. The ceiling felt higher. The room felt larger. The dresser was donated. The bookshelf cost fifteen dollars at a thrift store.
Pro Tip: Paint a tall bookshelf the same color as the wall. The bookshelf blends into the wall and makes the ceiling feel even higher.
Mistake to Avoid: Do not push tall furniture against a short wall. Tall furniture needs tall walls. Match furniture height to wall height.
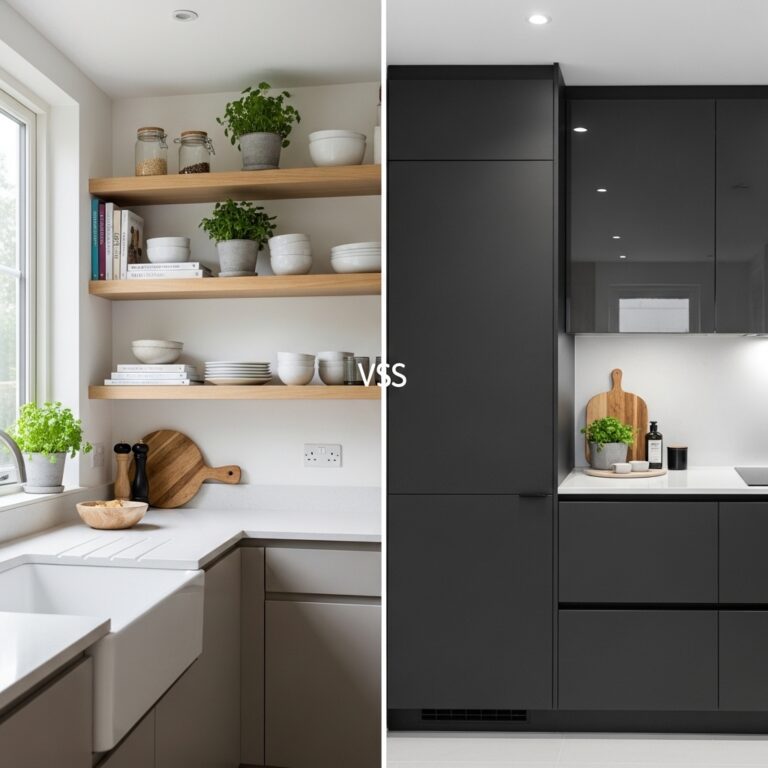
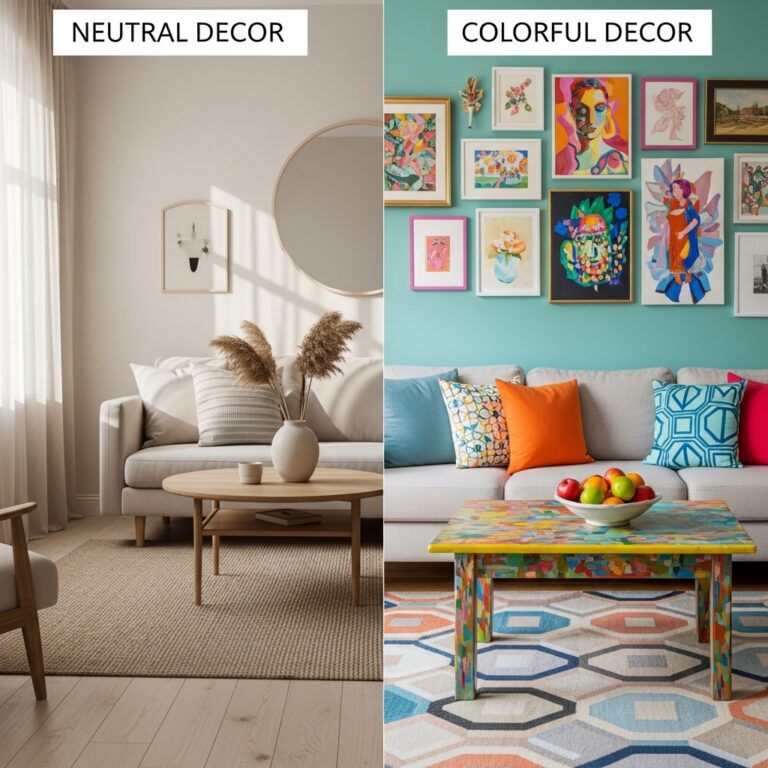
Mistake 8: Matching Everything Perfectly
Perfectly matched rooms look like catalogs. They lack personality, warmth, and visual interest.
The problem is that beginners are afraid of things that do not match. They buy bedroom sets, living room sets, and dining room sets. Every piece coordinates perfectly. Every piece is boring.
How to Fix It Without Spending More
Stop buying sets immediately. Buy individual pieces that work together without matching.
The 60-30-10 Color Rule for non-matching rooms:
- 60% dominant color (walls, large furniture)
- 30% secondary color (upholstery, curtains, rugs)
- 10% accent color (pillows, art, small decor)
This rule creates cohesion without matching. The colors relate to each other without being identical.
Comparison Table: Matching vs. Collected Rooms
| Element | Matching Room | Collected Room |
|---|---|---|
| Furniture | Same finish, same style | Mixed finishes, related styles |
| Pillows | Matching pairs | Mix of colors, textures, patterns |
| Art | Same artist, same frames | Different frames, different sources |
| Lighting | Matching lamps on both sides | Different lamps, different heights |
| Overall feel | Safe, predictable, boring | Interesting, personal, layered |
Pro Tip: Repeat a color, texture, or shape three times in a room. Three blue items. Three woven textures. Three round shapes. Repetition creates cohesion without matching.
Mistake to Avoid: Do not buy a bedroom set. Buy a bed frame first. Add nightstands later from different sources. Add a dresser from another source.
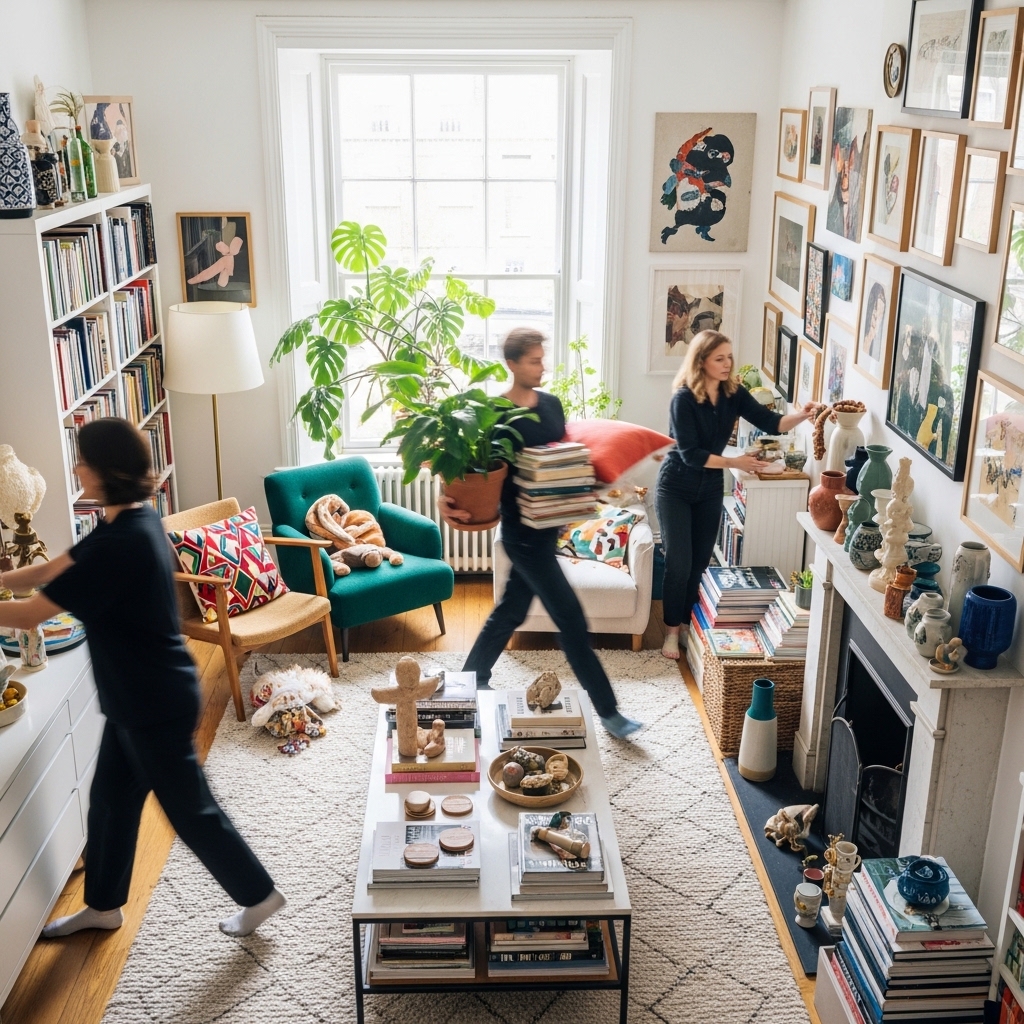
What to Do with Mistakes Already Made
Every beginner has mistakes already in the room. Do not throw everything away. Fix what can be fixed. Live with what cannot.
The One-Year Rule for Decor Mistakes
Live with a mistake for one year before replacing it. The mistake might grow on you. Your taste might change. The money saved by waiting can go toward a better replacement.
How to Repurpose Decor Mistakes
| Mistake | Repurpose Idea |
|---|---|
| Too-small rug | Layer on top of larger neutral rug |
| Wrong color lamp | Spray paint the base |
| Ugly throw pillows | Buy new covers, keep the inserts |
| Art that does not fit | Move to a hallway or bathroom |
| Mismatched chairs | Paint them the same color |
The 7-Day Beginner Fix Plan
Day one: Walk through each room. Identify the three biggest mistakes using this guide.
Day two: Fix art height in every room. This costs nothing and takes an hour.
Day three: Pull furniture away from walls. Six inches is enough. Float one chair at an angle.
Day four: Assess rugs. Layer too-small rugs. Remove rugs that are hopelessly wrong.
Day five: Rearrange one room using the floating furniture method. Live with it for a day.
Day six: Break up one matching set. Move one piece to another room. Add a contrasting piece.
Day seven: Plan one future purchase. A thrifted bookshelf. A sample paint pot. A floor lamp.
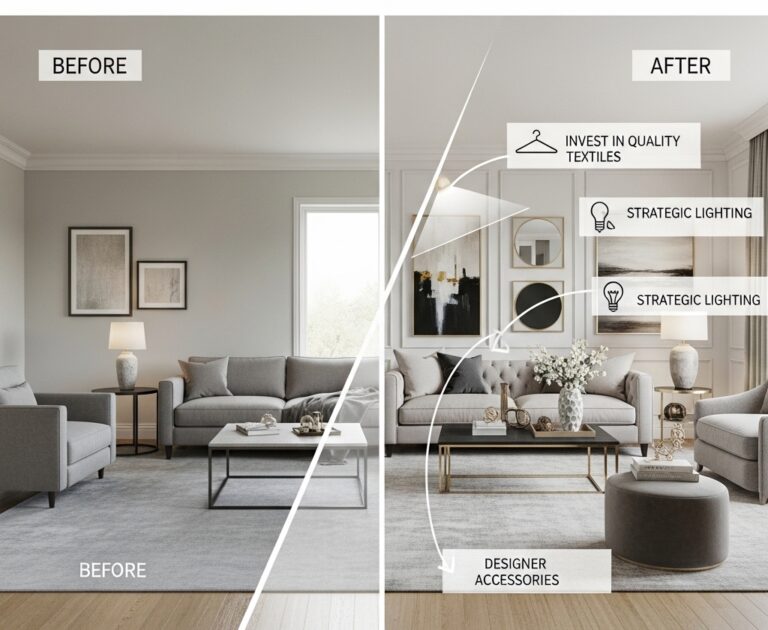
Conclusion
Mistakes are not failures. They are lessons that teach what does not work.
The interior design mistakes shared here cost real money and real time. The fixes cost almost nothing. The lessons are now yours to use.
Start with one fix. Move a piece of furniture. Lower a piece of art. Layer a rug. Small changes add up to dramatic transformations.
The best time to fix design mistakes is now. The smallest budget can work. The biggest mistakes can be undone.
Take back your rooms starting today. Better design is waiting for you.